This post contains affiliate links. By clicking on the link and making a purchase, I may receive a small compensation at no extra cost to you. I only promote products that we love and use in our homeschool. Please click here for full details on my Disclosure Policy.
Bubbles are such a fun activity. I would say kids love them, but many pets (and adults?) have fun with them too. They are so simple and enjoyable to watch as they float through the air. But have you ever thought about doing a bubble science experiment?
Several years ago, my son was taking part in our 4-H Club’s science fair. We searched through several ideas and decided to do some bubble science. He investigated the science behind bubbles and several different bubble recipes.
However, we needed to make sure the bubble science experiment was…well, scientific. You can’t just blow bubbles the exact same way every time. So, we developed a way to scientifically test bubble recipes to see which ones worked the best. At least, it was as scientific as I was going to get with an elementary-aged boy.
I’ll share links to bubble recipes, HOW we ran our bubble experiment and a little bit on the science behind bubbles.
Table of Contents
Bubble Science Experiment-Bubble Recipes
If you search the internet, you will find many different sites with homemade bubble recipes. I want to help you out with 4 of the most common bubble recipes you can use for your bubble science project. All are great recipes to use for your science experiment. Plus, they are great for other activities.
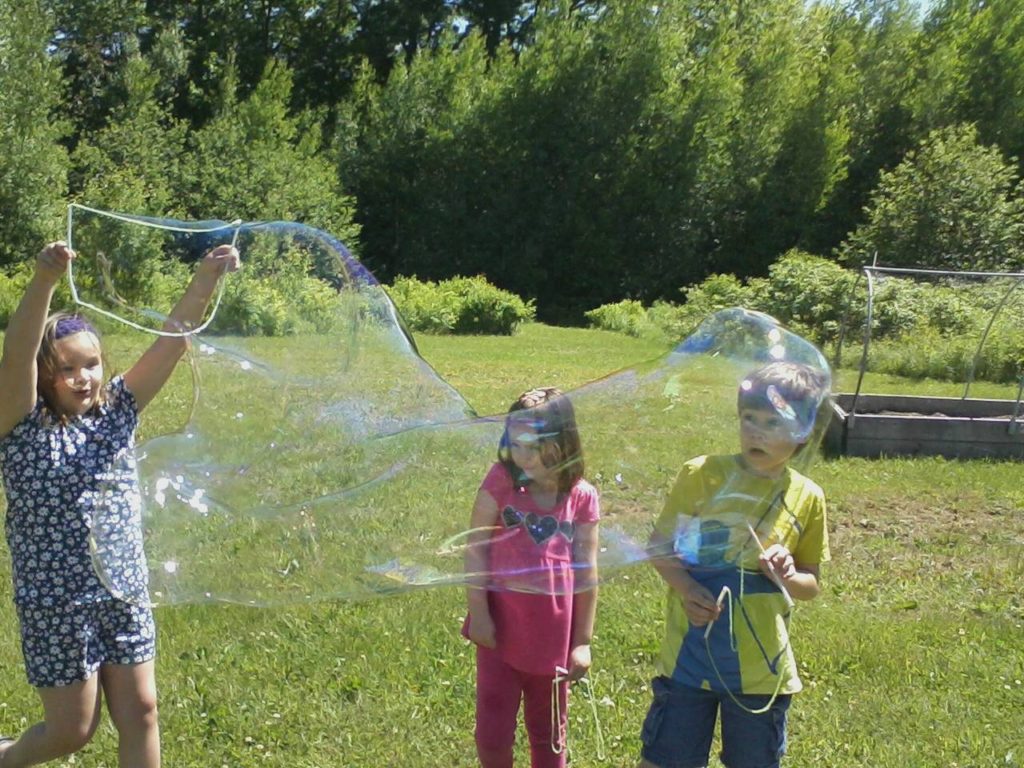
How to Make Homemade Giant Bubbles that will Blow Your Mind (Happy Hooligans)- This recipe is strong enough to make giant bubbles. We have used it before. You will add corn starch, baking powder, and glycerin to the soap and water mixture for the solution. Check out this recipe and give it a try.
How to Make Homemade Bubbles (The Artful Parent)- With three simple ingredients, your kids will have homemade bubbles. You only need sugar, water, and soap. Pretty simple.
Homemade Bubbles (Saving Cent by Cent)- Here is another simple recipe. However, this recipe adds only corn syrup to the main soap base.
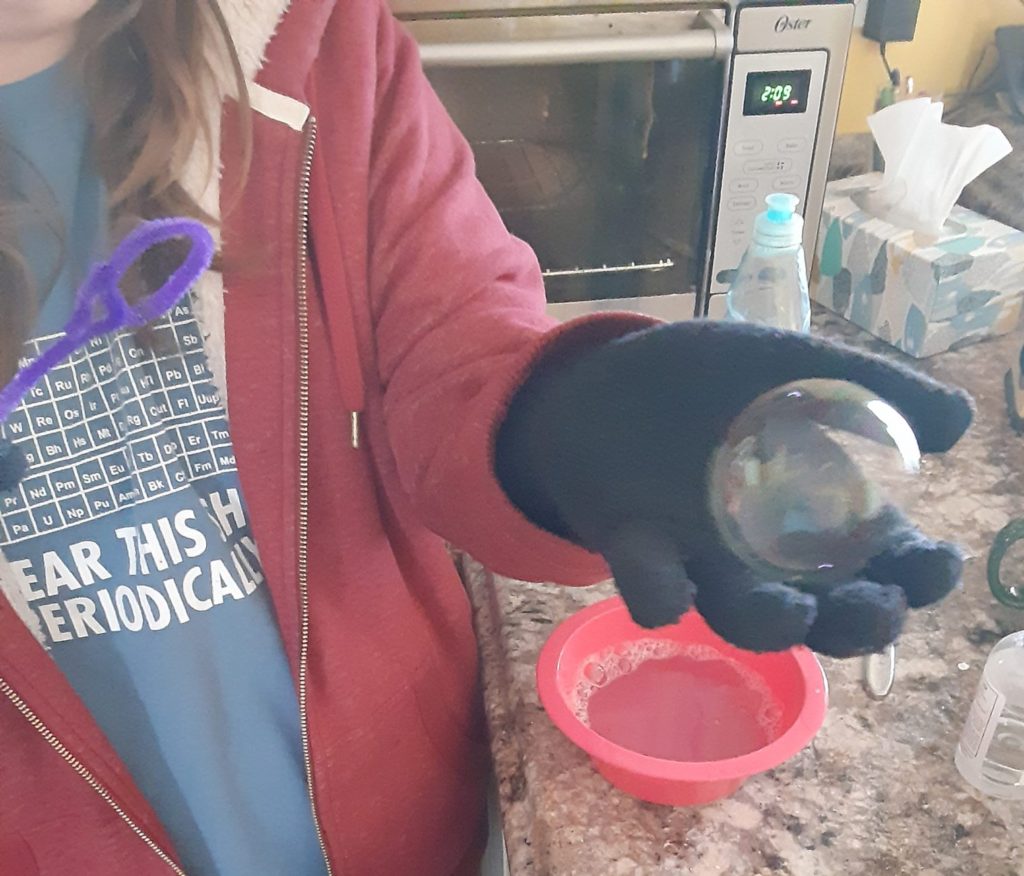
DIY Unpoppable Bubbles (Learning Resources)- If your kids want to bounce bubbles with their hands, this is a good recipe. My kids, even at 12 and 14, had so much playing around with this one. It is an excellent recipe to test in your bubble experiment.
Bubble Science Experiment
To do your own bubble science experiment at home, take a look at the process we came up with to make this an actual scientific activity.
The Experiment
To test different bubble recipes to see which bubble solution works the best (floats the longest and makes the most bubbles in one “blow”).
Supplies Needed
- Homemade bubble solutions labeled Bubble Solution 1, Bubble Solution 2, etc.
- Bubble wands.
- Small fan.
- Watch, phone, or another device that has a stopwatch.
- Bubble Science Experiment Chart.
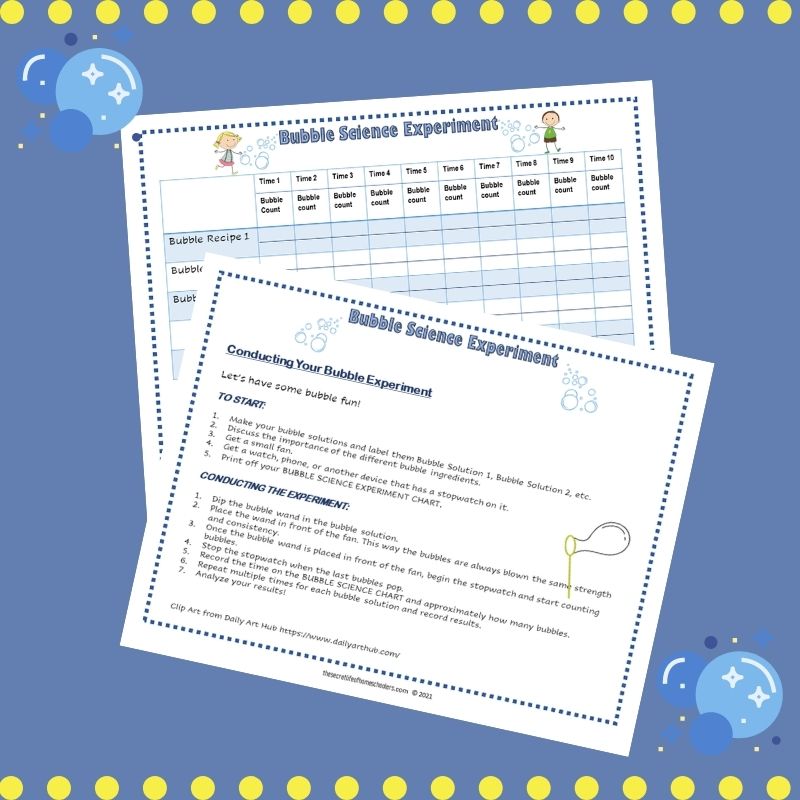
How to Conduct the Bubble Science Experiment
Now that you have your supplies let’s begin.
- Dip the bubble wand in the first bubble solution.
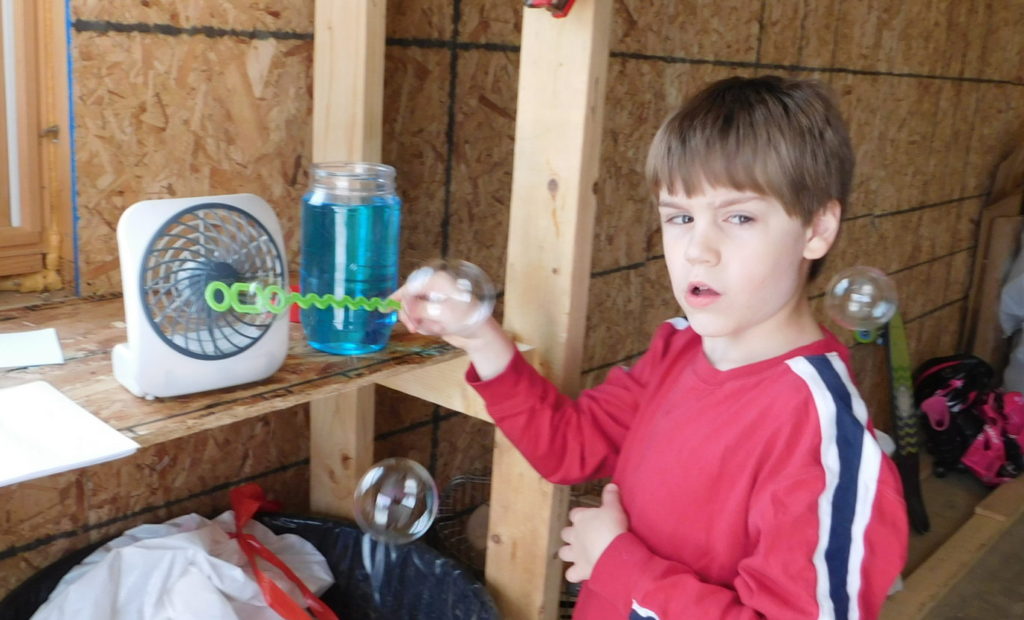
- Place the wand in front of the fan that is blowing at low speed. This way, the bubbles are always blown with the same strength and consistency.
- Once the bubble wand is placed in front of the fan, begin the stopwatch and start counting bubbles. It would be best if you had a helper for this activity.
- Stop the stopwatch when the last bubble pops.
- Record the time on the BUBBLE SCIENCE CHART and approximately how many bubbles. I say “around how many bubbles” because it may be challenging to count them if many bubbles come out at once. Do the best you can.
- Repeat multiple times for each bubble solution and record the results. You can repeat the experiment as many times as you want and for as many bubble solutions as you wish. I put extra spaces to allow you to adjust the activity to fit your family’s needs.
- Once you have tested all your solutions, it is time to analyze your results!
Analyzing Your Bubble Science Experiment Data
Depending on your child’s age, you can analyze the results in different ways.
- If you have younger kiddos, look at the times and amount of bubbles and eyeball what solution lasted the longest and had the most bubbles MOST of the time.
- With older kids, you could have them calculate the averages of the times and bubble amounts.
- Compare the recipes by the ingredients and discuss which items you think helped the bubbles perform well.
{You might also like to experiment with these DIY Clay Recipes and see which works best.}

The Science of Bubbles
Now to make the project even more scientific, let’s look at some of the science behind bubbles. It is actually kind of interesting.
First off, we can make bubbles just by blowing in water. The air we blow out creates bubbles in the water molecules. We can make lots of bubbles that way. However, the bubbles pop pretty quickly, and they certainly don’t float off in the air. No fun.
If, however, we add dish soap to water, we get a better result.
Why?
Well, soap creates a film that can wrap around water and air, which is how we make bubbles. It is also why we use soap to remove dirt. The soap attaches to the dirt so it can be washed away.
Bubbles are formed when we blow air into the soapy solution. A soap film traps the air. As we blow, the soap expands, and because soap has elasticity, it stretches and expands to make the bubble bigger.
If you want to learn even more, check out the Science of bubbles at Science World. It is where I got my information. They go into a lot more detail and have diagrams, too.
About the Ingredients in Bubble Solutions
So, each of the bubble recipes has slightly different ingredients. What is the purpose of each of the ingredients? Let me explain.
Sugar, glycerin, corn syrup, and corn starch– From all the information I found, all these ingredients keep bubbles from drying out. If the water evaporates too quickly in bubbles, they will pop. All of these ingredients slow down the evaporation, so the bubbles stick together longer.
Baking powder– Baking powder is used in baking because it releases carbon dioxide. In this chemical process, bubbles are released, making baked goods rise. I found that this creates a higher ph level and will then make your bubbles last longer too.
A cool thing to try is to test if one ingredient or different combinations of these ingredients work better. You have lots of options to try!

Phew, there are so many fun options with this bubble science experiment. Grab your ingredients, your Bubble Science Experiment Chart, the kids, and start experimenting! It will undoubtedly make for a fun afternoon.
Need more science ideas??? Check out My Teaching Library. They have science resources for Pre-K through 12th grade. It is an awesome site.

Happy Homeschooling!