
Craft sticks are one of those inexpensive supplies that can turn an ordinary afternoon into a STEM challenge. With just a handful of sticks and a few things you probably already have at home, kids can build bridges, towers, catapults, marble runs, and more.
I’ve pulled together some of my favorite craft-stick STEM ideas below, but I’ve also included ways to turn these activities into real STEM challenges, so kids aren’t just following directions. They’re designing, testing, figuring out what went wrong, and trying again.
Whether you’re looking for a quick afternoon activity, something for multiple ages to work on together, or a project to add to your homeschool science time, you’ll find ideas here.
Quick Guide to Popsicle Stick STEM Activities
| Activity | Great For | STEM Focus | Time |
|---|---|---|---|
| Popsicle Stick Boats | Elementary+ | Engineering & design | 30+ min |
| Chain Reaction | Elementary+ | Physics & motion | 20–30 min |
| Siege Tower & Ballista | Elementary+ | Engineering | 30+ min |
| Toy Car Launcher | Elementary+ | Force & motion | 20–30 min |
| Skyscraper | All ages | Engineering & structures | 15–30 min |
| Catapult | Elementary+ | Physics & engineering | 20–30 min |
| Ferris Wheel | Elementary+ | Engineering & motion | 30+ min |
| Marble Run | All ages | Motion & problem-solving | 20–45 min |
| Working Gears | Elementary+ | Engineering & motion | 30+ min |
| 2D & 3D Shapes | Younger learners | Math & geometry | 15–30 min |
| Craft Stick Bridges | All ages | Engineering & structures | 20–45 min |
Teaching tip: Don’t worry if your kids don’t build exactly what the example shows. In a STEM activity, different solutions are often the best part!
How to Turn a Quick Activity Into a STEM Challenge
Before we jump into the activities, here’s one of my favorite ways to make these projects more meaningful.
Instead of simply telling kids what to build, give them a problem to solve. Kids are always up for a good challenge. (I know I have one who will get pretty competitive when given a challenge.)
For example:
Instead of:
“Build a bridge with popsicle sticks.”
Try:
“Can you build a bridge using 20 popsicle sticks that spans this gap and holds at least 20 pennies?”
Now your child has to make decisions. It also helps the kiddos who need a little more direction.
They have to think about:
- What shape will make the bridge strong?
- Where should the sticks go?
- How can they keep it from bending?
- What happens when they add weight?
- What could they change if their first design doesn’t work?
That’s STEM thinking.
A Simple STEM Formula
For almost any of the activities below, you can use:
Build → Test → Observe → Change → Test Again
You don’t need a complicated lesson plan. Give kids a problem, let them try a solution, and then encourage them to improve it.
For younger children, you might simply ask, “What could we change?”
Older kids can measure results, record data, compare designs, and explain why they think one design worked better than another.
STEM Activities with Popsicle Sticks (a.k.a Craft Sticks)
Below, I share a bunch of fun STEM activities and challenges that involve science and engineering skills. You are sure to find something your kids will love.
Popsicle STEM Boat Challenge
What kids do: Build a boat from popsicle sticks that floats and holds the most weight.
Ask:
- Why do boats float and not sink?
- How should you design your boat so it floats?
Kids can experiment with:
- shape
- size
- placement of sticks
- weight distribution
- waterproofing
For younger kids, it’s okay if they make more of a raft than a boat. Challenge older kids to make a boat with sides.
Make it a challenge: Next, have kiddos test their working boats with pennies, washers, or small objects. This will show kids if they built a sturdy boat.
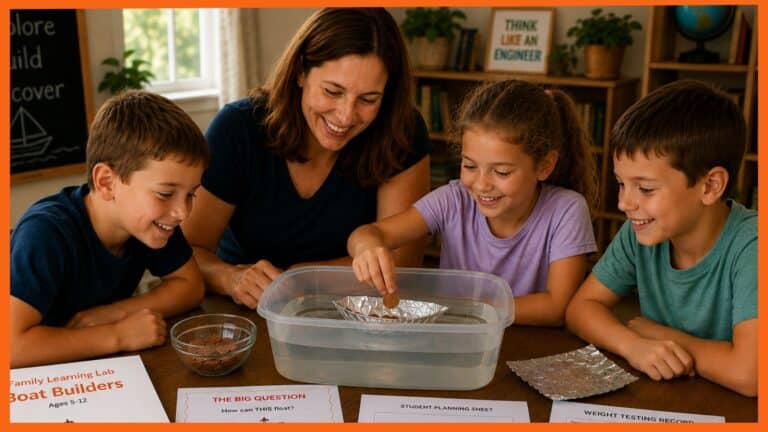
Want to take the challenge further? Try my STEM Boat Challenge, where kids explore buoyancy through multiple boat-building challenges.
Popsicle Stick Chain Reaction
Chain reactions are one of those activities that kids will want to build again and again.
The basic idea is to arrange craft sticks so that one movement sets off the next, creating a chain reaction.
This is a great opportunity to talk about motion, energy, cause and effect, and careful planning. See how easily you can connect it to science?
Teaching tip
Have kids predict what will happen before they start the chain reaction.
Then ask:
“What do you think caused the first stick to move?”
For older children, challenge them to change the spacing or design and see how it affects the reaction.
Siege Tower STEM Challenge (and Ballista)
If you’re studying medieval history, this activity could be a fun way to combine history with engineering.
Kids can build a siege tower or a ballista using craft sticks, then investigate how these structures and machines were used.
Take it further
Have your child research historical siege equipment and compare the real machines with their model.
Ask:
- What problem was this machine designed to solve?
- How did its design help it do its job?
- What would you change to make your model stronger?
This is a great example of how STEM can fit naturally into a history unit.
How to Make a Toy Car Launcher from Popsicle Sticks
A popsicle-stick car launcher lets kids explore force and motion while having a little fun, and I’m all for making learning fun. After all, it helps kids remember what they are learning.
Once the launcher is built, don’t stop at simply seeing whether it works.
Try a quick experiment
Have your child test:
- Different launch angles
- Different amounts of force
- Different cars
- Different surfaces
Then measure how far the car travels.
Can your child figure out which variable has the biggest effect on the distance?
That turns a simple building activity into a mini science investigation.
Skyscraper Day Building Activity
How tall can you build a tower before it falls?
This is a fantastic quick STEM activity because kids can get started almost immediately.
Give younger children plenty of freedom to experiment.
For older kids, add constraints such as:
- Use only 20 sticks.
- The tower must stand on its own.
- It must be at least 12 inches tall.
- It must hold a small object.
- You only get a certain amount of tape.
Don’t forget the redesign!
If the tower falls, don’t call the activity a failure.
Ask:
“What do you think made it fall?”
Then let them try again.
That’s engineering.
Catapults with Popsicle Sticks
Catapults are another favorite because kids can see the results of their design immediately.
Build the catapult, choose a lightweight object to launch, and start testing.
Add some math
Measure how far each launch travels.
Then challenge kids to:
- Make the object travel farther.
- Hit a target.
- Change one part of the catapult.
- Record several trials.
- Find the average distance.
You can even have kids create a simple graph of their results.
Quick STEM tip: Only change one variable at a time if you want kids to make a fair comparison.
Create a Ferris Wheel
This popsicle-stick Ferris wheel is a fun way to explore how wheels and moving parts work.
Younger children can focus on building and observing the movement.
Older kids can take the project further by thinking about:
- Balance
- Weight
- Rotation
- Friction
- How the structure stays upright
Make it harder
Instead of giving older kids every step, provide the materials and the goal:
“Can you design a Ferris wheel that turns smoothly and stays balanced?”
Then let them figure out the details.
STEM Marble Run
A marble run is perfect for kids who love building, experimenting, and watching things move.
You don’t need fancy materials, either. A cardboard box, shoebox lid, or piece of cardboard can become the base.
STEM questions to ask:
- What makes the marble speed up?
- What makes it slow down?
- How does the angle of the track affect the marble?
- How can you make the marble travel farther?
- Can you build a section that changes its direction?
Challenge idea:
Can you design a marble run that takes at least 10 seconds for the marble to reach the bottom?
Now kids have to think about slowing the marble down rather than simply getting it to the finish as quickly as possible.
Building Working Gears out of Popsicle Sticks
Working gears are a great introduction to mechanical engineering.
Kids can experiment with different-sized gears and observe how movement transfers from one gear to another.
Ask:
- Which direction does the second gear turn?
- What happens when you add another gear?
- What happens when one gear is larger than the other?
- How could gears make something move faster or slower?
This is a good activity for older elementary and middle school students who enjoy figuring out how things work. It’s okay if you give them a little help to get them started or help if they get stuck.
Math STEM Activity with Popsicle Sticks

Building 2D and 3D Shapes with Craft Sticks
Popsicle sticks aren’t just for engineering. They’re also a great hands-on way to explore geometry.
Kids can use craft sticks to build shapes and explore how two-dimensional and three-dimensional structures differ. This is a great multisensory activity.
For younger learners
Ask them to identify:
- Squares
- Triangles
- Rectangles
- Other shapes they can create
For older learners:
Challenge them to build:
- A cube
- A pyramid
- A rectangular prism
- Different types of prisms
Then talk about faces, edges, and vertices.
This is one of those activities that can grow right along with your child.
Craft Stick Bridge STEM Challenges
Bridges are one of my favorite ways to use popsicle sticks for STEM because there isn’t just one right answer.
Kids can experiment with different designs and discover that some structures are much stronger than others.
I’ve included several bridge ideas below so you can choose one that fits your child’s age and experience.
Easy Craft Stick Bridge Building Activity for Preschoolers
This is a simple introduction to bridge building for littles, and a perfect introduction to STEM.
The goal isn’t to create a perfect engineering structure.
Instead, let your kiddo experiment with:
- How sticks fit together
- What makes something stable
- How to connect two spaces
- What happens when they add weight
Teaching tip
Ask questions rather than immediately fixing the design.
Try:
“What do you think would make it stronger?”
That little question encourages problem-solving without taking over the activity.
Engineer a Truss Bridge with Craft Sticks
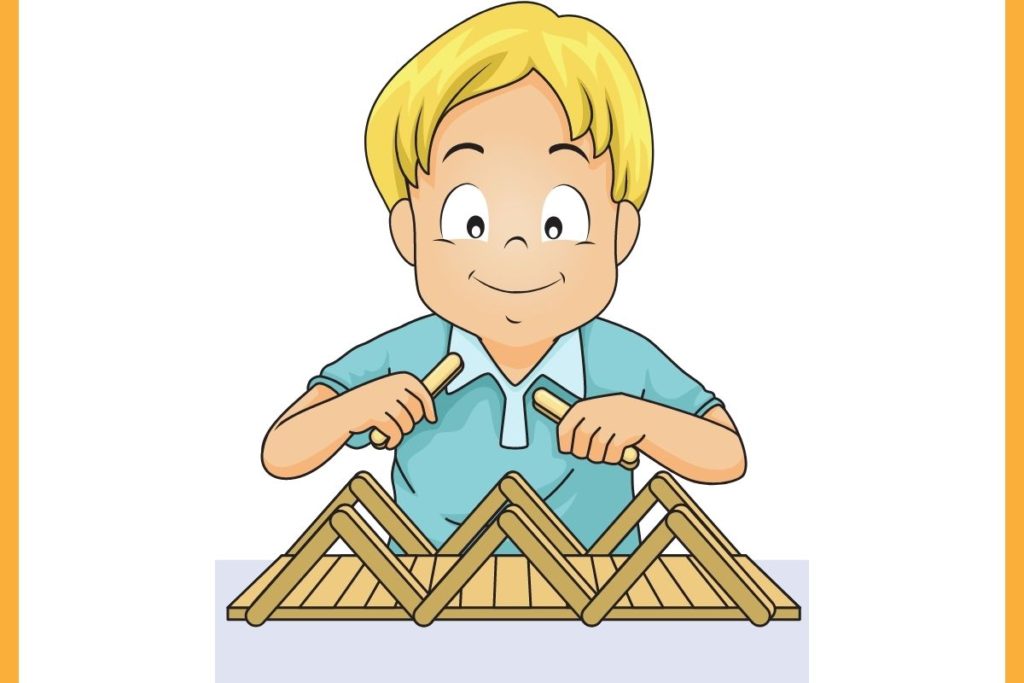
Older kiddos can learn about truss bridges and how triangles are used to strengthen structures.
After building a simple version, encourage your child to look at real bridges.
Try this:
Find pictures of bridges around your area and ask:
“What shapes do you notice in the structure?”
Then have your child design a bridge of their own.
This can easily become a mini research project if your child wants to take it further. It may even help them improve and better understand their designs.
DaVinci Popsicle Stick Bridge
The Da Vinci bridge is an interesting challenge because the sticks can be assembled without using anything to hold them in place.
It takes patience and careful construction, which makes it a good project for older kids.
Don’t rush this one.
Part of the learning is figuring out how the pieces support one another.
Once your child gets the bridge built, ask:
- Why does it stay together?
- Where is the weight being transferred?
- What happens if you change the design?
- How much weight can it hold?
Popsicle Stick Bridge Challenge
This is where you can really turn craft sticks into an engineering challenge.
Give your child a set number of sticks and a limited amount of tape.
Then give them a goal:
Build a bridge that spans a gap and holds as much weight as possible.
You can use pennies, washers, small toys, or other household objects as weights.
Make the Challenge Harder
Once your child succeeds, change one of the rules.
Try:
- Make the bridge longer.
- Use fewer sticks.
- Use less tape.
- Make the bridge hold more weight.
- Build a bridge that uses a particular design.
- Build two different bridges and compare them.
The possibilities are almost endless. So, you can repeat it many times with different rules, and kids can still have fun and be challenged.
Technology
I didn’t find any STEM activities with popsicle sticks that used technology. However, technology can be incorporated. You can incorporate it with online research. Kids could also do a simple PowerPoint presentation with images to show their results.
More advanced students may even know how to create drawings of bridges, buildings, and Ferris wheels on a computer.
How to Make Popsicle Stick STEM Work for Multiple Ages
One of the reasons I love STEM challenges for homeschool is that the same activity can work for several ages at once.
You don’t necessarily need a separate project for every child.
Instead, change the expectations.
Younger kids
Let them focus on:
- Building
- Exploring
- Identifying shapes
- Making predictions
- Talking about what happened
Elementary kids
Add:
- Measurements
- Simple data collection
- Design constraints
- Testing
- Redesigning
Older kids
Add:
- Variables
- Controlled experiments
- Graphs
- Research
- Calculations
- Written explanations
- More complicated design constraints
Everyone can work on the same basic challenge while learning at an appropriate level.
What Are Kids Learning From Popsicle Stick STEM?
It may look like kids are simply playing with craft sticks, but there’s a lot of learning happening.
These activities can help children practice:
- Problem-solving
- Critical thinking
- Engineering design
- Science concepts
- Measurement
- Geometry
- Cause and effect
- Data collection
- Communication
- Persistence
But perhaps my favorite part of STEM activities is that kids learn that not getting it right the first time isn’t a problem.
A bridge collapses?
Try again.
The marble gets stuck?
Change the design.
The tower falls?
Figure out why.
That process of testing, changing, and trying again is where some of the best learning happens.
Want to Make Any STEM Activity More Meaningful?
You don’t need a complicated lesson plan.
After your child finishes an activity, ask three simple questions:
1. What happened?
Have your child describe what they observed.
2. Why do you think it happened?
Encourage them to explain their thinking.
3. What would you change?
This gets them thinking like an engineer.
For older kiddos, you can take it one step further by having them record their predictions, measurements, results, and redesign ideas.
Try These STEM Activities Next
If your kids enjoy building and experimenting, you don’t have to stop with popsicle sticks!
Try some of these other hands-on STEM activities from The Secret Life of Homeschoolers:
- Super Fun Paper Airplane STEM Challenges – Design, test, measure, and redesign paper airplanes.
- Lego Balloon Cars – Build a car powered by a balloon and experiment with how far it will travel.
- STEM Boat Challenge – Explore buoyancy by designing and testing boats.
- STEM Tower Challenge – Build a tower, test its strength, and figure out how to improve it.
- STEM Activities with Straws – Turn another simple household supply into fun STEM challenges.
- Quick STEM Activities for Kids – When you need something fun without a lot of preparation.
And if you’re looking for more hands-on STEM challenges, keep an eye out for my Family Learning Labs, where kids can explore a problem, build a solution, test their ideas, and learn along the way.
Keep a STEM Journal
One of the easiest ways to turn a quick STEM activity into meaningful learning is to have kids record what they did.
They can draw their design, write down their predictions, record measurements, explain what happened, and think about what they would change.
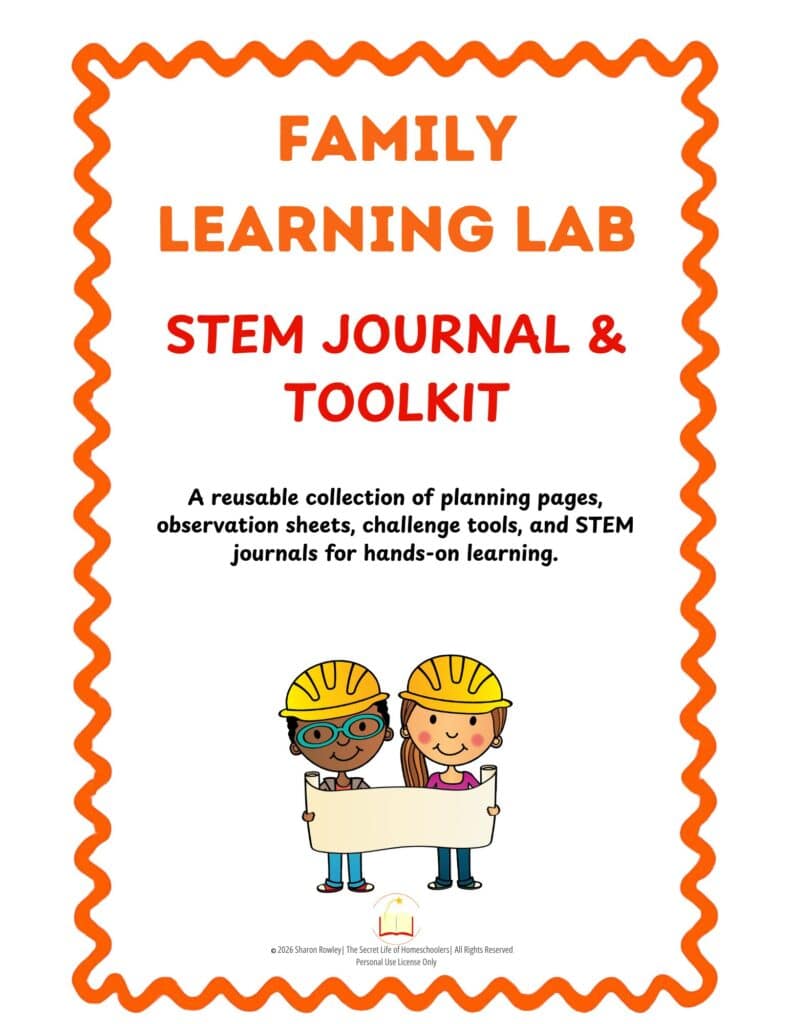
That’s why I created a simple STEM Journal that can be used with all kinds of STEM activities and challenges.
It gives kids a place to slow down and think about the process, not just whether their project worked.
Grab Those Popsicle Sticks and Start Building!
You don’t need expensive supplies or hours of preparation to give your kids a great STEM experience.
A handful of popsicle sticks can become a bridge, tower, catapult, marble run, gear system, or something completely different.
So grab some sticks, give your kids a challenge, and let them figure it out.
And remember: the goal isn’t always to build something that works perfectly the first time.
Sometimes the best STEM lesson starts with:
“Well…that didn’t work. What should we try next?”
Happy Homeschooling!