
This post contains affiliate links. By clicking on the link and making a purchase, I may receive a small compensation at no extra cost to you. I only promote products that we love and use in our homeschool. Please click here for full details on my Disclosure Policy.
As my kids get older, one is a teen and the other a preteen, I have noticed it can be harder to get them involved in holiday activities. When they were younger, they had fun making little crafts, singing songs, and making decorations. Now…I’d get an eye roll or a sarcastic, “Sure” if I mention these things. I really wanted to find a fun Christmas activity for teens, though. One that they may actually be excited to do. I think I found it.
What is this activity that may get the kids crawling out of their rooms to do?!
Homemade Christmas cards.
Not just any homemade cards, but watercolor cards.
Over the years, I’ve experimented with watercolors at home with video tutorials and a paint-and-sip night. I love watercolors. Okay, painting in general.
So, I decided to use watercolors for a pretty Christmas card design teens can make for family members or the elderly in nursing or veterans’ homes.
Let’s get started.
Christmas Card Activity for Teens
In this Christmas activity, teens will be able to experiment with some fun watercolor techniques. Through their experimentation, they will discover what look they like best in creating these simple watercolor Christmas cards.
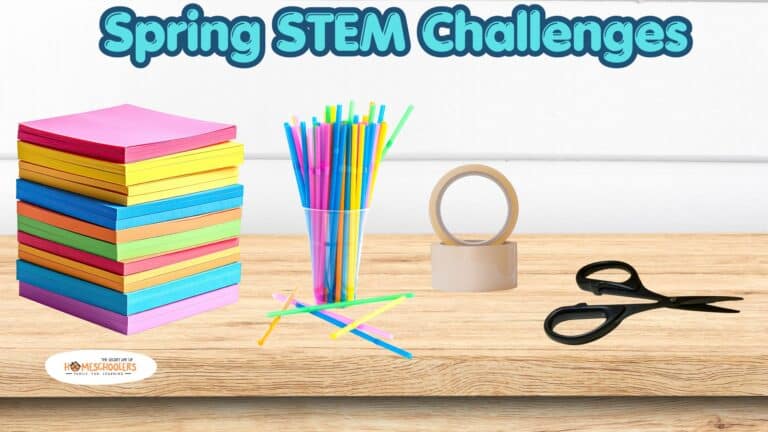
Materials
- Watercolor paper or mix media art paper
- Watercolors
- Paintbrush (round brushes work well)
- Masking tape
- Spray bottle
- Double-sided tape or scotch tape
- Christmas patterns/stencils
Before Starting Your Christmas Card
First, you will need a Christmas design for the middle of your card. You will be painting around this image, and it will leave an outline of the image in the middle of your card. So think about what you want for this Christmas activity.
You can use a stencil, template, or make your own design. This shape will be in the middle of your card, so keep this in mind as you search. You don’t want anything too big or too small.
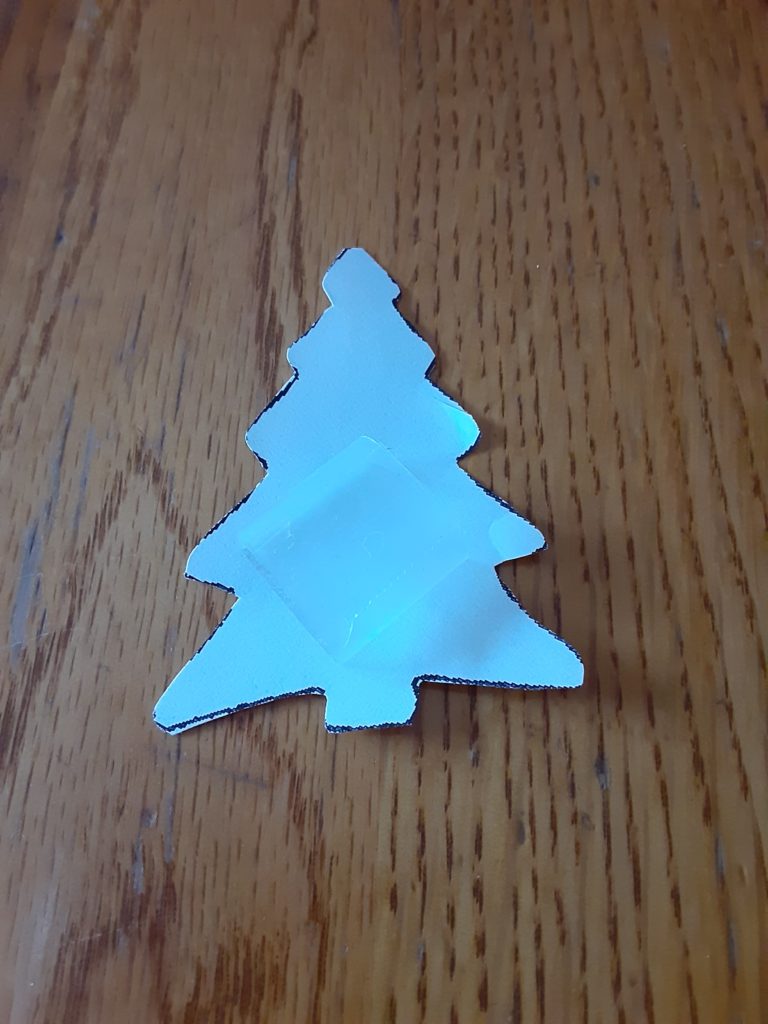
Being lazy, I searched online for “Christmas templates.” I found good templates HERE.
Step-by-Step Directions
- Cut your watercolor paper to the size you want. I had 9X12 watercolor paper. I cut it in half.
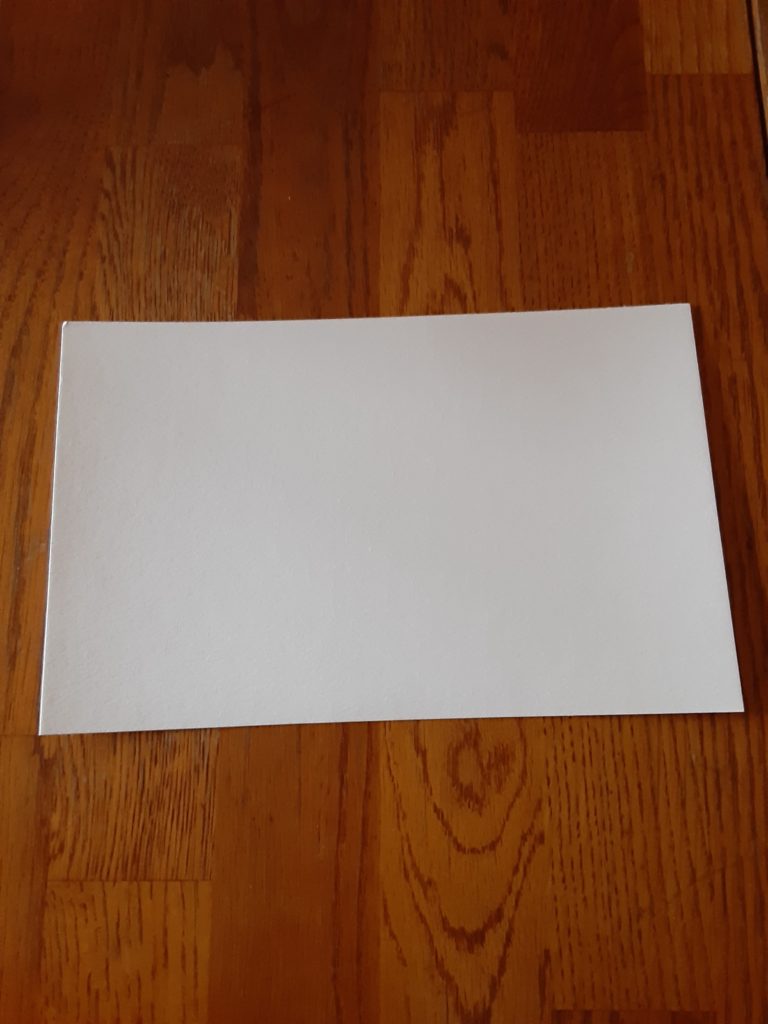
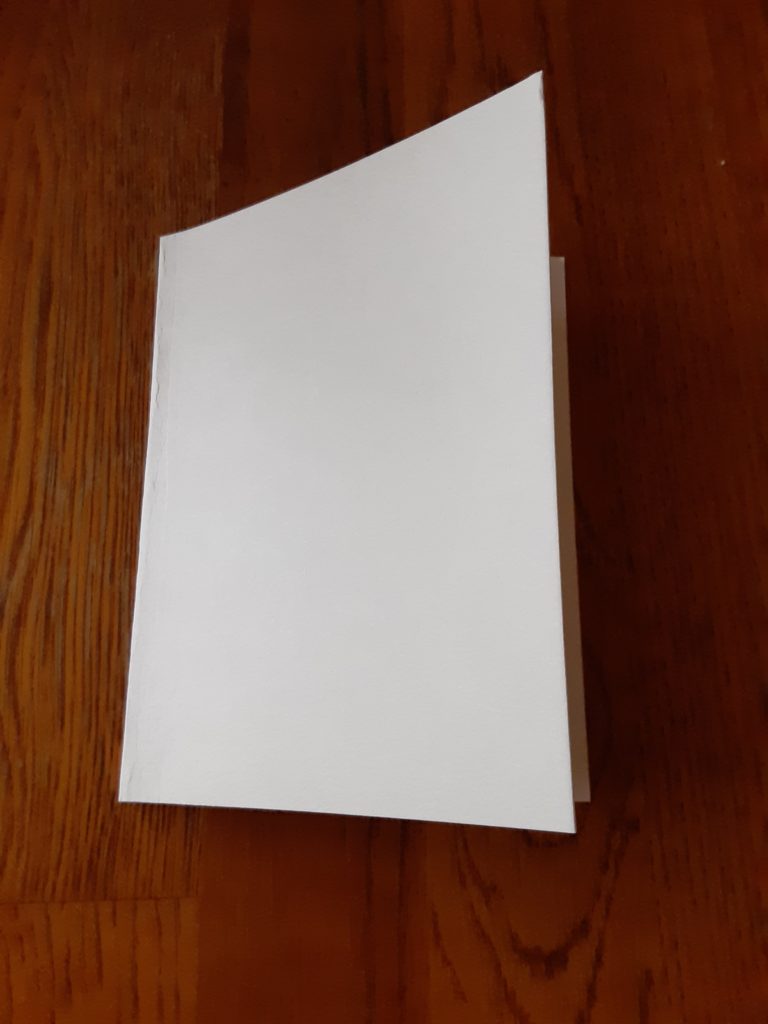
- Next, fold your paper in half. You can decide whether you want your card to open on the side or from the bottom.
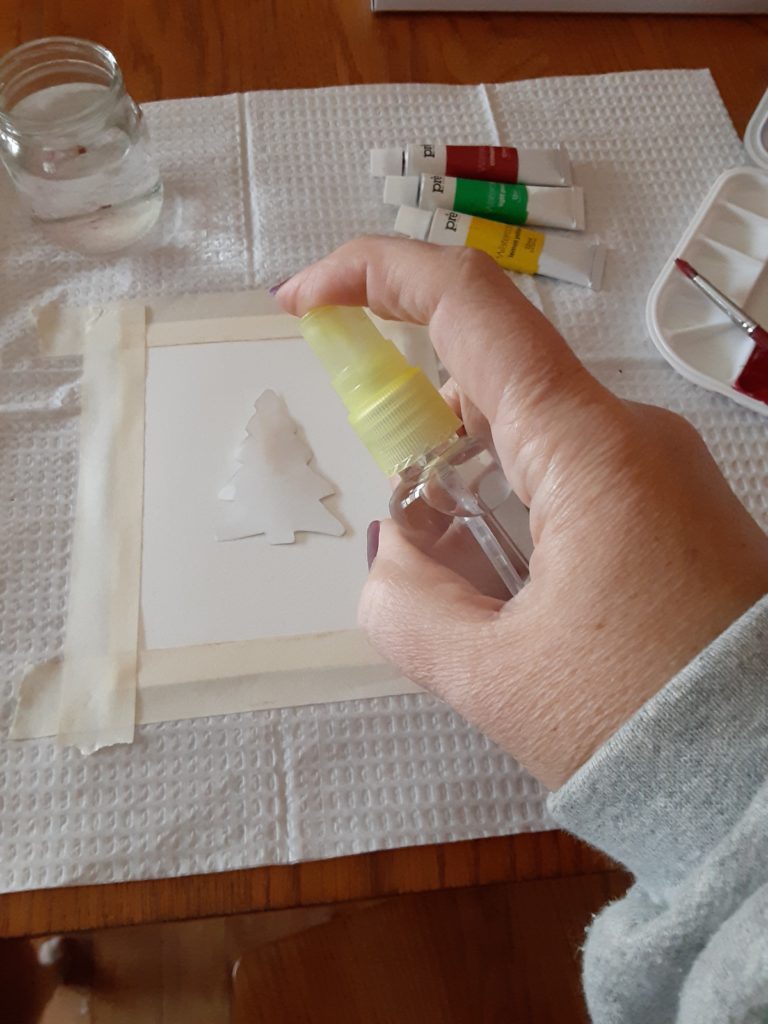
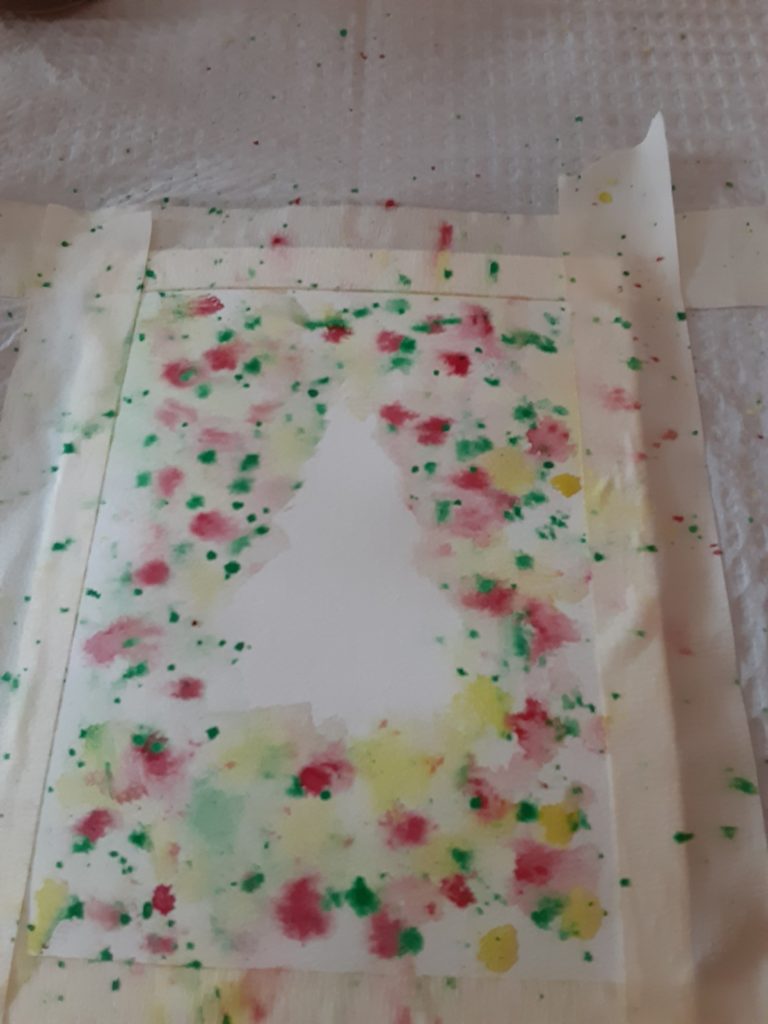
- Now, tape your card down with masking tape. It will hold your card down BUT also make a nice border on your finished card. (I placed my card on a liner so the paint wouldn’t get all over the table.)

- Using the template/stencil you chose, tape it down in the center of your card. I used scotch tape (double-sided tape would work nicely) and taped it down.

- After everything is taped down, you will take your little spray bottle and spray your paper. You want to make it a little damp so the watercolors will bleed into the paper and spread.
- Finally, you will begin adding your watercolors. There are a couple of ways you can do this.
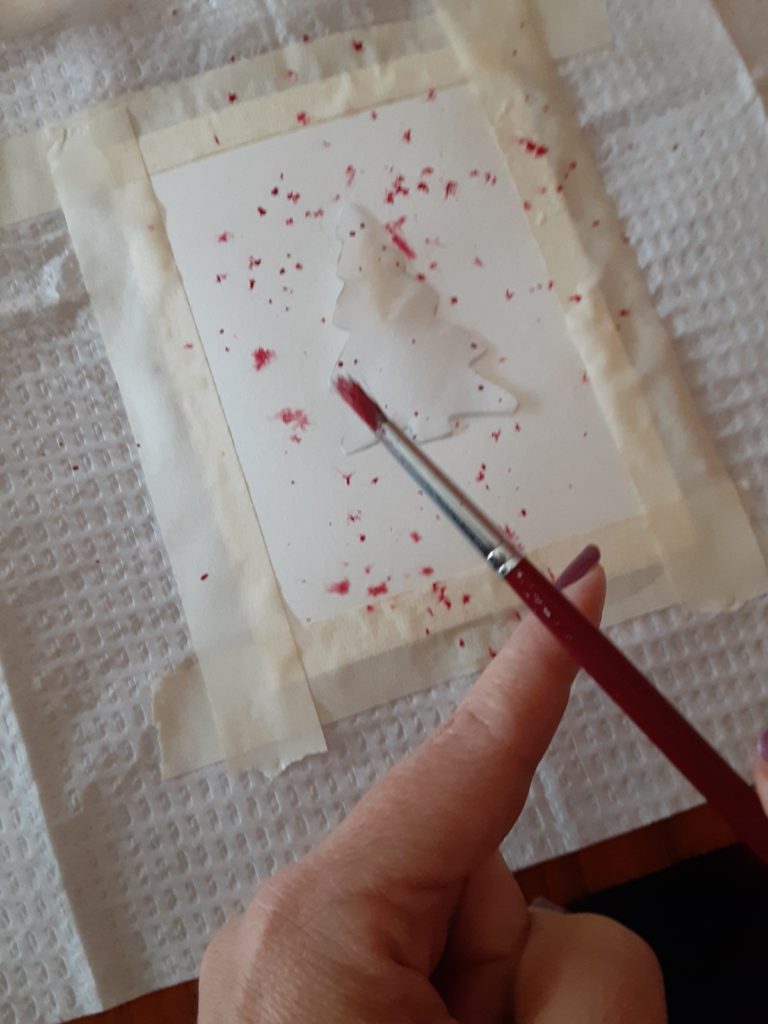
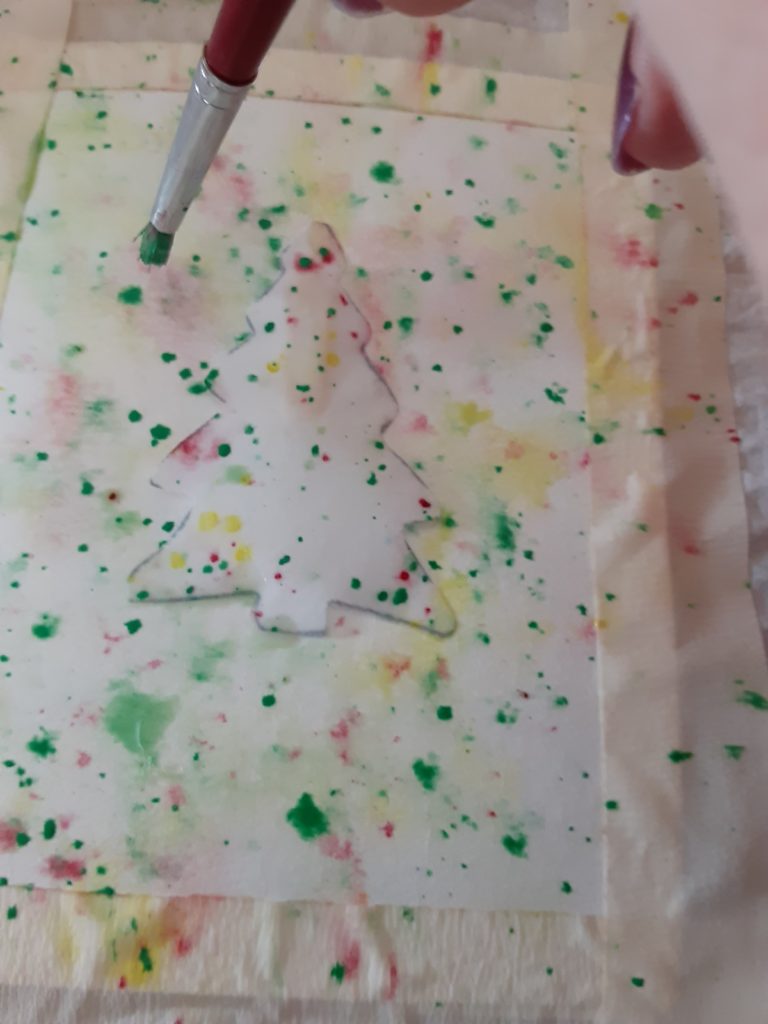
- Put your watercolors on your brush and tap the brush over your paper. When you do this, it will splatter onto your paper.
- However, you can also make dots on your paper and let the color bleed into your paper.
Regardless of what method you choose, you can then spray more water on your paper to blend the colors.
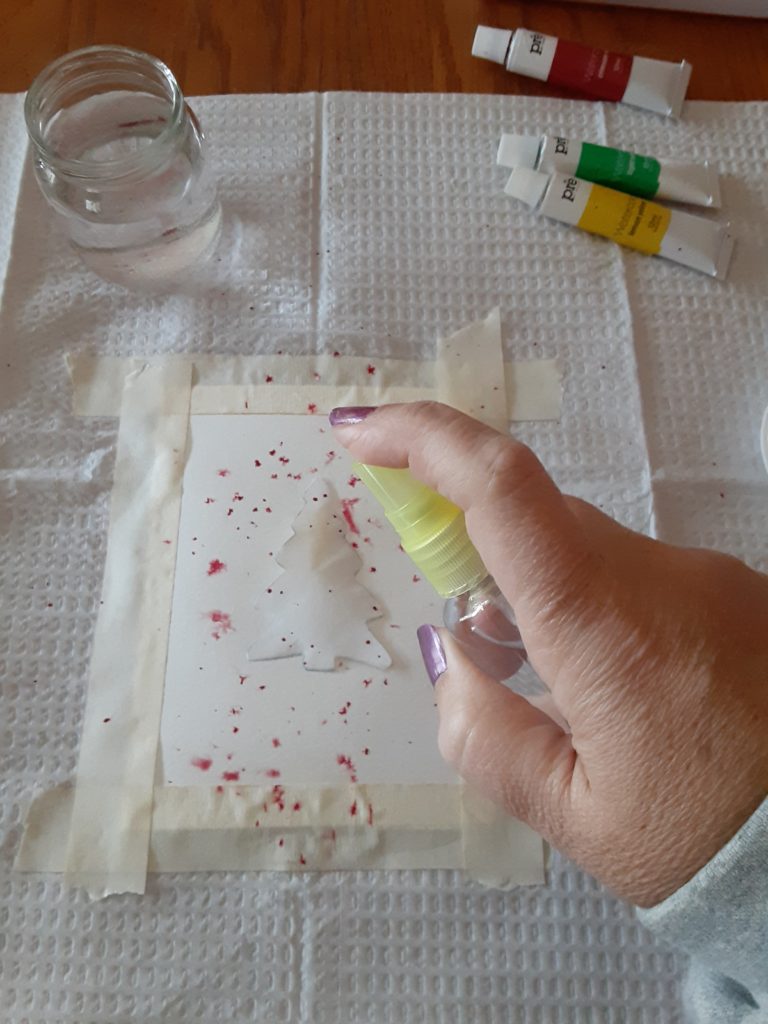
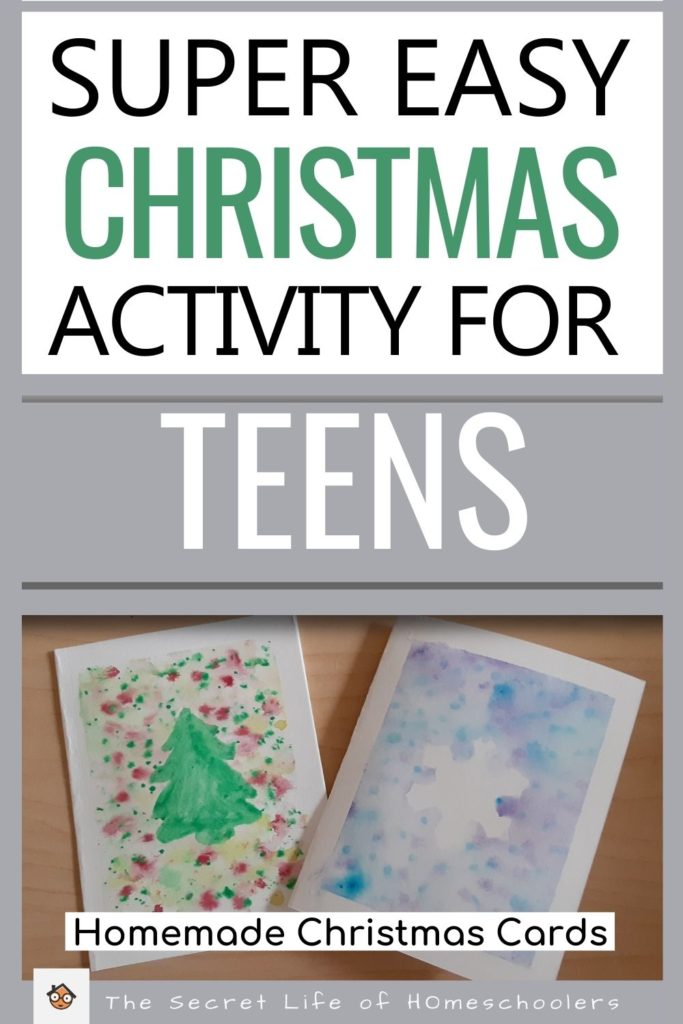
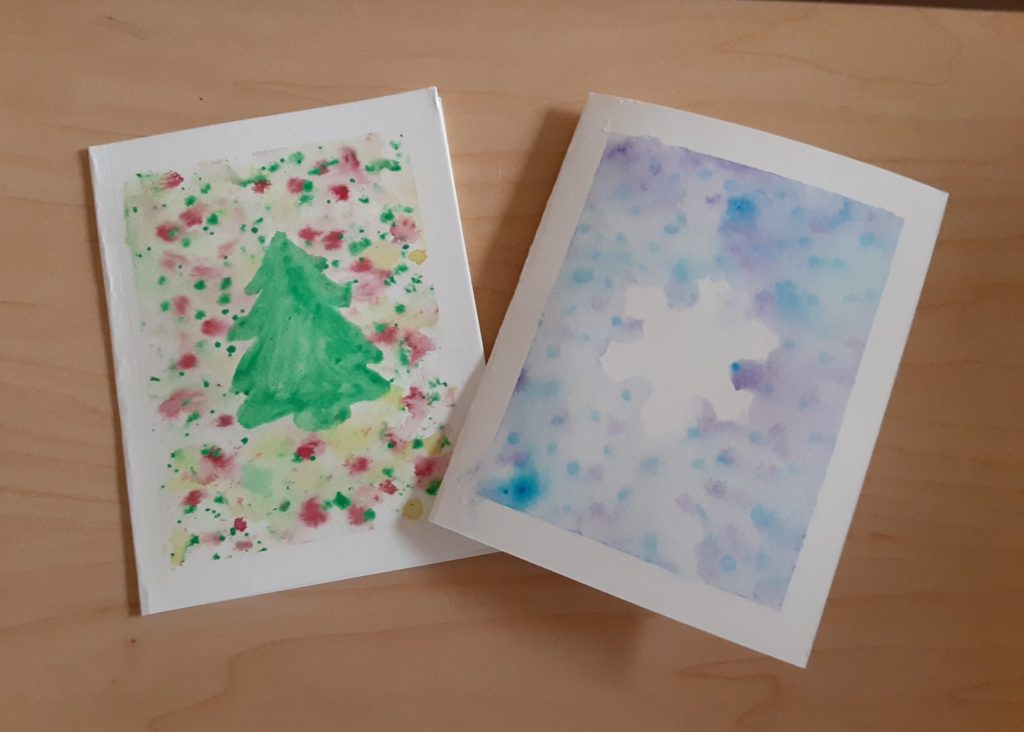
I chose to let my colors bleed a little but kept the colors fairly bright. My daughter, on the other hand, sprayed a lot more water on hers so the colors were more blended and softer in color.

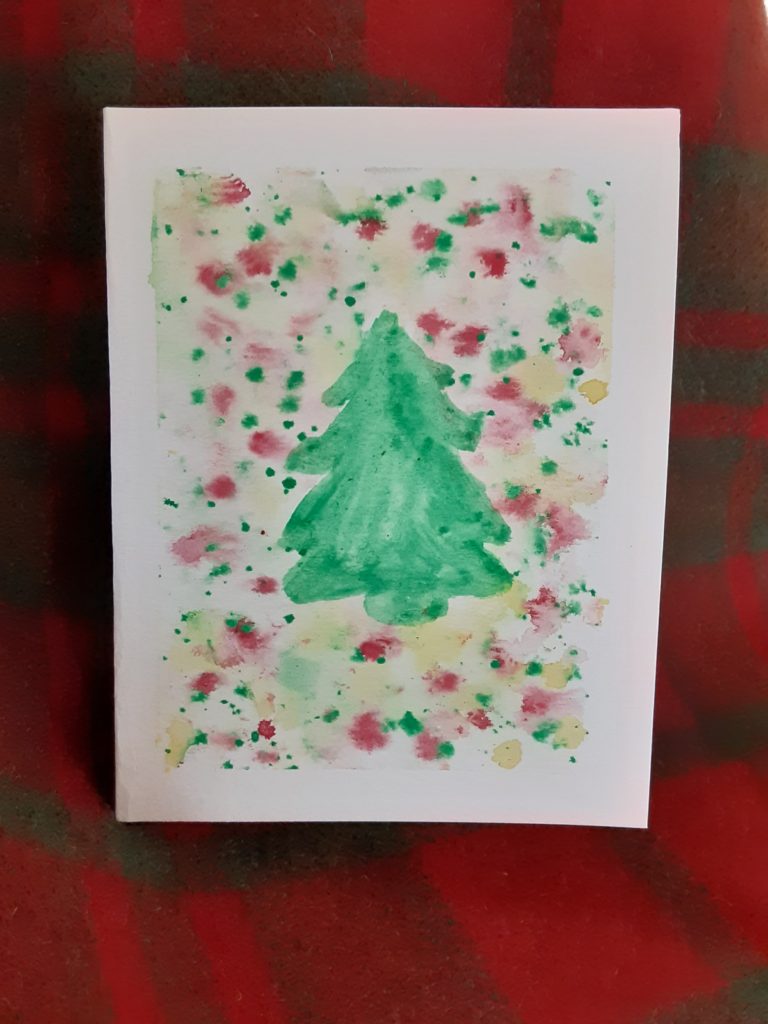
My card. Daughter’s card.
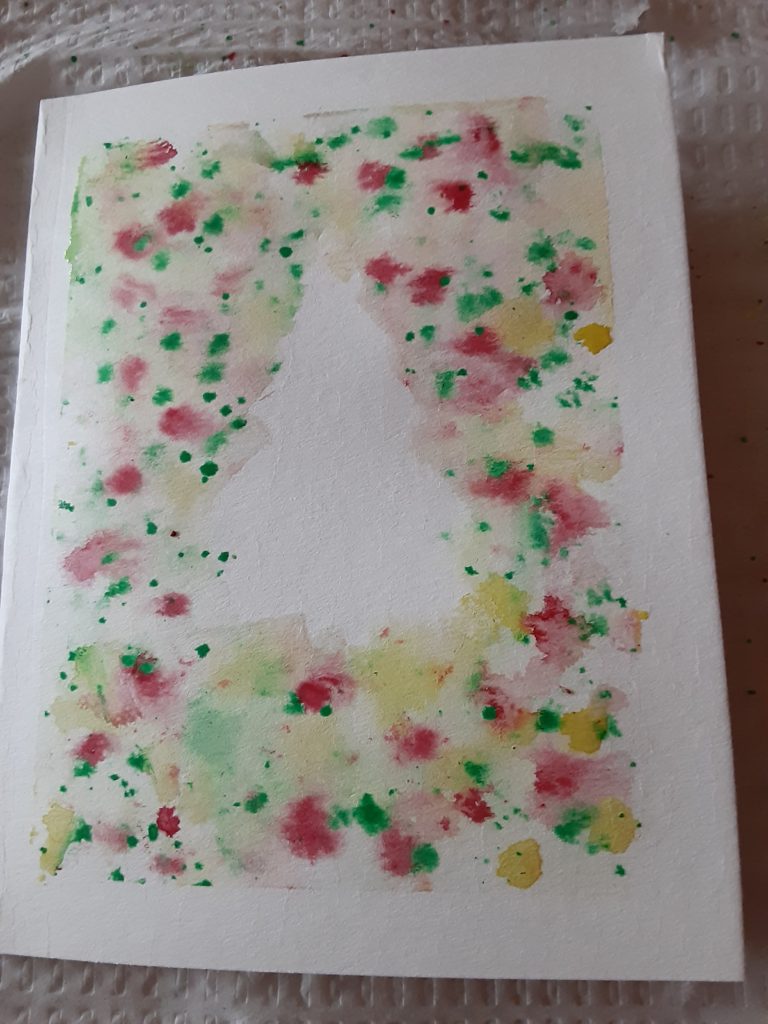
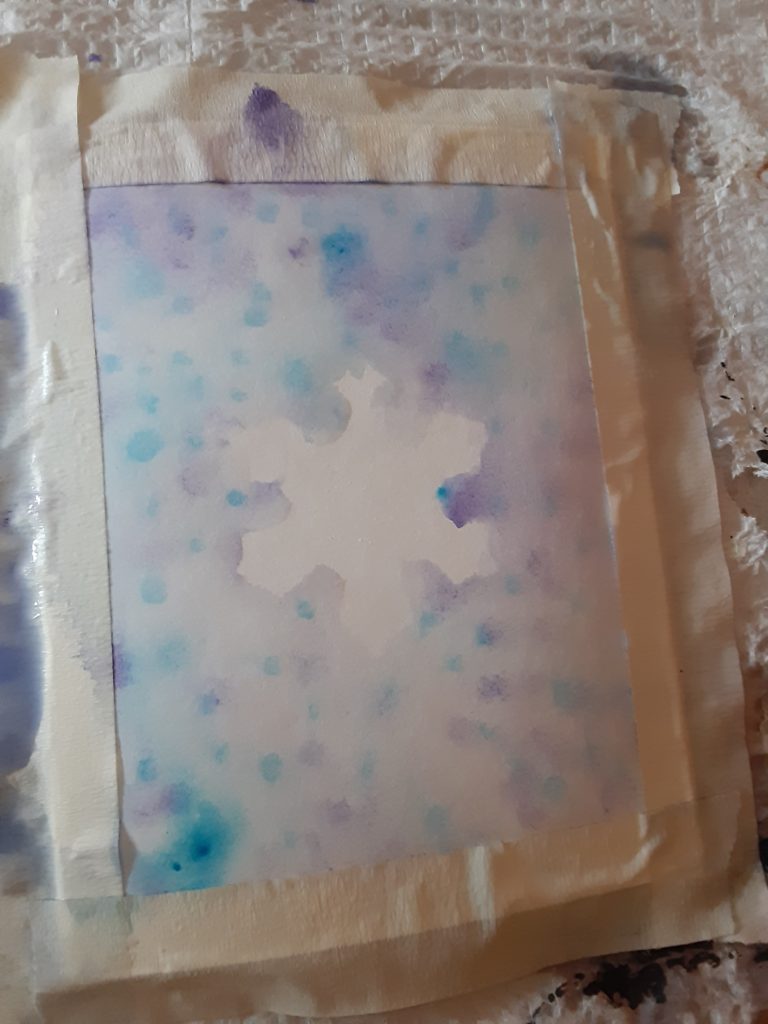
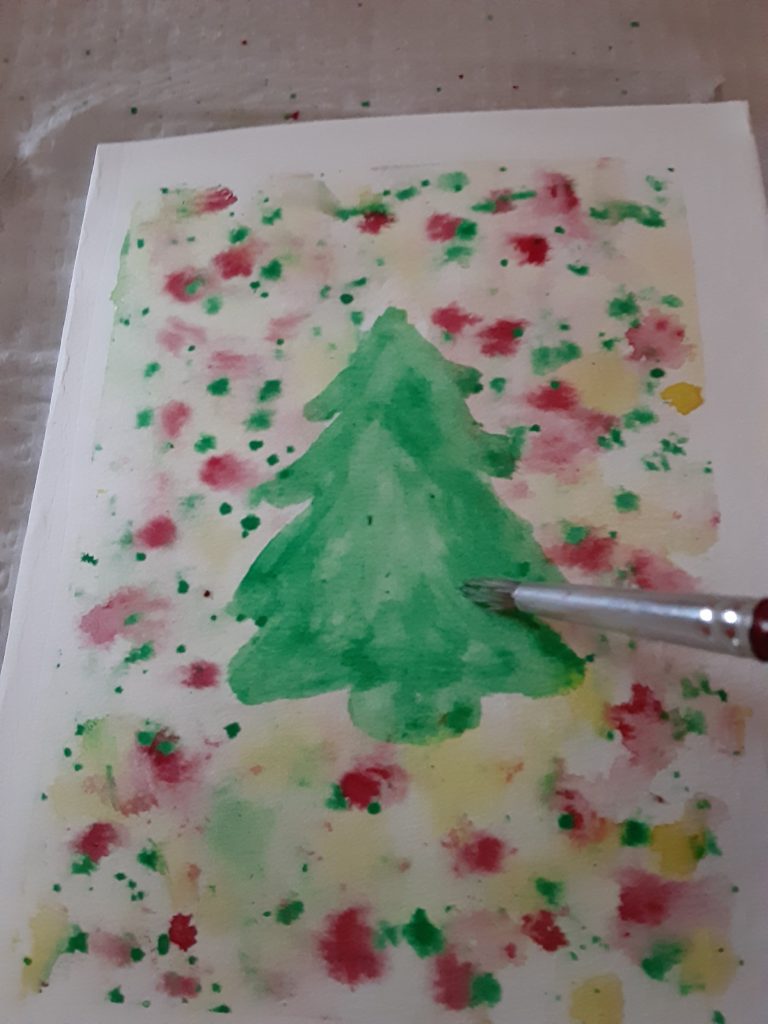
- Once your background is dry, carefully remove your stencil/template from the middle of your paper. (You can speed this along by drying your card with a hairdryer.)
- Now you can paint your image in the middle or leave it white. I painted mine while my daughter left hers white. You can also add glitter, sequins, or decorate any other way you may want to.
- When you are finished, slowly remove the border tape. Now your card is done!
Tips
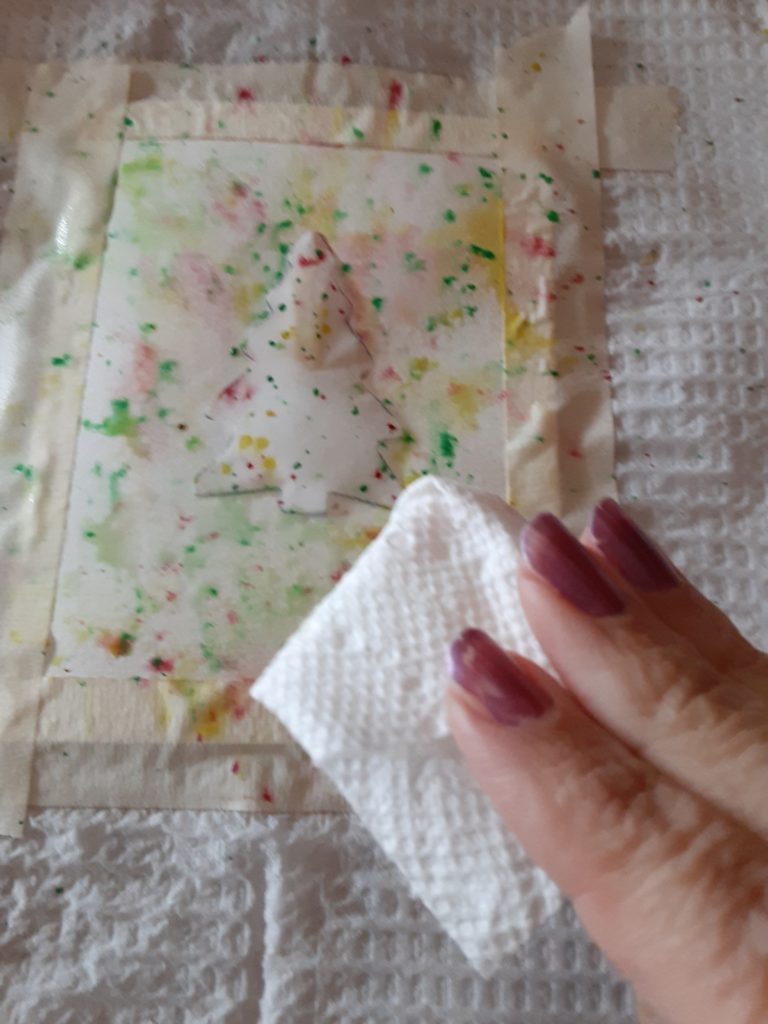
- If your paper becomes too wet, you can blot it with a paper towel. Be aware that any pattern on your paper towel may show on your paper. My paper towel wasn’t smooth, and I pressed too hard, causing the pattern to be visible on my watercolors.
- You can keep spraying water on your paper to help blend the colors more.
- Just a reminder that you can dry your card faster with a hairdryer. It allows you to see what it will look like when dry, and then you can make adjustments to your card.
- As mentioned in the materials list, mixed media paper may also work if you do not have watercolor paper. Since we are wetting down the paper, construction paper DOES NOT work. I did try it, and it was a disaster.
What I Love About This Christmas Activity for Teens
So, what I love about this Christmas activity is teens can make elegant looking cards. Using a simple design and some pretty watercolors, teens can make beautiful homemade cards. Teens will be proud of these simple cards.
Now round up some watercolors and paper and start having fun with this Christmas activity for teens. It will be a fun activity that will bring a smile to someone’s face to receive these magnificent cards.
If you are looking for a fun Christmas activity for the younger kids in your home, try this pretty Christmas tree activity with them!
Happy Homeschooling!
Love watercolors??? Check out Beyond the Stick Figure‘s online watercolor courses. You’ll learn more techniques at your own pace, right at home.