
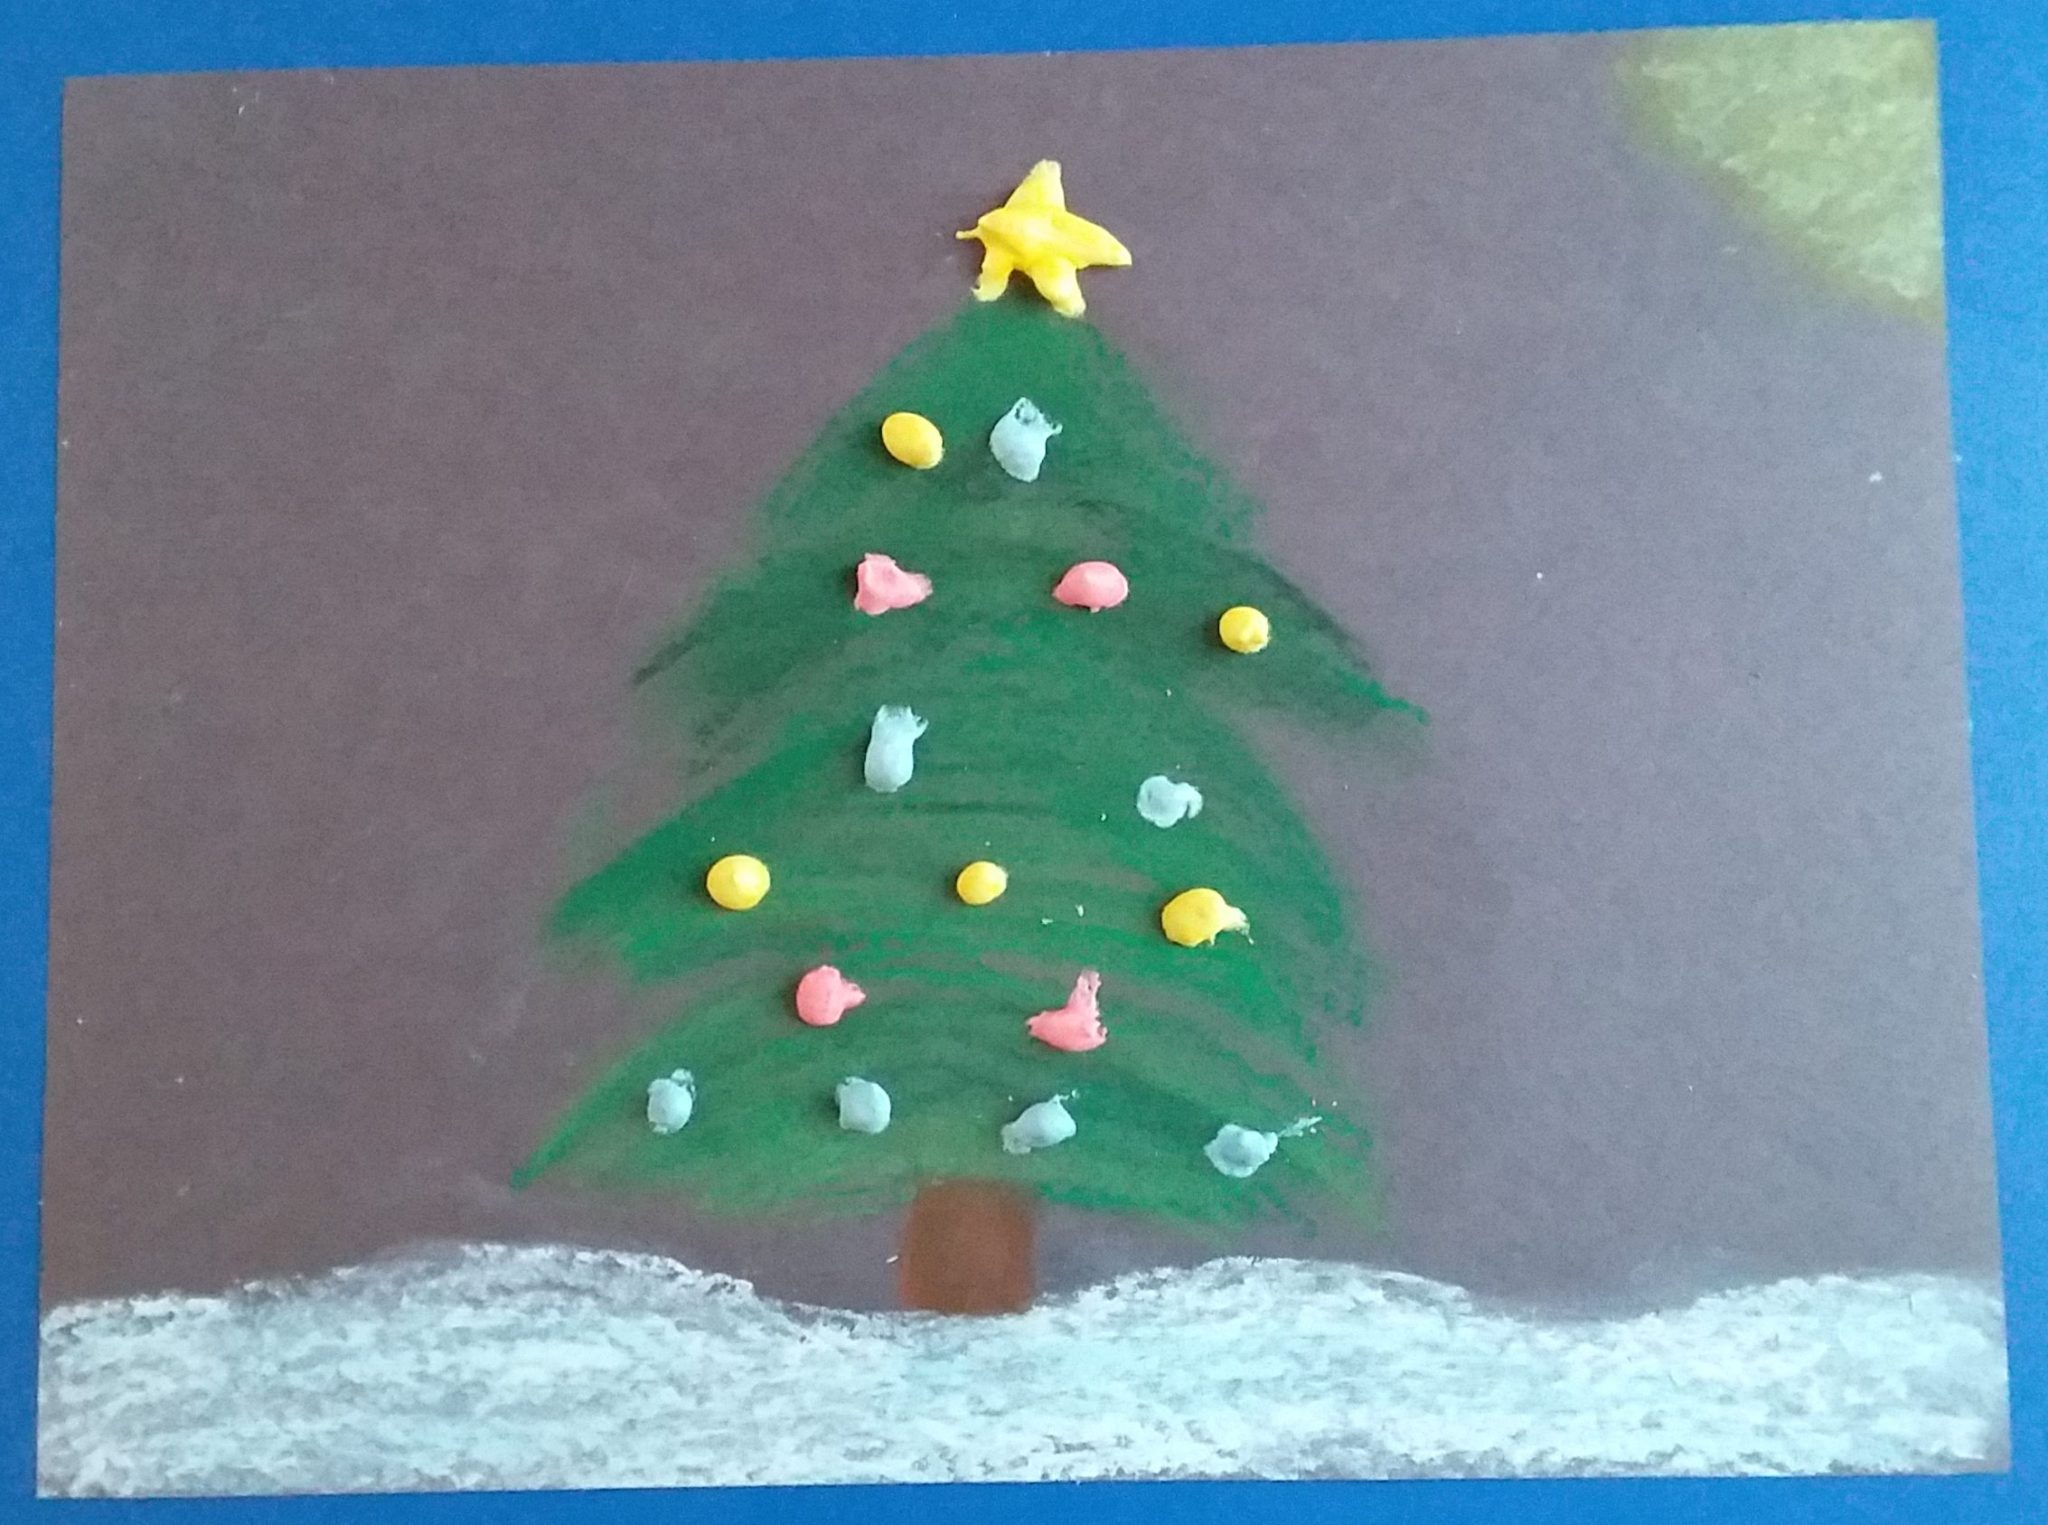
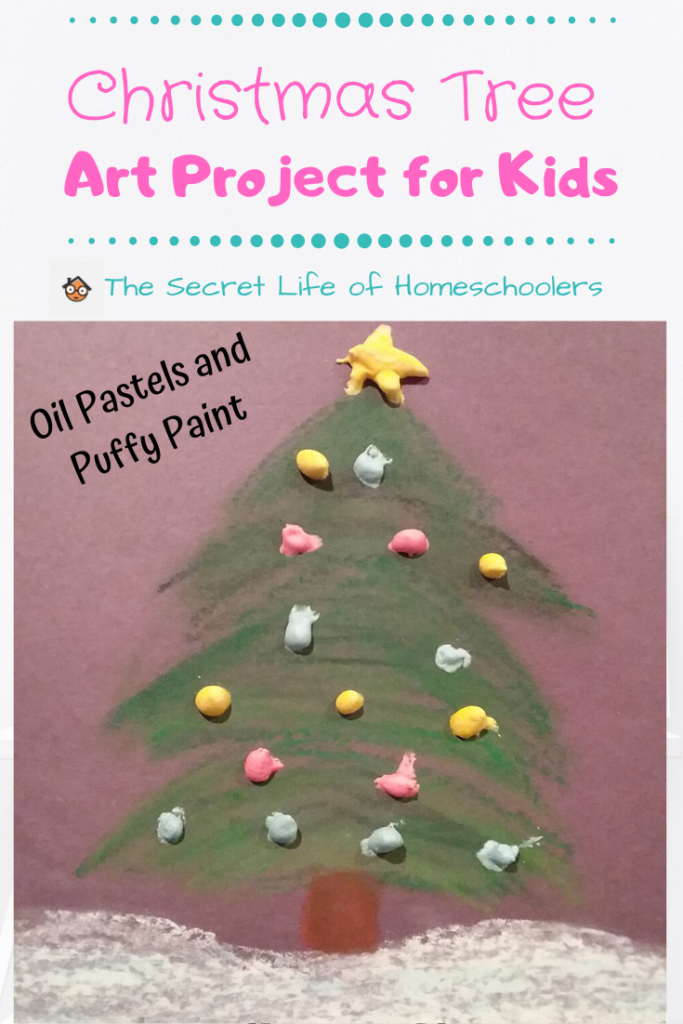
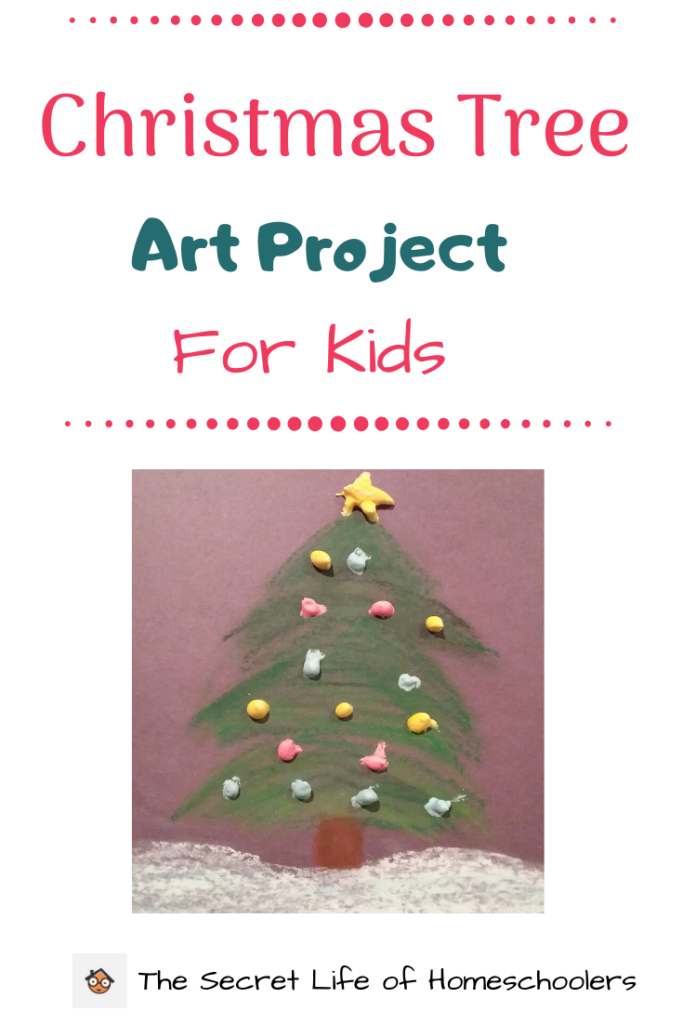
With the holidays fast approaching, we are in full swing when it comes to Christmas art projects. I wanted to make something to decorate our walls but include something we haven’t done before. I decided we’d make some beautiful nighttime Christmas trees and include puffy paint.
Christmas Trees
What You Need for the Picture:
- Black construction paper
- Oil pastels
I chose oil pastels for this art project because you can blend the colors and smooth them out for a soft look. Plus, we really love oil pastels. It was always my favorite thing to use in art when I was in elementary school. My kids enjoy them, too.
To get started we first made the snow. We colored and smudged the white pastels to make it look like a blanket of snow. On top of the white, we added a few blue highlights to give the snow more dimension.
Next, we made the tree trunks. Here you can make the whole trunk for the branches to come off of or only make the base. My daughter and I just made a base and my son did the whole tree.
Once the trunk was all set, we began using different green colors blended together to make the evergreen branches. The kids blended the colors by smudging them with their fingers.
The last thing we did with the oil pastels was to add a moon up in the sky. You can use white, yellow, or a mix of both.
Making the Puffy Paint
Our final step was to add ornaments to our trees. It was time for the puffy paint. I thought this would be a fun way to add some color to our pictures. I have seen puffy paint recipes. I decided to go with the one I found on Meaningful Mama. She has four different recipes she tested herself.
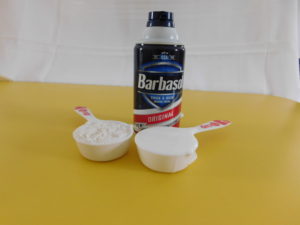
What You Need to Make the Paint:
- 3/4 cup of shaving cream
- 1/4 cup white glue
- 1/4 cup all-purpose flour
Add all the ingredients in a bowl and stir. It is very easy to mix. When it was done, it had a nice, fluffy consistency to it.
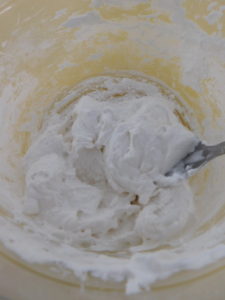
Now you have a couple of options. You can leave the puffy paint white and decorate with it. The trees will have a snow-covered look. Or you could add food coloring to the paint to make different colors. Then you can make ornaments on the tree.
We decided to color our paint.
To color the puffy paint, you will need food coloring or a little bit of tempera paint. I would recommend putting the puffy paint in separate bowls and adding the coloring. It will mix better. We added the color to a sandwich bag with the paint and mixed it. It mixed, but not as easy as it would in a bowl.
As I mentioned, we were using a plastic sandwich bag for decorating tubes. I placed some of the paint in a bag and cut a small tip off the corner. It worked well. You could also use squirt bottles like the cheap ones stores sell for ketchup and mustard.
Decorating the Christmas Trees
Once we had the paint divided up into sandwich bags, we decorated our Christmas trees. The kids had a lot of fun using the puffy paints to make ornaments. It took them a few tries to get used to using the bags, but they got the hang of it quickly.
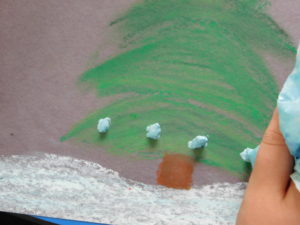
I love how pretty the trees came out. I like having the puffy paint decorations. It added a nice touch to the trees and dried faster than I thought it would. It was a wonderful Christmas art project for the kids. Now we have some beautiful pictures to hang in the house.

What are some fun Christmas projects you do with your kids? Comment below.
Happy Homeschooling!


You are such a talented and wonderful teacher, Mom and wife!
Thank you!