
When you have kids, you go through A LOT of art supplies. It gets expensive so I am always on the lookout for ways to do things more cheaply. I’m sure all moms can relate to that. Whether you have a tight budget, only one person works, or you have a large family, we like to find ways to save money.
I have made some of our own art supplies in the past to try and save money. I have made homemade clay (you can read about it HERE), made puffy paint (read more HERE), and made homemade watercolors.
I’ve had some success in making different art supplies. I made liquid watercolors with old markers. It was fabulous! The colors were vibrant and best of all I used up dried out markers.
However, when it comes to watercolors, I kind of like the traditional hard cake palettes. I knew there was a way to make it at home so I decided to give it a try.
I found a few different methods and decided to adapt them to fit my needs. I wanted to experiment a bit, as I did with the homemade clay recipes, to see what worked best.
Making Homemade Watercolors
Ingredients:
- Baking soda
- Vinegar
- Corn Syrup
- Corn starch
- Food coloring
Supplies:
- Bowl
- Whisk
- Ice cube trays or muffin tin
- Small spoon or craft stick for stirring in color
Directions:
- Add 1/2 cup baking soda in a medium-sized bowl.
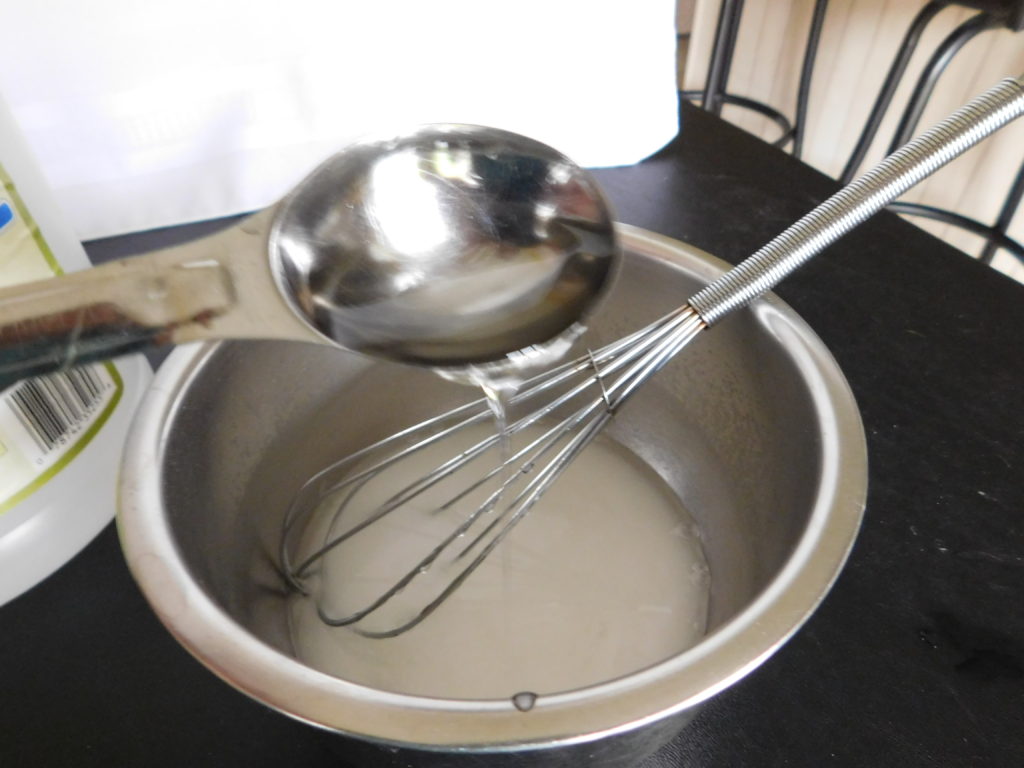
- Slowly add 6 Tbs. of vinegar to the baking soda. Add one tablespoon at a time making sure to whisk it as you add in the vinegar.
- Next, add 1 Tbs. of corn syrup.
- Add in 1/2 cup corn starch. Whisk this in your mixture.
- Pour the mixture into your molds. Do NOT fill them all the way. Fill only 1/2 to 1/3 of the way. I used an ice cube tray.
- Add your food coloring to each individual ice cube pocket.
- Let the paints dry for 24+ hours. (It all depends on the thickness of your watercolors.)
For those who like having step-by-step pictures, here are the directions with images.
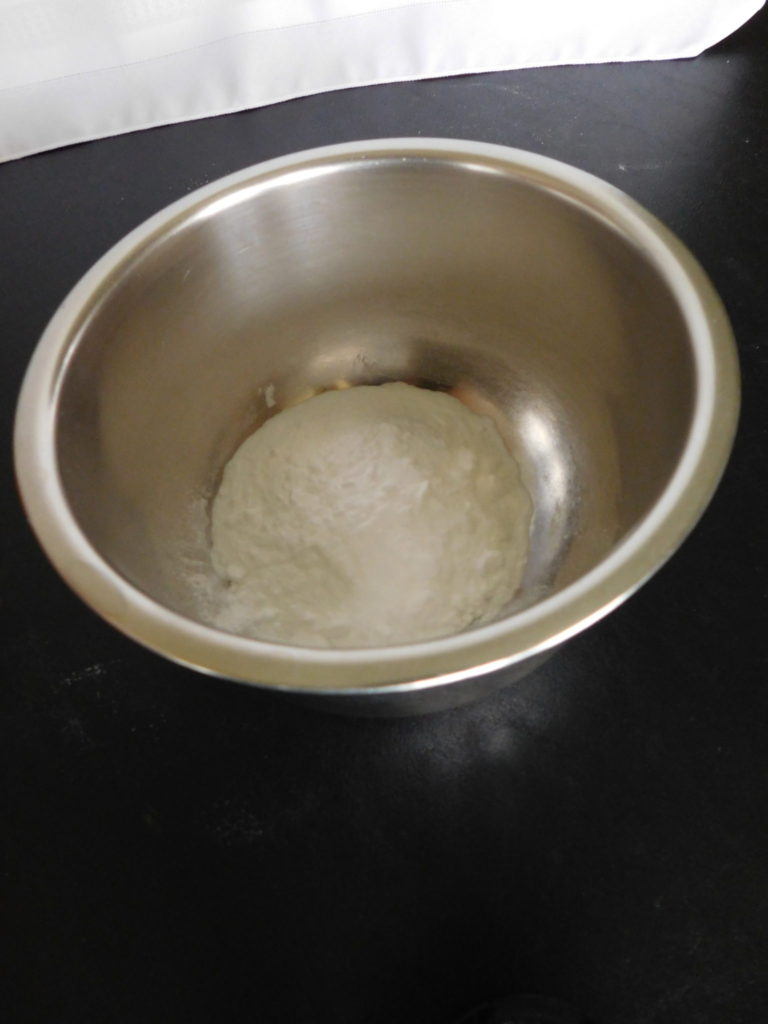
Add 1/2 cup baking soda in a medium-sized bowl.
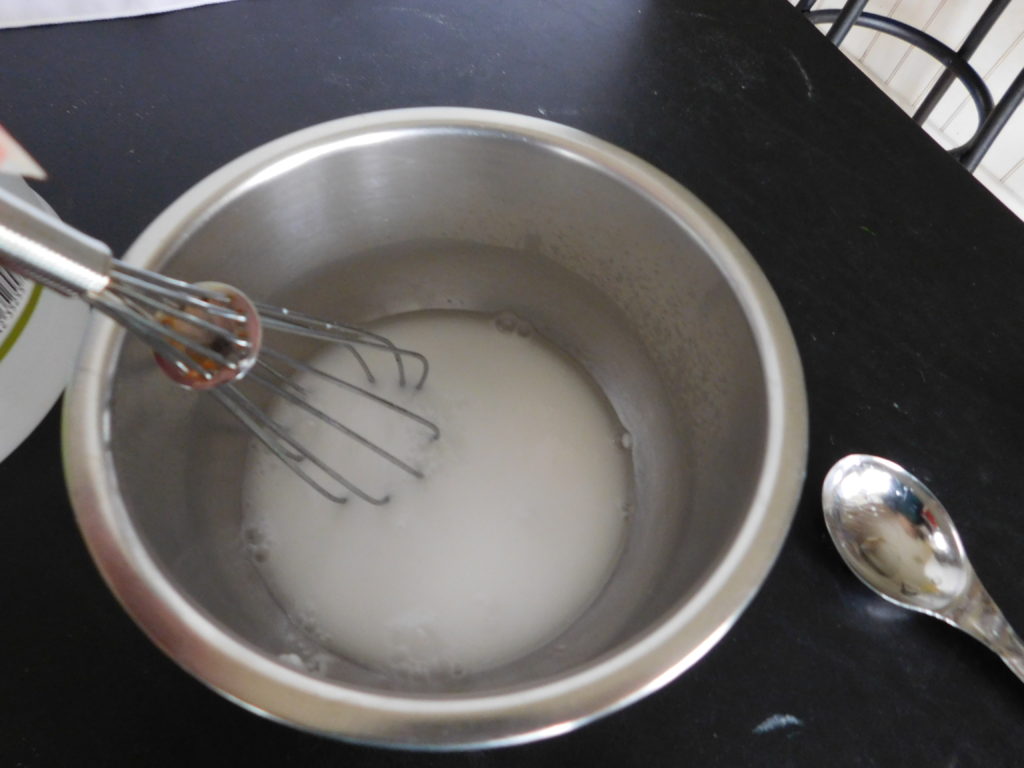
Add 6 Tbs of vinegar. Add one tablespoon at a time because it will fizz.
Mix in 1 Tbs of corn syrup.
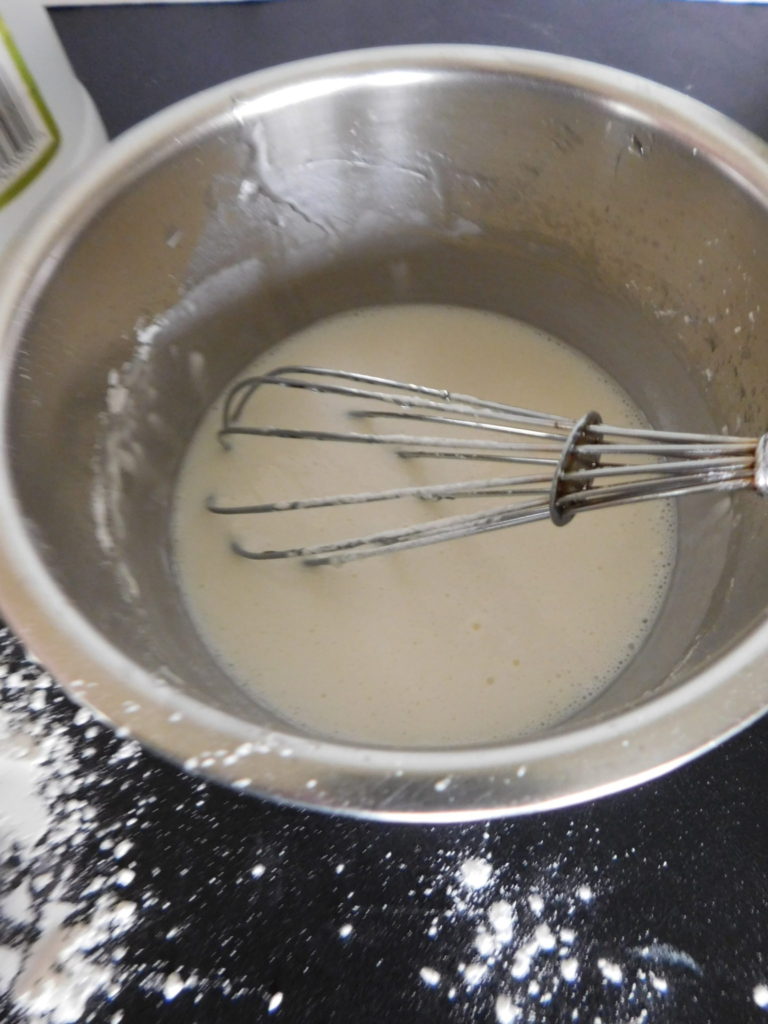
Stir in 1/2 cup of corn starch.
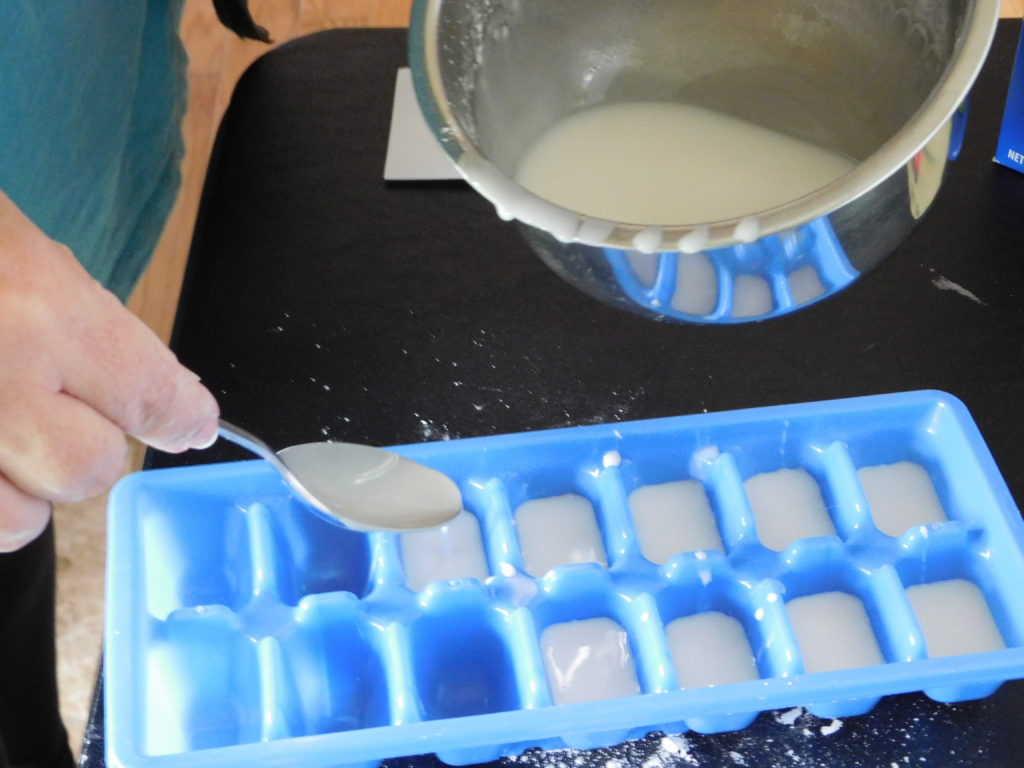
Spoon the mixture into the ice cube tray. Only fill about 1/2 way.
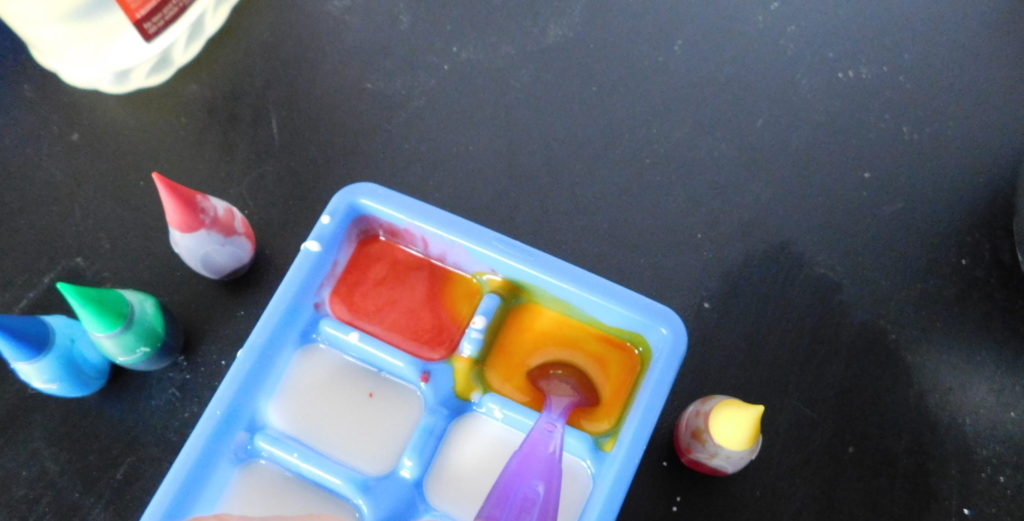
Add approximately 3-4 drops of food coloring to each section.
Allow homemade watercolors to dry 24+ hours.
Experimenting with Coloring the Watercolors
I decided to experiment a little with coloring the watercolors. I used three different ways to add color.
- Food Coloring
- Liquid Tempera Paint
- Powder Tempera Paint
Food Coloring
The food coloring mixed very well with the watercolor solution. I used three or four drops of food coloring. It dissolved well, too.
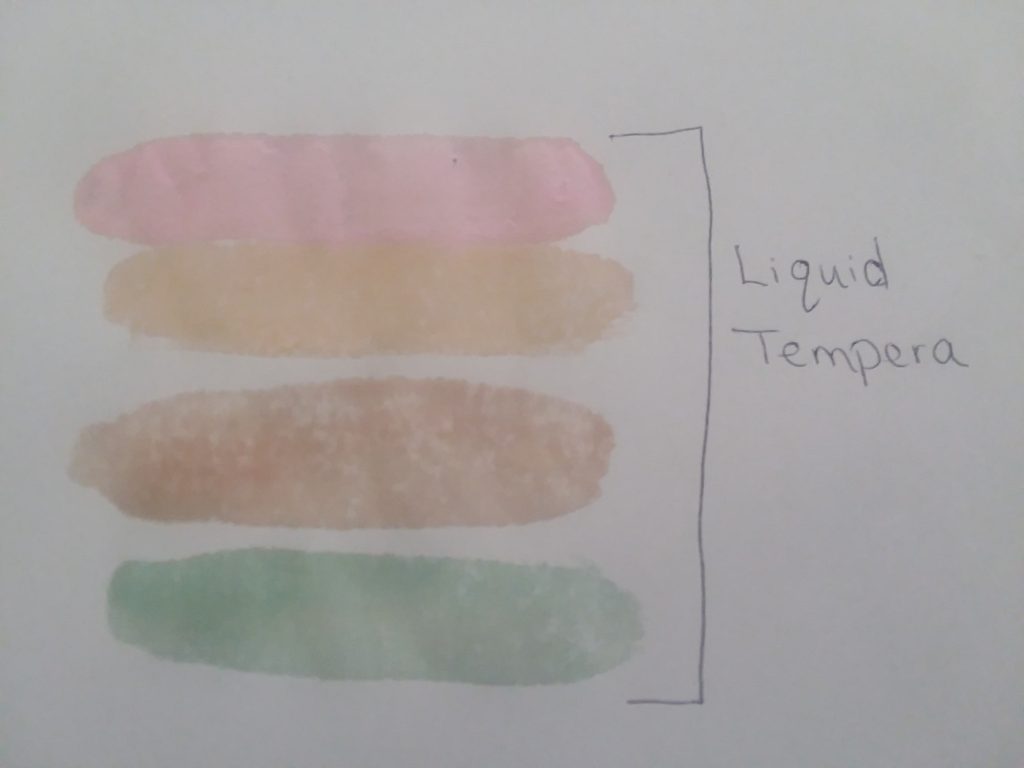
Liquid Tempera Paint
The tempera paint mixed ok. It didn’t blend in as easily as the food coloring. It took a little more mixing and some experimenting on how much to add to get the correct color.
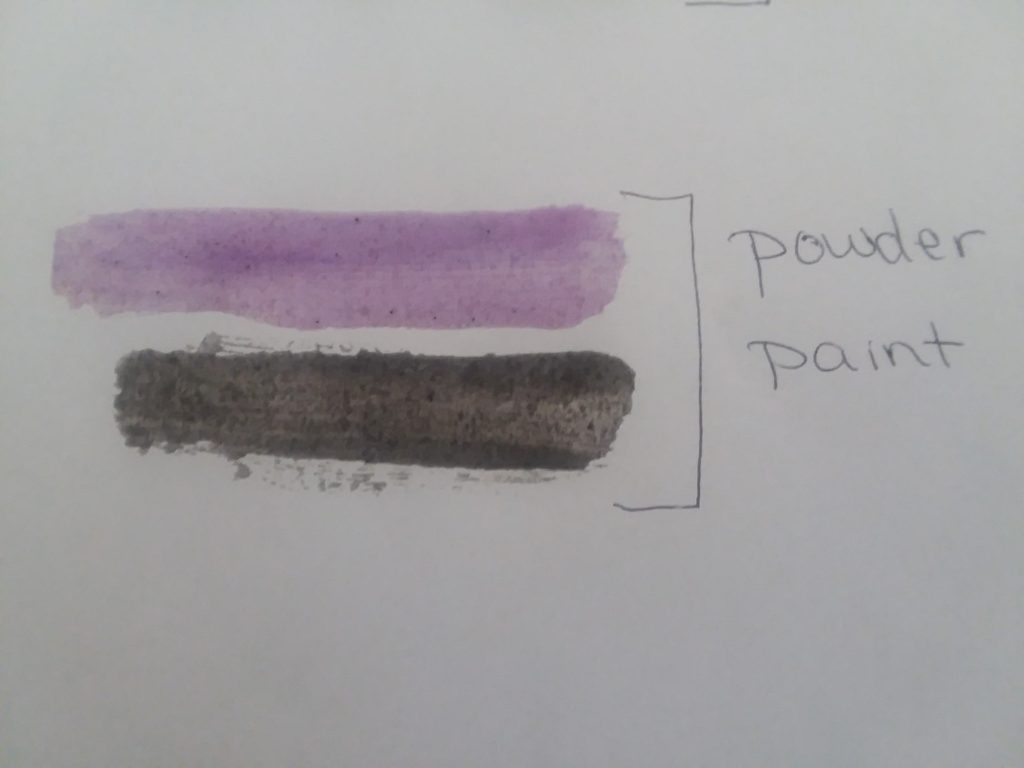
Powder Tempera Paints
The powder paints mixed in well. It took 1/2 to 1 tsp of powder to color the solution.
The Best Method to Color Watercolors
I would say the food coloring is the best method to color your homemade colors. It mixes well and produces stronger, smoother looking colors.
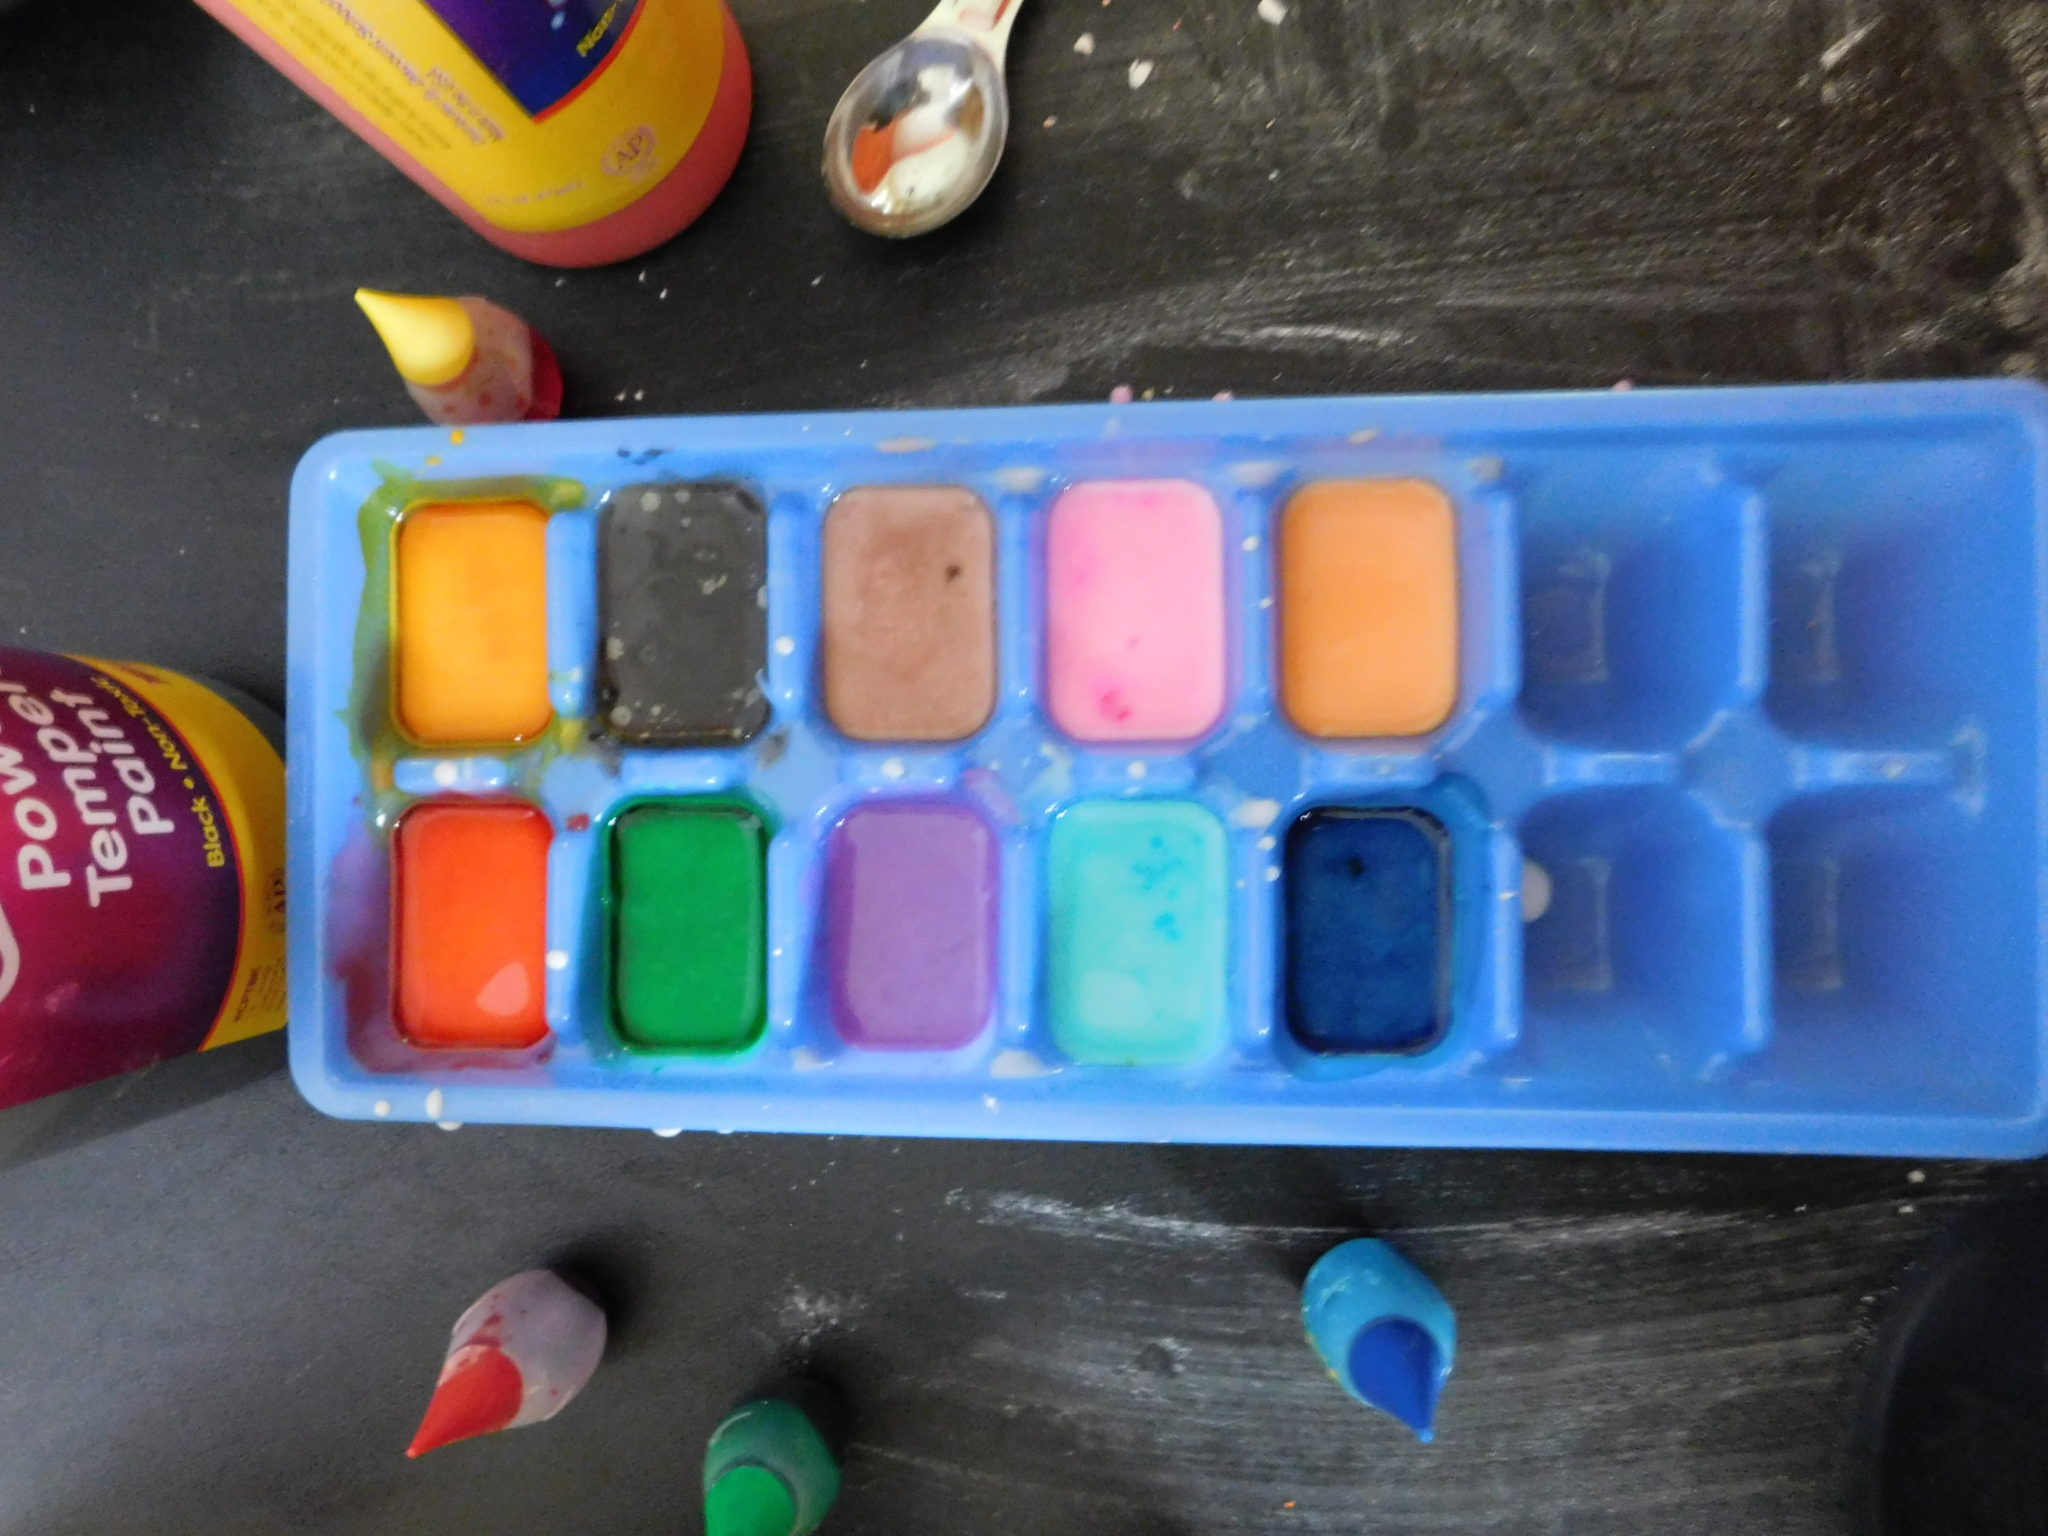
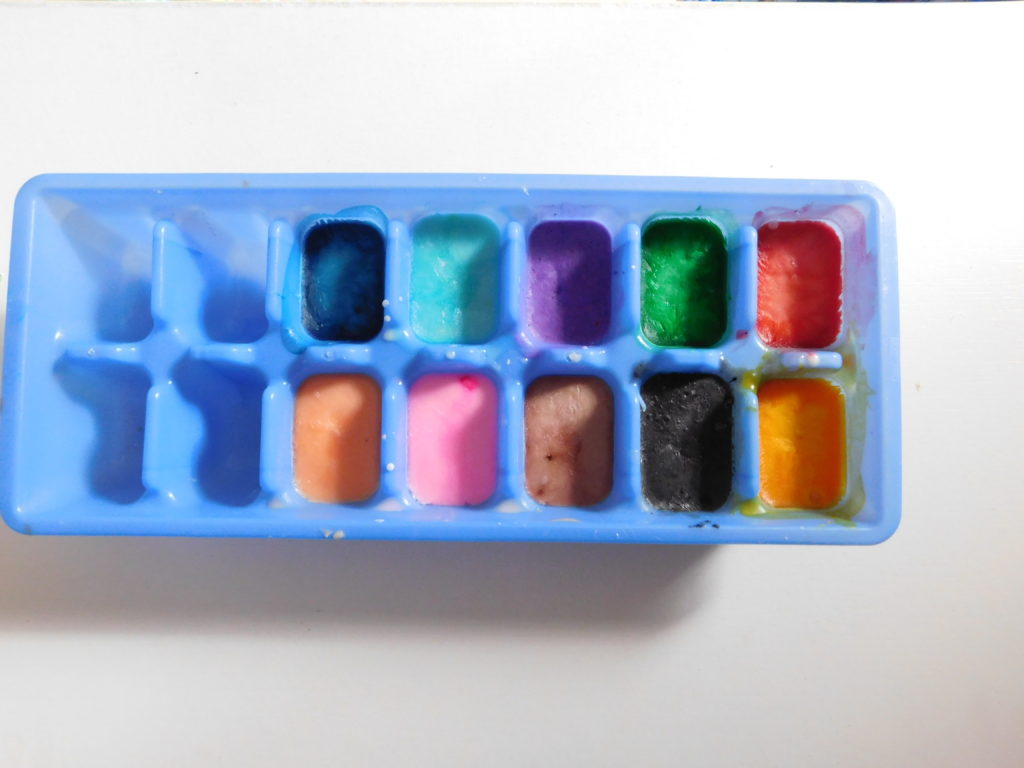
Here is an image of the colors.

As you can see, the red, yellow, green, and blue have nice bold colors. These four watercolors were made with food coloring.
The magenta, orange, brown, and turquoise were made with liquid tempera paints. The colors are lighter and not as bold.
The purple and black colors were made with the powder paint. The colors aren’t too bad but they look a little gritty. They don’t cover the paper as well.
Overall, the food coloring seemed to produce the best colors for homemade watercolors.
Confession Time
I have a confession. I made a few mistakes in making the watercolors. I’m almost embarrassed to admit it.
First, while researching recipes, I saw you could speed up the drying process by putting the tray in the freezer. So I popped them in the freezer. Well, you WILL be able to use them quicker. HOWEVER, they will thaw out, and you still have to let them dry.
Duh!
It dawned on me a couple of hours into freezing them that I’d be back to square one in the end.
Second of all, as I was drying out the watercolors, it SEEMED the cornstarch and baking soda was sinking to the bottom and the color was floating on top.
Sooo…I decided to mix the solution again (and again and again). Here is where I did a major head slap!
The watercolors were firming up NOT separating. So DON’T re-mix it while it is drying.
Lastly, I filled the ice cube tray too much. Only fill each cube about halfway. It will dry out quicker and be easier to mix in coloring.
I shake my head at all this now.
I am an imperfect mom making mistakes in our homeschool journey. Hopefully, you can learn from mine.
Overall, I would make homemade watercolors again. It isn’t very hard, and I had all the ingredients on hand. The watercolors work well. I recommend you give it a try. You’d be surprised how well they work.

Fellow homeschool mama here…. Thank you for posting this! This was exactly the experiment I was going to try to conduct and now don’t have to. Appreciate you sharing this info online. Liquid watercolor here we come!
I’m so glad you found this helpful. Good luck!
How do you store these and how long do they last ?
Hi Cheryl! I know I answered this on Pinterest for you, but I wanted to share the answer in case others are wondering the same thing. I didn’t do anything special to store the watercolors I made in the ice cube trays. I didn’t cover them or anything. Maybe it would help.I still have them sitting in our cupboard. They did not mold, for me, and they are still working. i took a wet paintbrush and rubbed in a bunch of water to “activate” them, and I could paint with them. We made them near the end of 2019! Now, they aren’t professional quality, but fun for kids to use. I’m honestly surprised they held up over 6 years. I’ll need to add an updated picture to this post. Thanks for reaching out!