I can remember as a kid getting excited when the teacher would let us use the chalkboard for indoor recess. Oh, the excitement! It seemed like such a big deal. Honestly, it was a big deal. ( I know I’m showing my age here.) Until recently, I never gave much thought about how chalk was made until I decided to make some homemade chalk for myself. I learned quite a bit.
First off, I learned homemade chalk is simple to make. It takes very few ingredients. Yay! I hate chasing down a lot of ingredients.
Next, I went a little geeky. I wanted to learn a little more about the ingredients and well, how it makes it into chalk. I am curious about everything. Maybe that’s why I got into teaching.
So, here I am sharing how to make some simple homemade chalk and a little science behind it, too. Kids will love it!
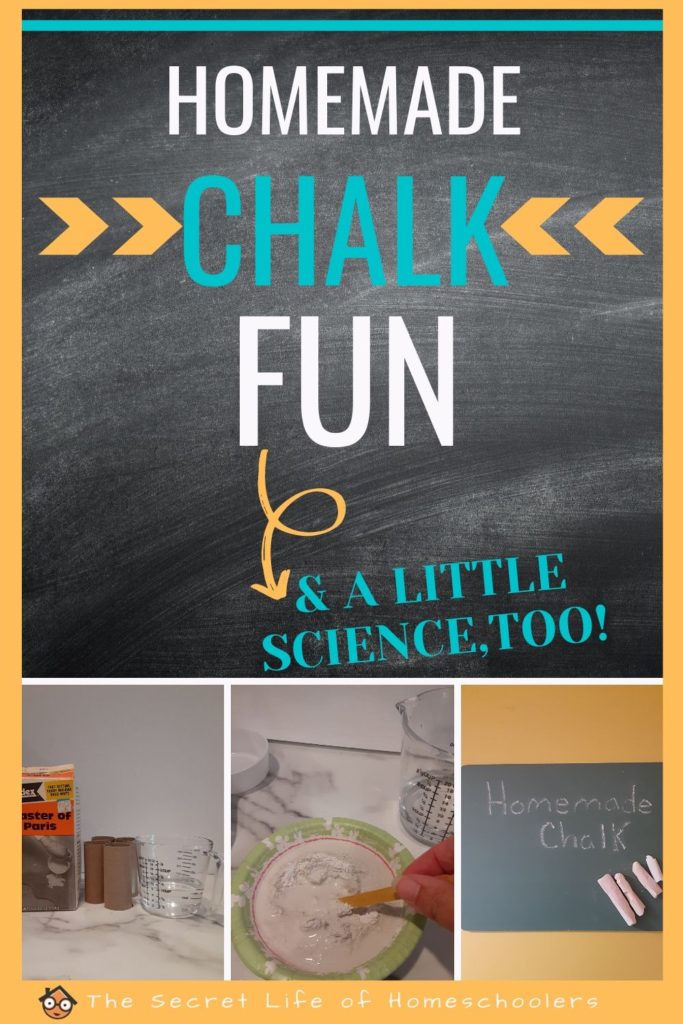
Homemade Chalk
Homemade chalk it great. Not only do kids enjoy it, but adults are using it a lot more with the invention of chalk paint. There is so much to do with it. But…how do you make it?
Here is how to make homemade chalk.
Ingredients
- Plaster of Paris
- Water
- Food coloring (optional)
Directions
- Mix 2 parts Plaster of Paris with 1 part water.
- Pour smaller amounts of the mixture into different bowls (if you want more than one color) and add your food coloring.
- Pour the Plaster of Paris into your molds.
- Let it air dry until chalk is hard.
- Enjoy.
Okay, so that is the quick version of how to make chalk. It is that simple though. If you are like me and like pictures, I’ll share how I made mine.
Directions with Pictures
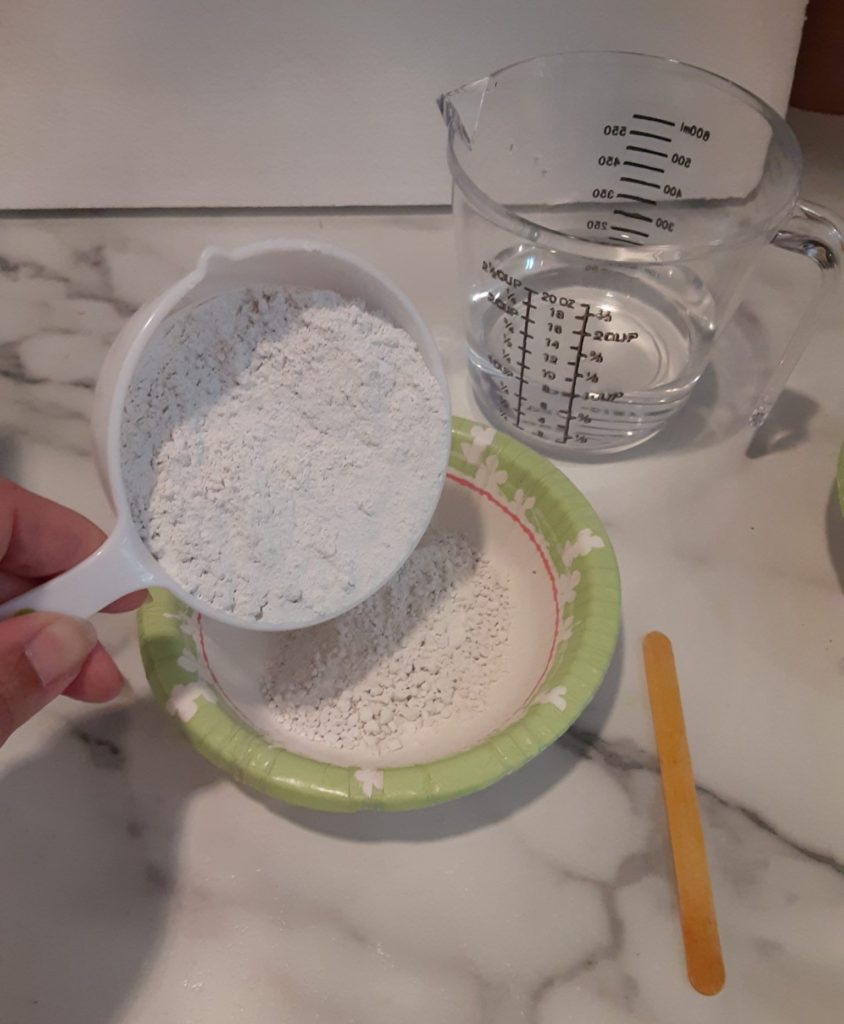
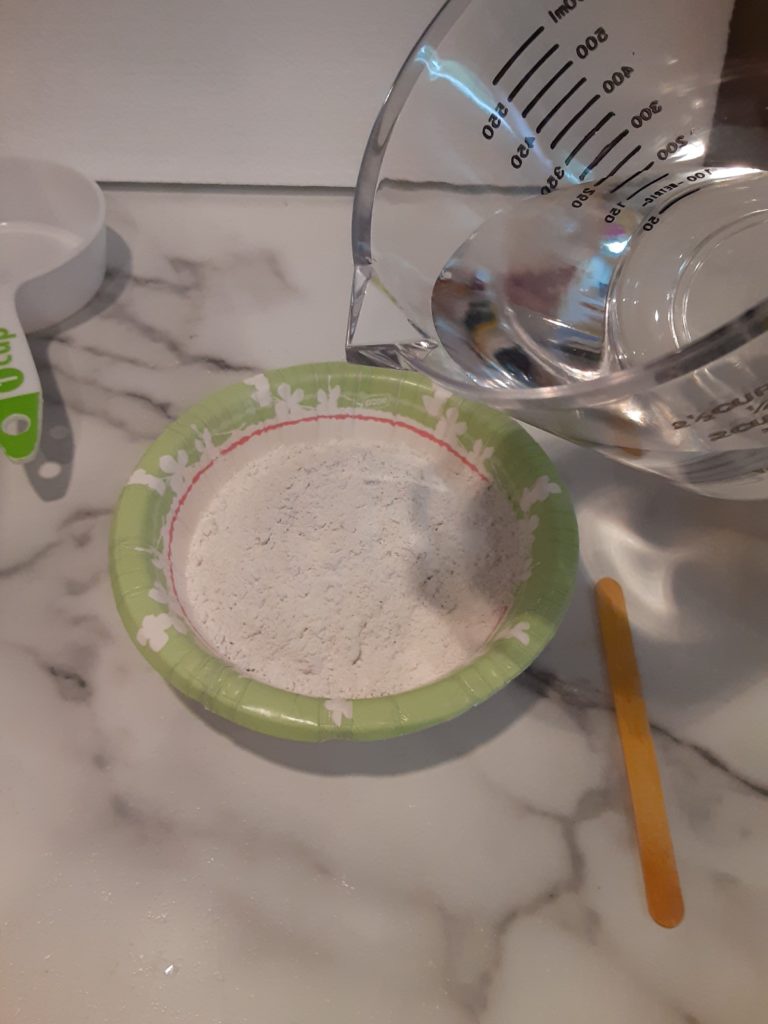
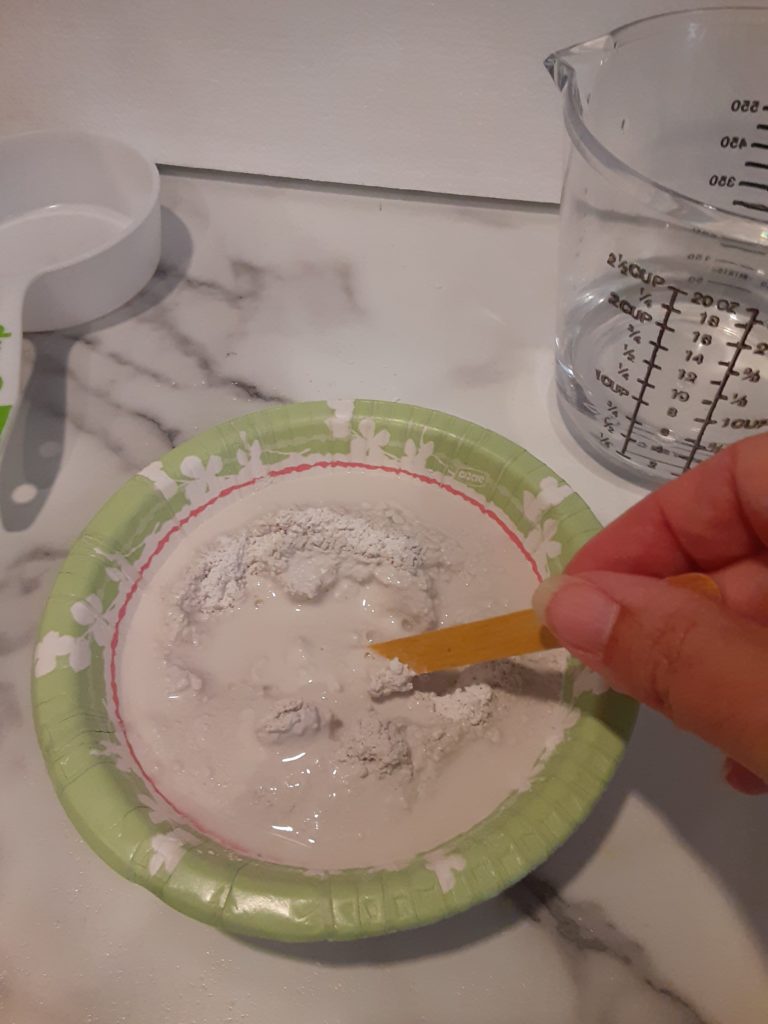
Step 1: Mix the Plaster of Paris and water. I wasn’t making much, so I used 1 cup of Plaster of Paris with about 1/2 cup of water (2:1 ratio). I used paper bowls and a Popsicle stick to stir to make clean up easy.
Step 2: If you are making more than one color, you will want to pour the Plaster of Paris into separate bowls. Now add your food coloring to each bowl. Add as many drops as it takes to get the color you like. I used about 10 drops of each color.
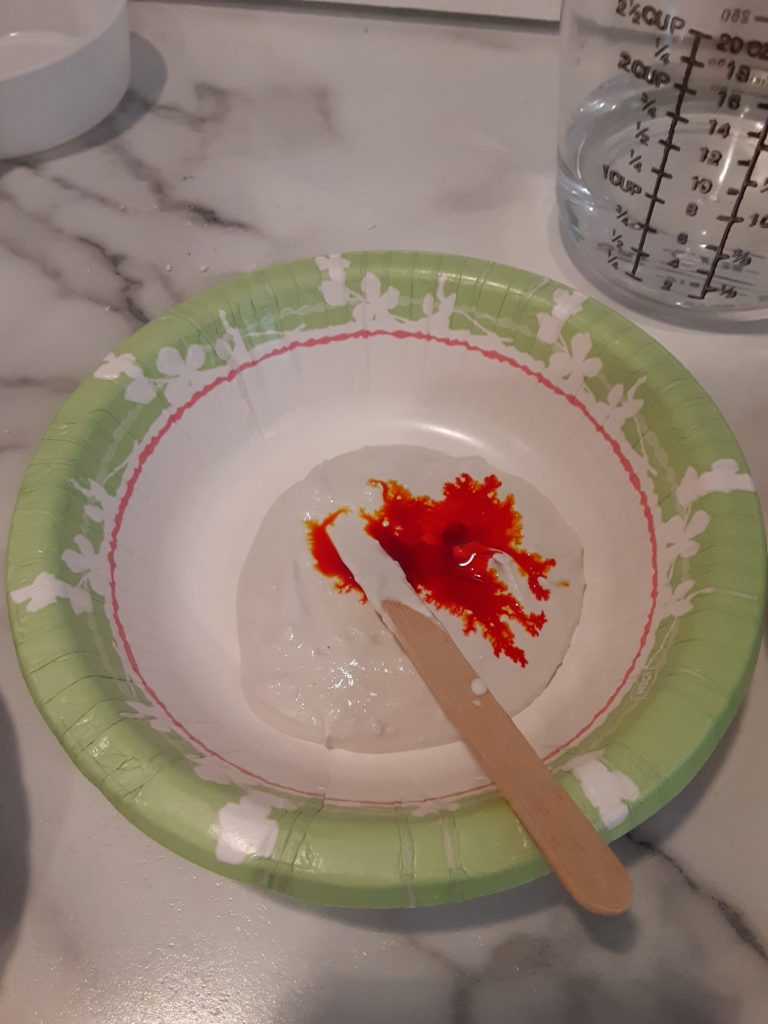
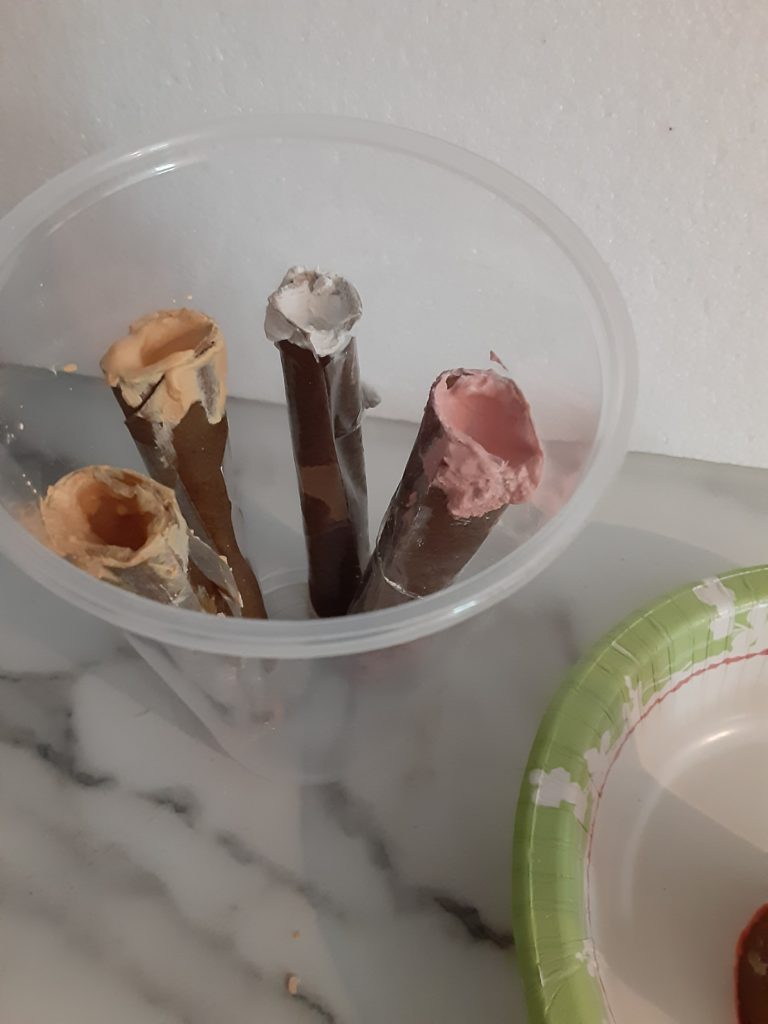
Step 3: Pour your mixture into molds. I know some people have used silicone molds. I always end up getting things stuck, so I decided to use toilet paper tubes. I could finally use the tubes I save!
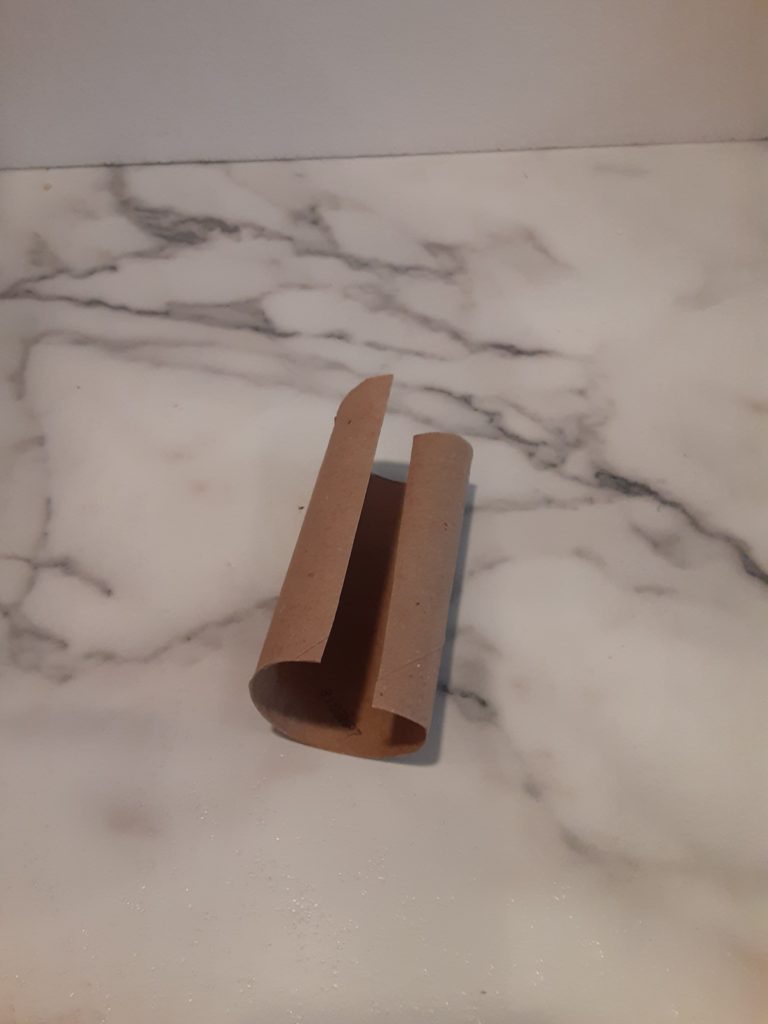
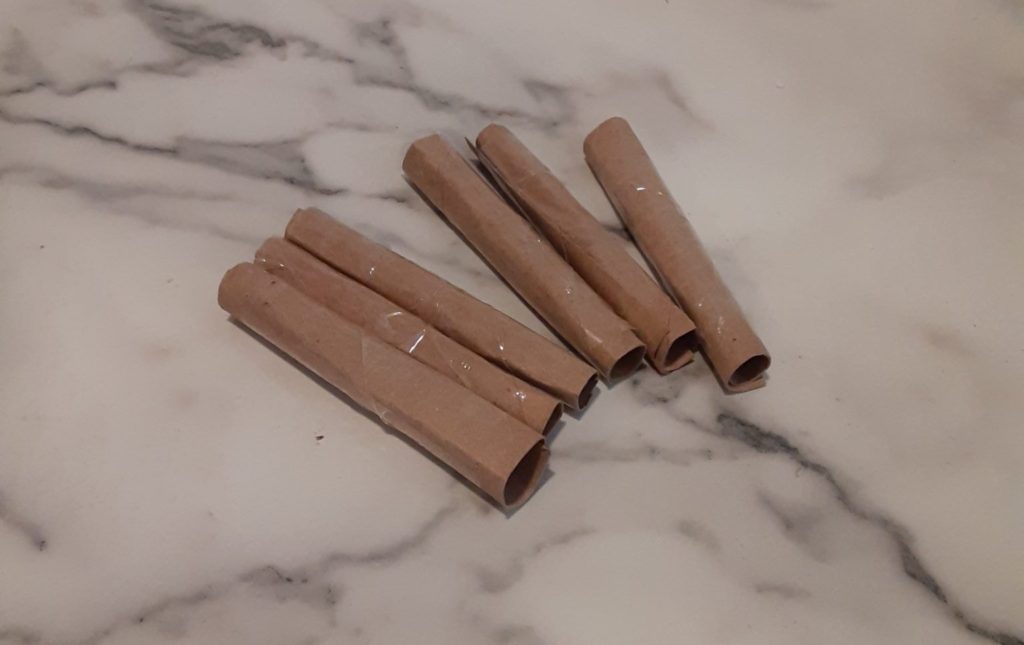
I wanted mine smaller, so I cut my toilet paper tubes in half and rolled them to the size I wanted. Then, I taped them. Now all I have to do is rip off the tube to get the chalk out. Grant it my chalk probably won’t be perfectly round and even. That’s okay with me, and I don’t think kids will care either.
Step 4: Remove the chalk from the mold when they have hardened. How long that takes depends on how thick your chalk is. It may take a few days. Once it is dry, it is ready to use.
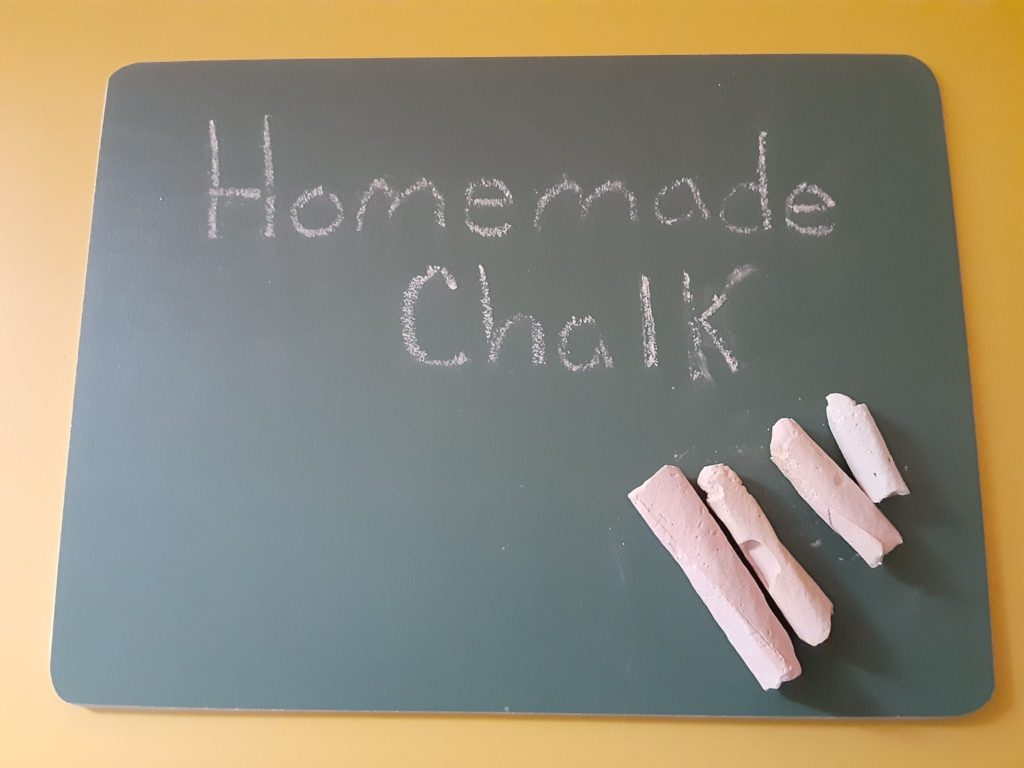
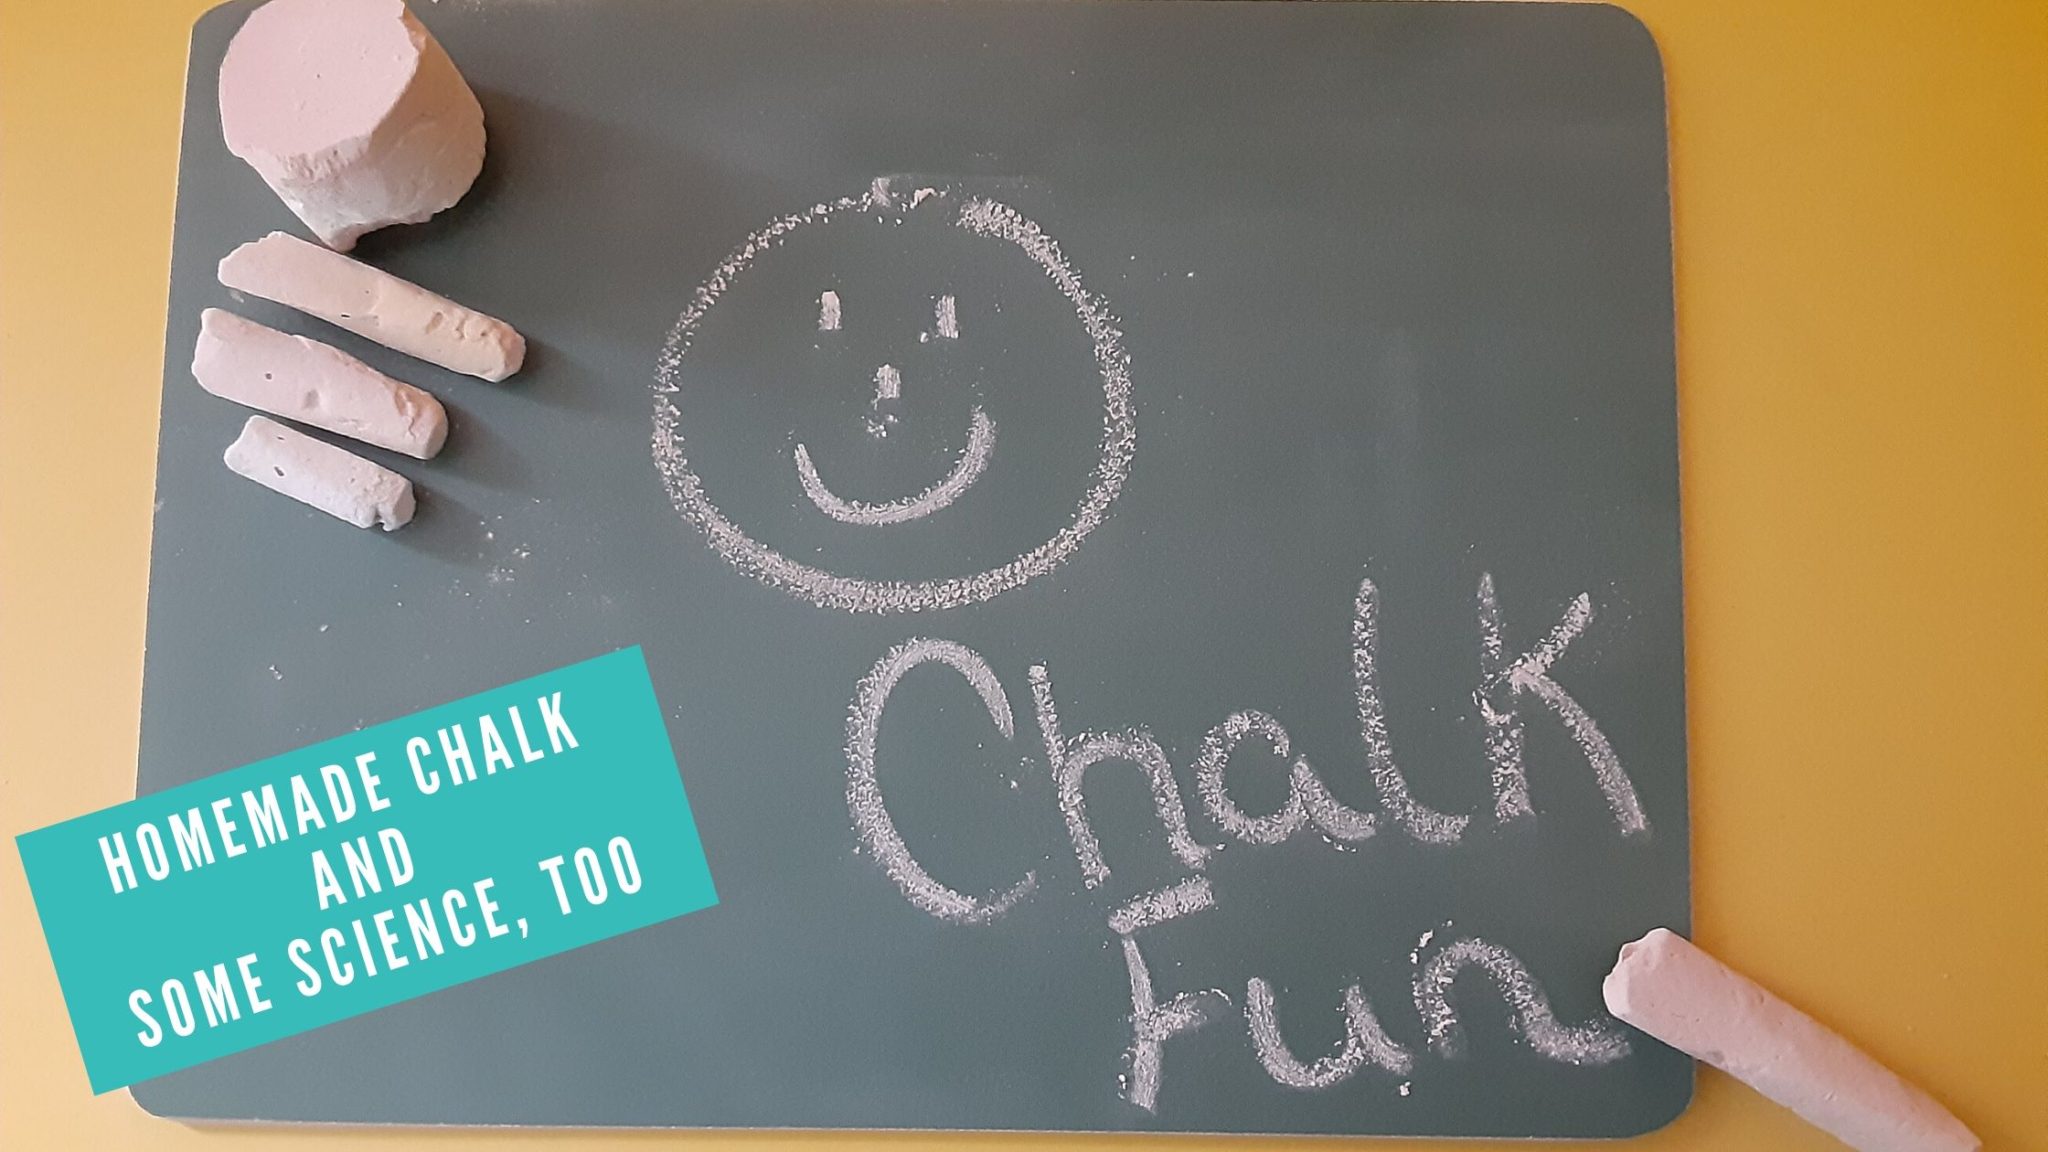
My chalk isn’t perfect, but it is still fun to use.
~If you and your kids love making your own art supplies, you might also enjoy: 3 DIY Clay Recipes: Which is the Best and How to Make the Best Homemade Watercolors
The Science Behind the Homemade Chalk
Now if you don’t happen to be a homeschooler, you may or may not know that some homeschool families turn just about anything into a lesson. I will admit it does tend to happen often here. Learning is all around, right?!
So, I couldn’t resist looking into how Plaster of Paris works. We use it for so many things- molds, casts, sculptures, fireproof materials, and chalk. I wanted to learn more.
What is Plaster of Paris?
It turns out that Plaster of Paris is made from a white powder called gypsum. Gypsum is made from calcium sulfate dihydrate. When heated,
“it loses one and half molecules of water of crystallization leaving only half molecule of water of crystallization remaining attached with calcium sulphate.”
(Fun Science)
When it becomes Plaster of Paris, it is now calcium sulfate hemihydrate (Hemi meaning half). It now has half the water molecules. In this new product, it will harden once it is mixed with water (adding back some water molecules) and left to dry.
I also learned some other interesting facts at Encyclopedia Britannica. Apparently, Plaster of Paris has been around since ancient times. Cool, huh? Plus, Plaster of Paris was named this because gypsum (used to make the plaster) used to be found in large quantities near Paris.
I thought I’d share some of the science if you wanted to sneak a little learning into chalk making with your kids. Older kids might find it interesting to learn the science behind it.
Fun Chalk Ideas with Your Homemade Chalk
I am an idea collector. I love to collect lots of fun activities and projects to do on Pinterest. Here are some of my favorite chalk activities to do with kids.
- 101 Genius Sidewalk Chalk Ideas at What Moms Love
- Sponge Bulls-eye at KiwiCrate. ( You can also make mud balls to throw.)
- An Outside Board Game to Make with Your Kids at The Secret Life of Homeschoolers (Me)
- Chalk to use on your own chalkboard, sidewalk, or on chalkboard paint projects.
Making chalk is so simple and easy to adapt. You can make different colors and shapes depending on what you want to use it for. It is a fun project to do with your kids some rainy day. There are so many possibilities for fun.

Hi Sharon. I made 5 chalk boards using black chalk board paint. Before using them, they need to be seasoned. There’re is a lot of info about seasoning chalk boards with white chalk and colored chalks.
Keeping in mind there are dustless chalks and dusty chalks. And there are sidewalk chalks and black board chalks.
Can the Plaster of Paris, water, and food coloring recipe make some chalk for black boards? I’m not looking for chalk to be used outside on sidewalks. Does this recipe create a dustless chalk or a dusty chalk? Can the chalks using your recipe season chalk boards because they’re a dusty chalk?
I’m looking for a homemade dusty chalk recipe that can be used on a chalk board.
I’m hoping your chalk recipe will create a dark black chalk by mixing the red, blue green food coloring together. Can this recipe create a dusty black chalk for seasoning chalk boards, and after seasoning is complete the chalk can be used on blackboards for creating art?
Hi Gary, This recipe is dusty. It is just a fun thing to do with kids to learn a little about chalk making. We only used the chalk for writing on the kids’ chalkboards for fun. It does crumble easy. It probably wouldn’t hold up well for serious art projects. I never tried making dark colors, so I’m unsure about making black.