
Do you want to try a fun indoor gardening project with your kids?! Recently, I was in the mood to grow SOMETHING, but the weather wasn’t cooperating. So I began searching online for vegetables you can grow inside. I found many different vegetables kids would have fun growing in their own homes. After doing my search, I decided to try celery.
I figured celery would be a fun vegetable to grow with kids because what kid doesn’t like eating “Ants on a Log” with peanut butter or cream cheese. Okay, my son doesn’t, but he isn’t normal. All the kids in my preschool used to love it, though.
Celery is pretty easy to grow indoors. I need easy because I don’t have a very green thumb. Usually, I kill our house plants and do so-so with our vegetable garden. It ends up not being a very exciting project with my kids. For some reason, they lose interest when things die.
In my search, I ended up finding some helpful ways to grow celery at wikiHow. I wanted to grow my celery from celery stalks NOT seeds. Kids will find it so cool to use leftover vegetables to grow more vegetables.
So, let’s get started!
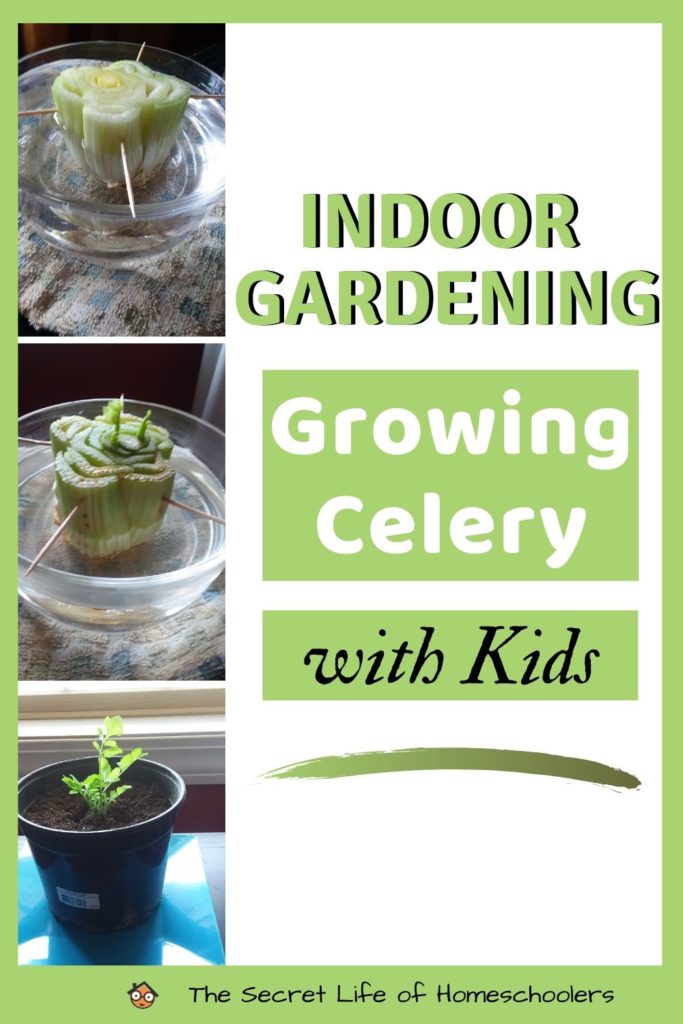
Indoor Gardening- Growing Celery
When it comes to growing celery indoors, you have a few options. I decided to grow the celery in water. You can put it in the soil to grow, too. However, when you grow celery in water, kids can see the process better. It is a lot more fun for kids.
Getting Started
You don’t need a whole lot to get started with your indoor garden. Yay! Kids don’t need a complicated project. It can ruin the fun. All you need is:
- A bunch of celery (with the base attached, NOT celery sticks)
- Knife
- A bowl bigger than the celery (a glass bowl would be great)
- Toothpicks
Step 1:
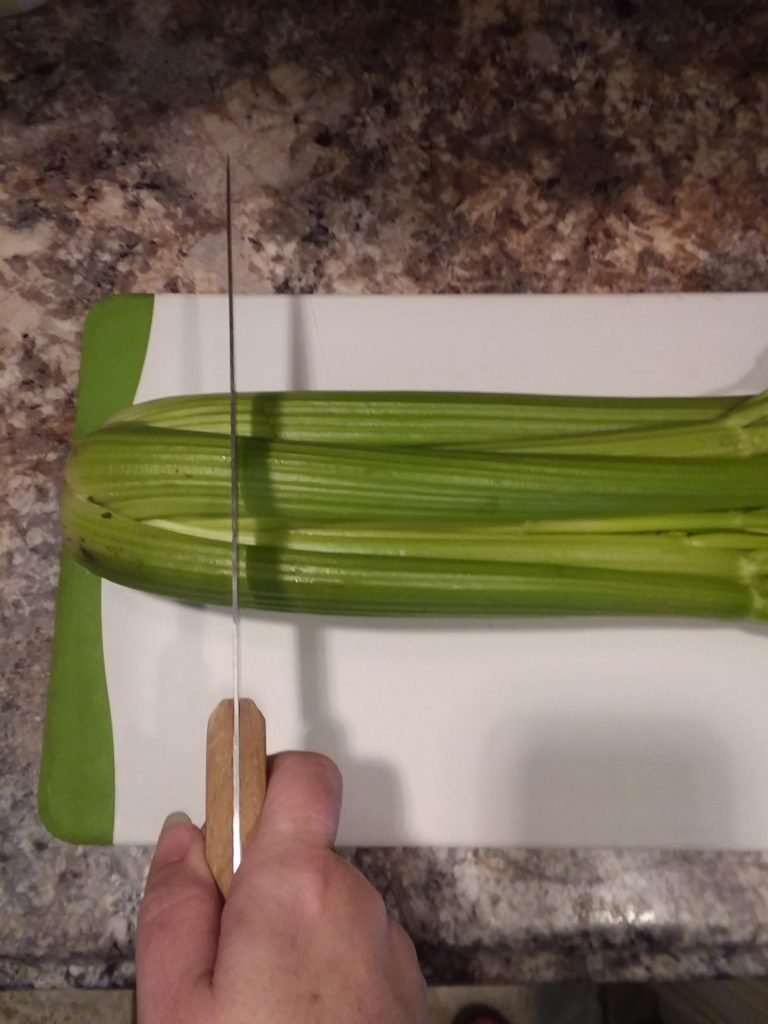
First, a grown-up needs to cut the celery off the base. You’ll want to cut about 2 inches up from the bottom of the celery.
Step 2:
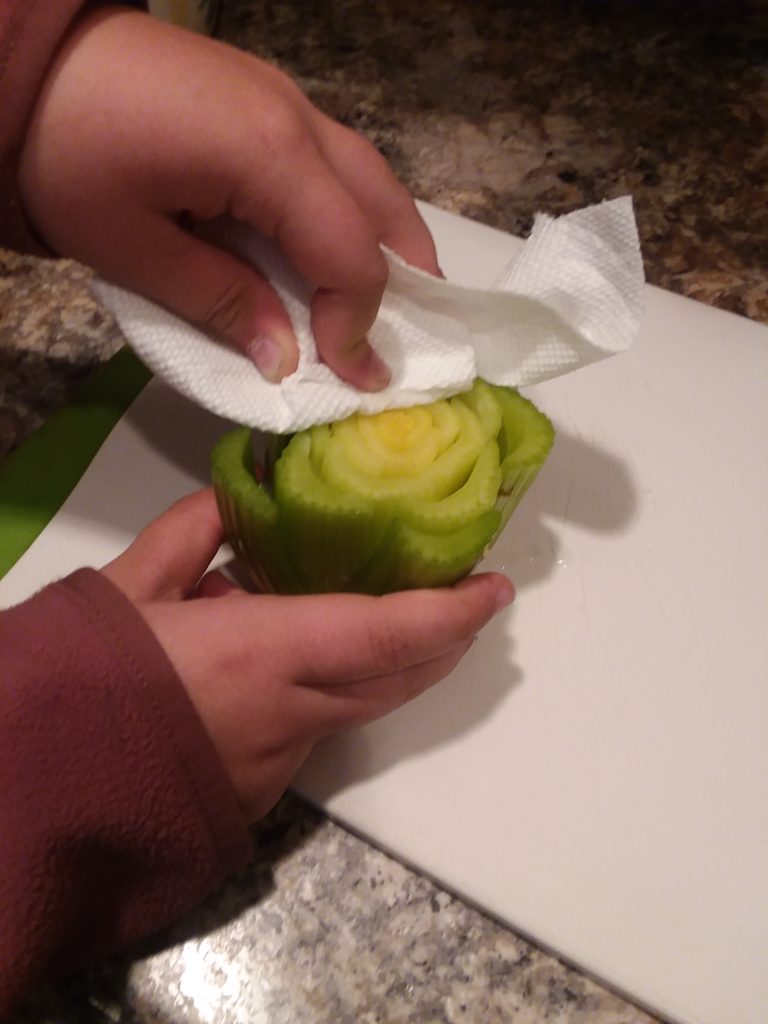
Next, have your child wipe it off and dry it a little.
Step 3:
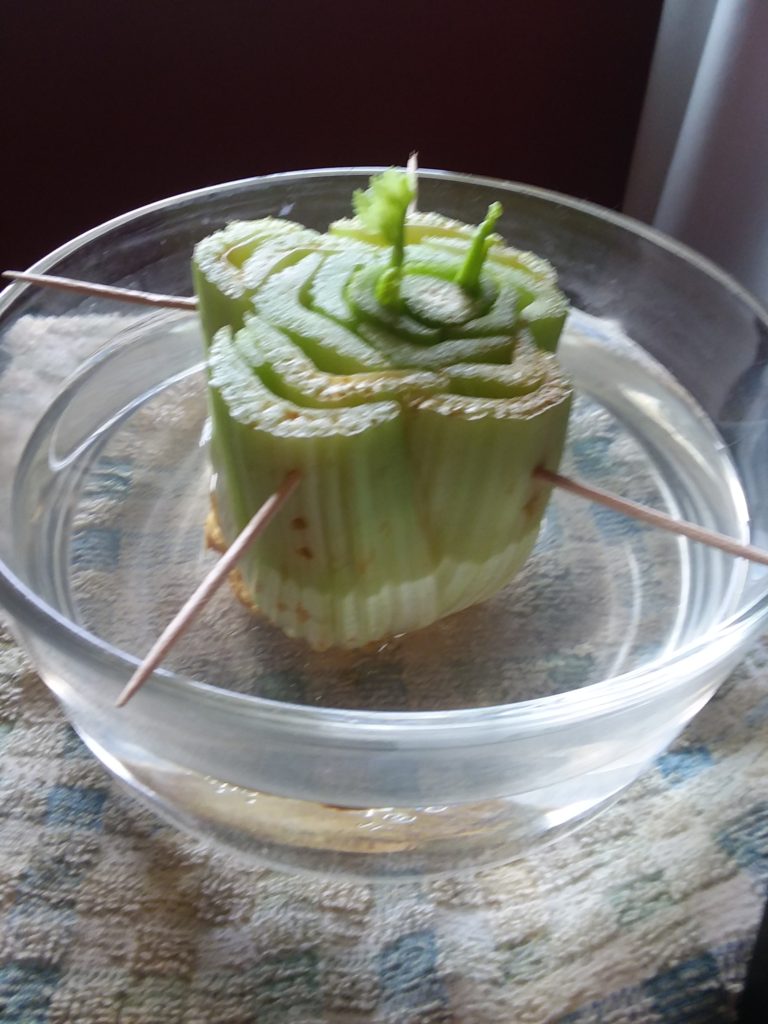
Now it is time for the toothpicks. The toothpicks are going to help hold the celery so it doesn’t touch the bottom of the bowl. However, it needs to hang in the bowl so about 2/3 of the celery is in the water.
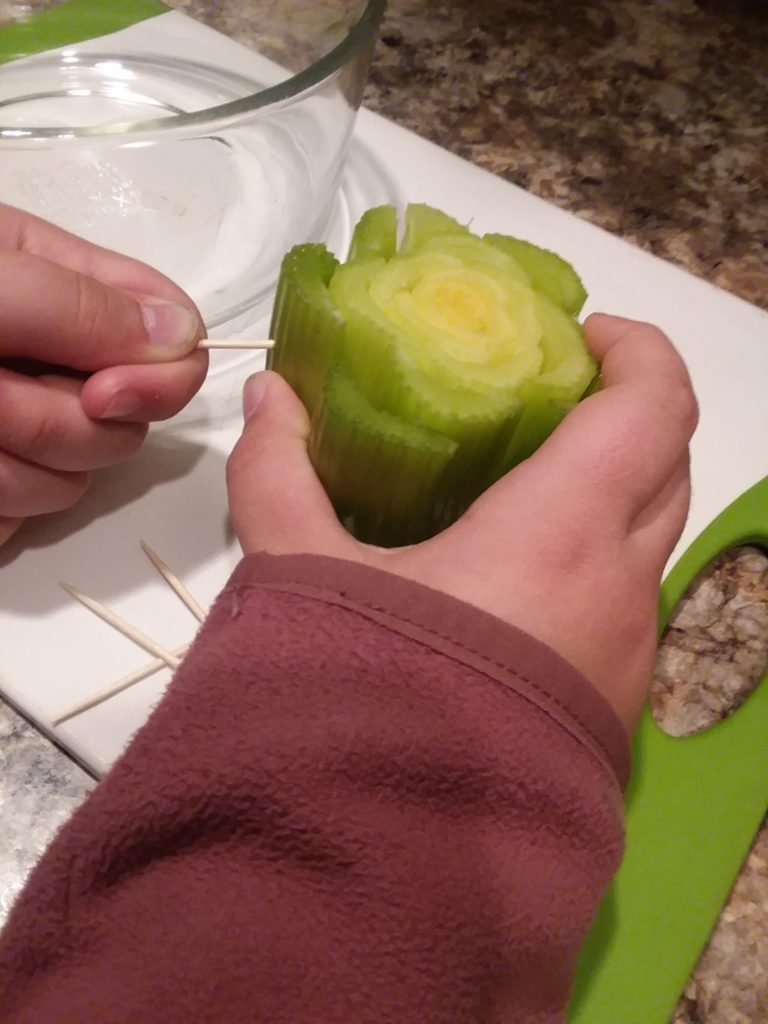
The kids can stick about 4 to 6 toothpicks around the celery. You need enough so it will hold the weight of the celery. The CUT side of the celery needs to be facing up!
Step 4:
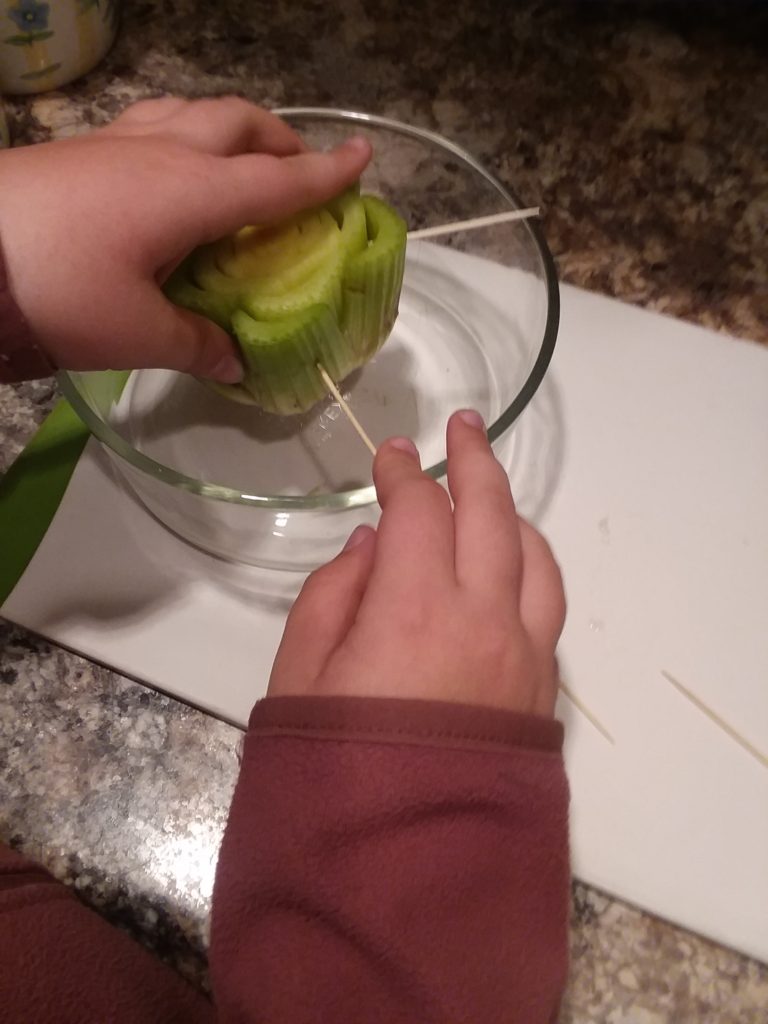
Next, have the kids set the celery in the bowl.* The toothpicks need to balance on the edge of the bowl. You don’t want the celery touching the bottom. It should be about a 1/2 inch to an inch off the bottom.
Tip: If you are having trouble balancing the toothpicks with the celery, try a smaller bowl.
*Note: I recommend a glass bowl because kids can see what is happening to the celery base.
Step 5:
Now it is time to find a sunny place you will leave your celery. It needs about 6 or 7 hours of sunlight. I put mine in a sunny window. It didn’t get 6 or 7 hours of direct sun just bright sun all afternoon.
Step 6:
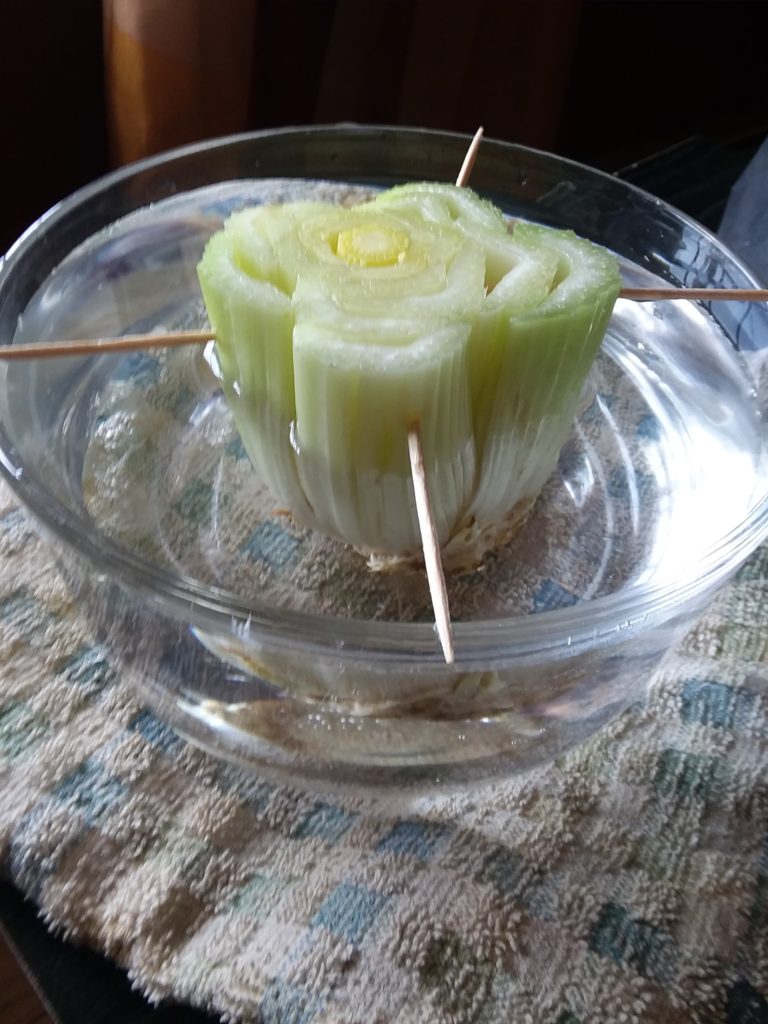
Once the kids have put the celery in a sunny place, it is time to add the water. Pour enough water in your bowl so about 2/3 of the celery is covered.
Step 7:
Now you wait for your celery to grow! You will want to change the water every 2 days or so. Kids can dump out the water and replace it with fresh water. There should be enough water, at all times, to cover 2/3 of the celery.
Step 8:
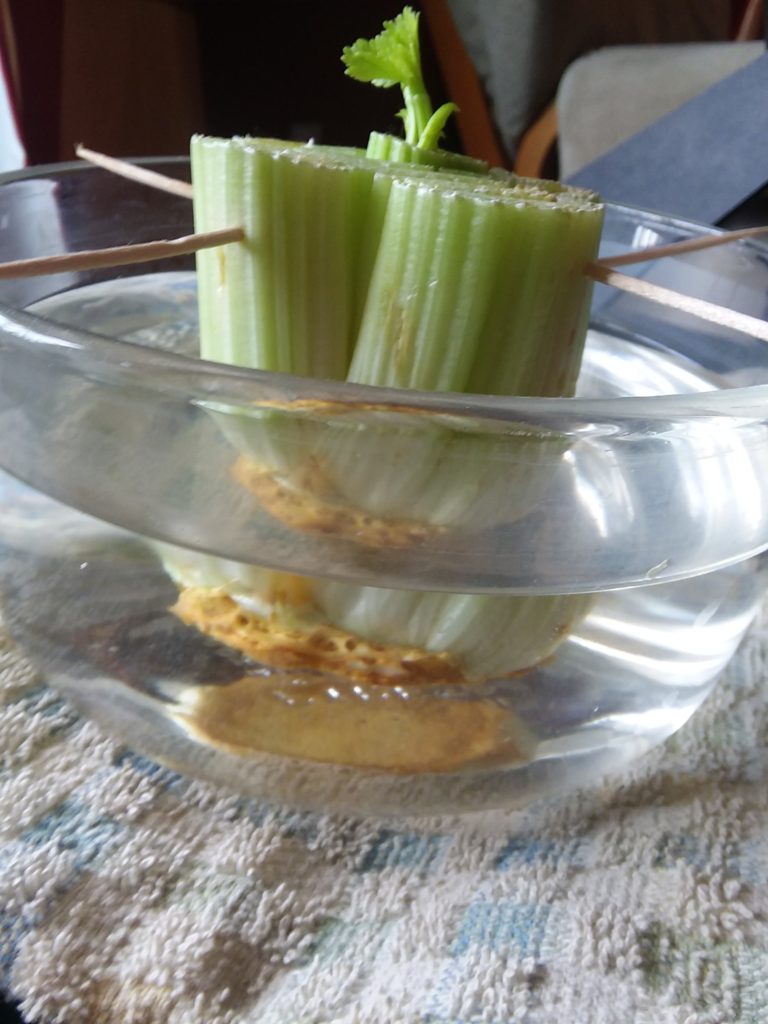
After several days, you will notice two things. 1) The bottom of the celery is starting to brown. It is okay! 2) You will see new little shoots and leaves growing out of the top of the celery. YAY!!!
This whole process will take around 5-7 days.
Step 9:
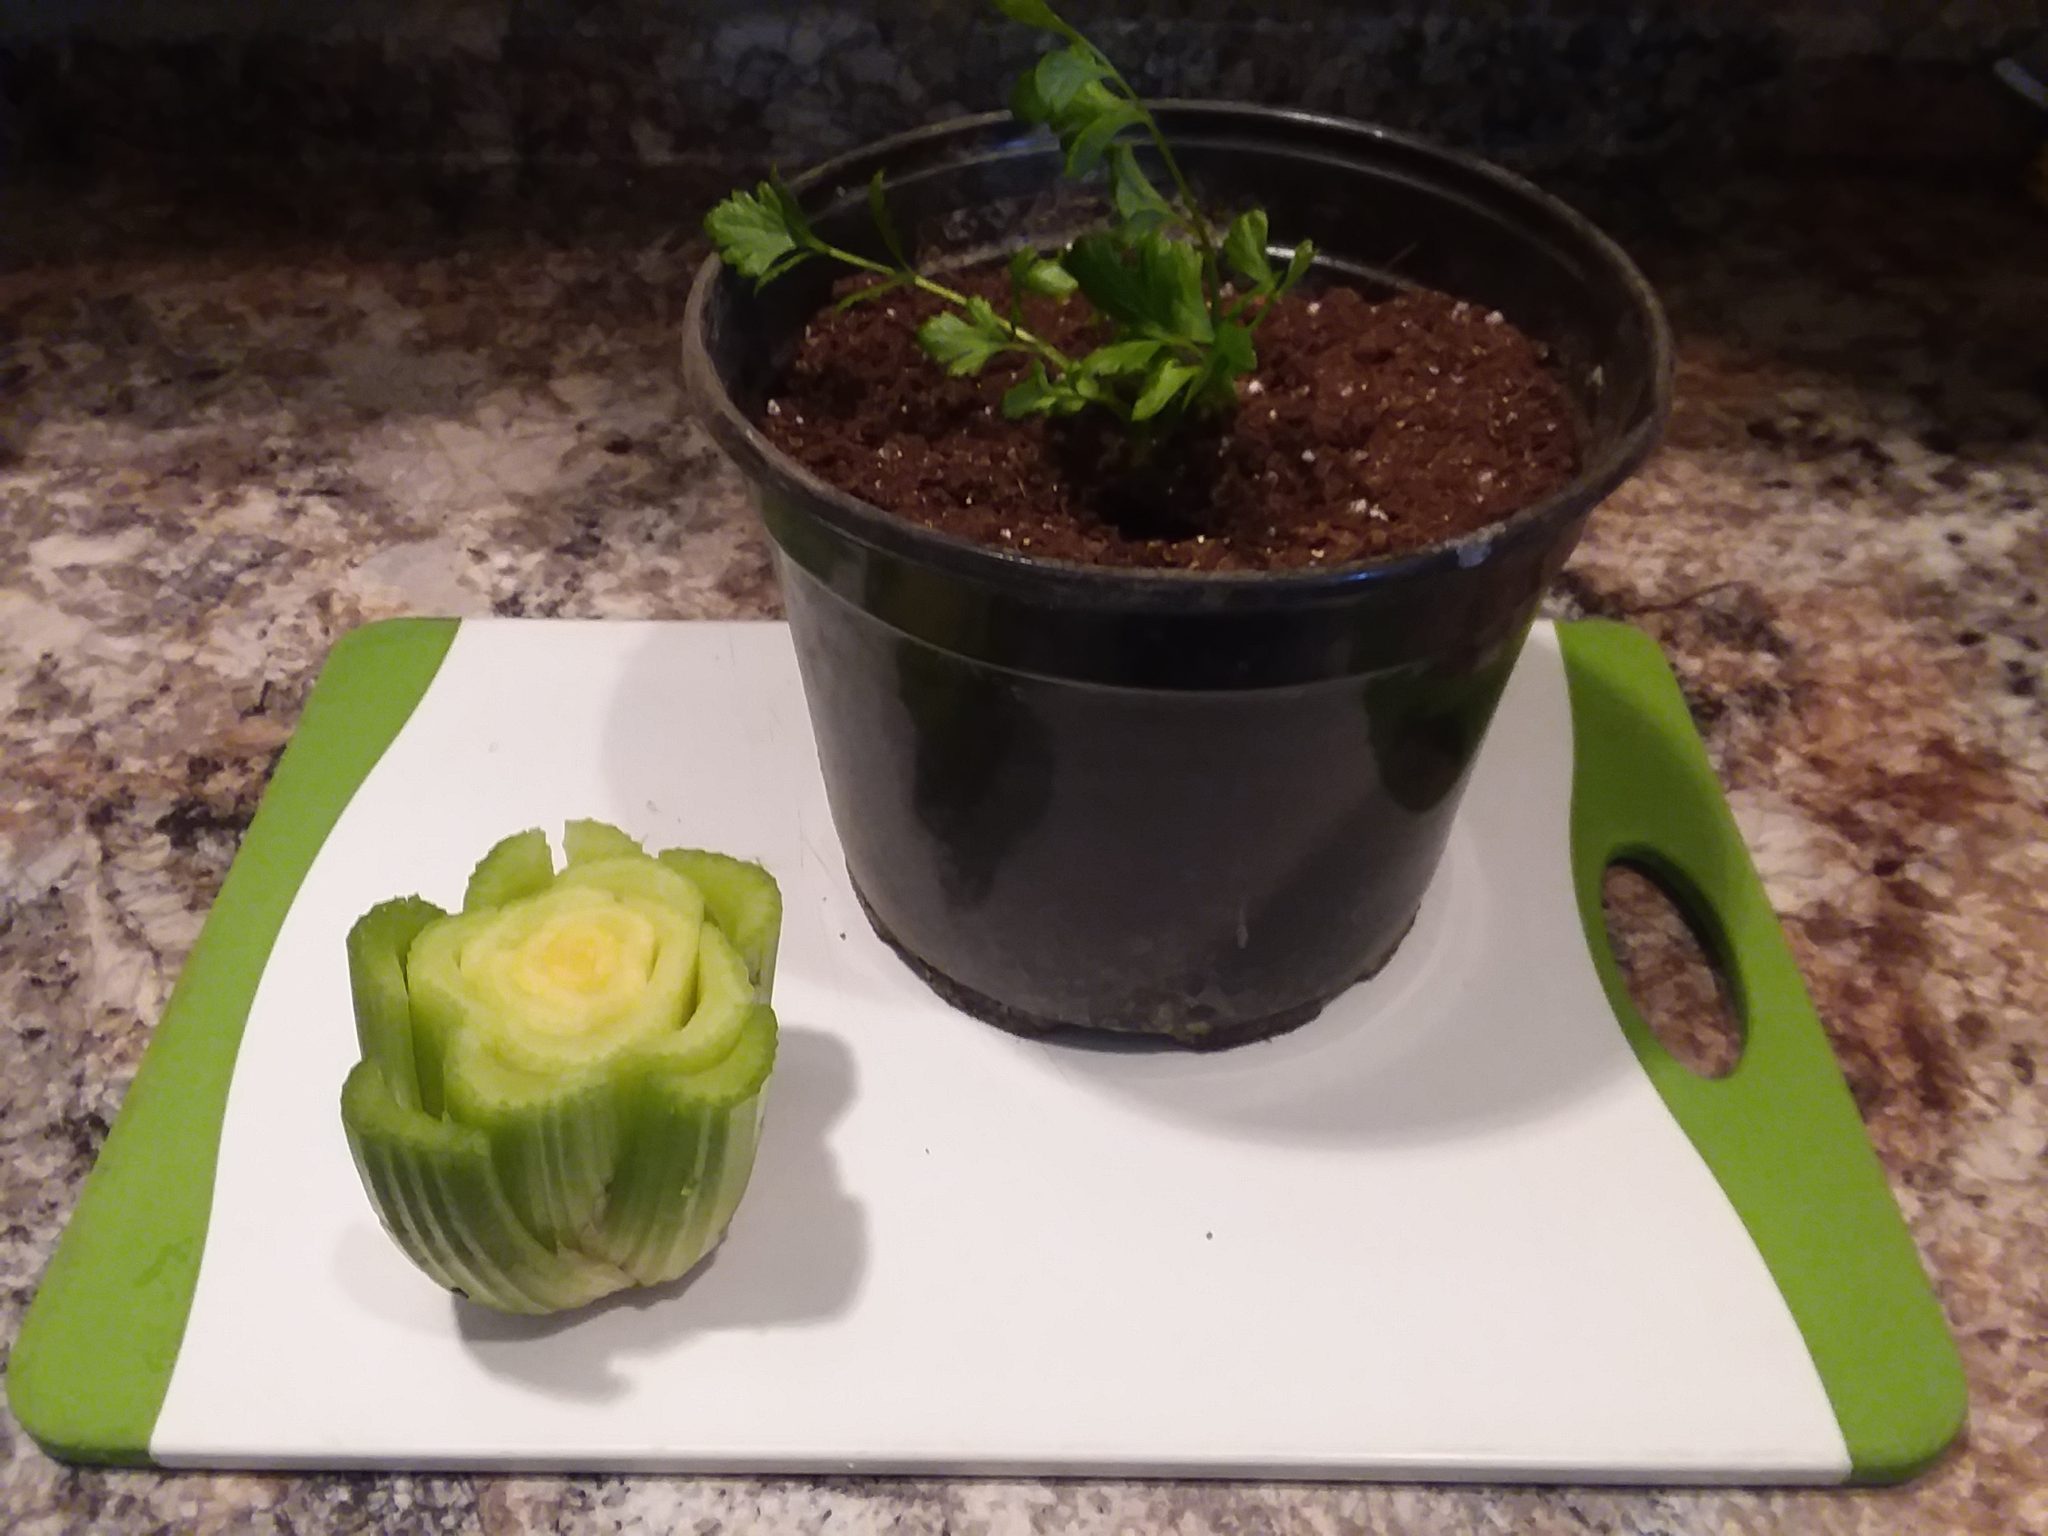
By the end of a week, your kids can plant the celery in soil. You can place it in your garden. However, if you want an indoor garden, you can plant it in a pot.
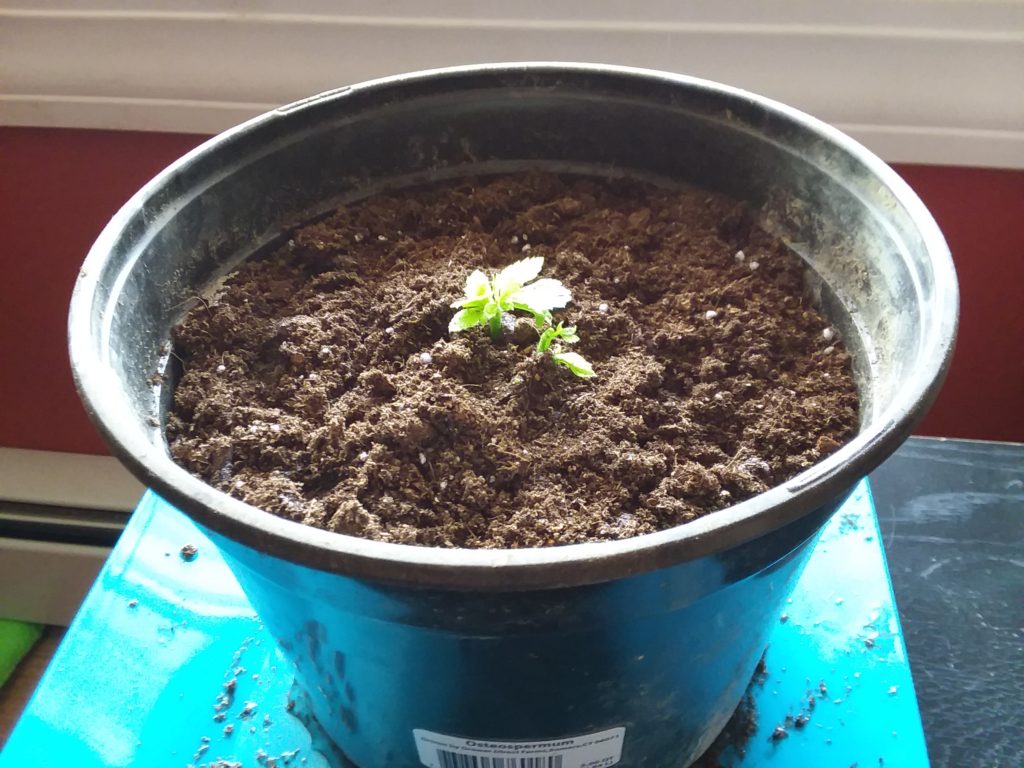
I planted mine in a pot. Choose a pot that is about double the size of the celery. You’ll want to fill the pot with potting soil and place the celery in the middle. Gently cover the top of the celery without covering the leaves.
As the shoots got bigger, I added more soil on top.
Step 10:
You now have an indoor celery garden!!!
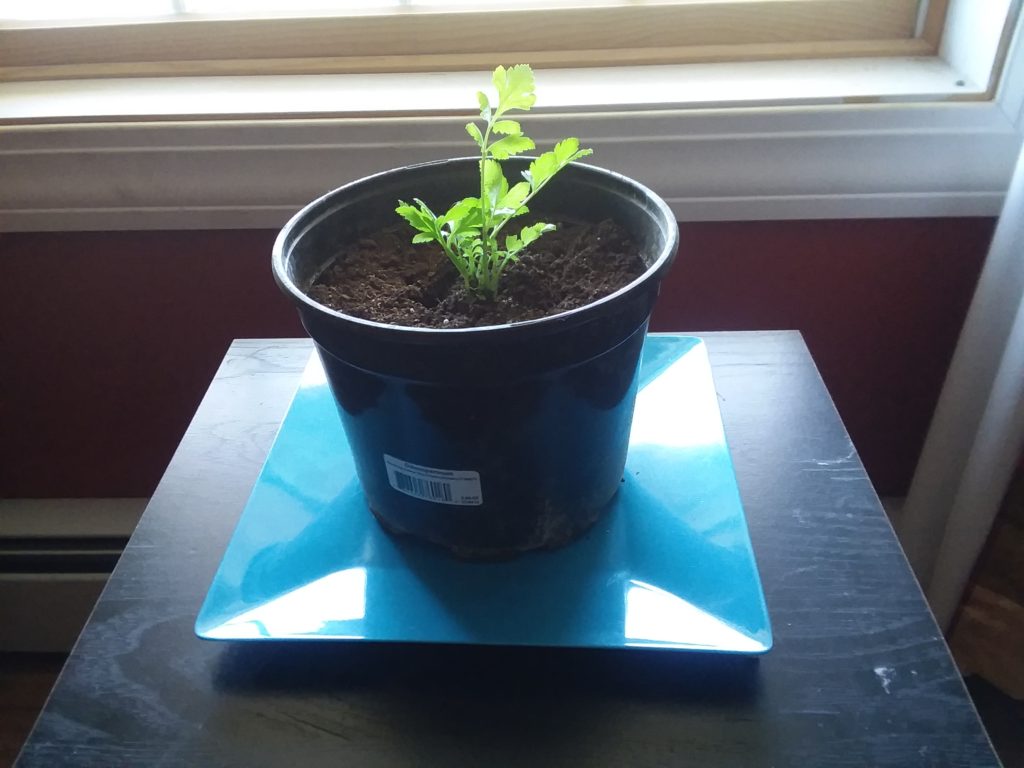
Keep your pot in the sun and keep on watering it.
It will grow faster using this method than starting from seed. Celery takes about 4-5 months to grow from seed, so it should be a little sooner than that before you have your own to eat.
Other Indoor Garden Ideas:
Isn’t indoor gardening so cool?! You can take scraps of a vegetable and grow your own food from it indoors. You don’t need to stop with celery. Here are some other vegetables you and your kids can grow inside:
- Herbs
- Carrots
- Lettuce
- Tomatoes
- Beets
- Garlic Greens
- Peppers (small ones)
- Kale
- Radishes
All of these vegetables (and others) can be grown indoors no matter the time of year. I find it so fascinating you can tell your kids to go to the living room and picks some tomatoes for dinner.
So, what are you waiting for? Go get some celery, grab the kids, and start your indoor gardening project today! You can enjoy your celery within a couple of months. It doesn’t matter what time of year it is. Celery is easy to grow, so you won’t be disappointed.
Oh, don’t forget the peanut butter (or cream cheese) and raisins for Ants on a Log when the celery is ready.
Do you want some other fun projects and activities to do with your kids? Check out my Projects and Activities section.
Happy (indoor) Gardening!


[…] Visit this website for an exciting indoor gardening project using celery. […]