Spring is a wonderful time to watch all the flowers and trees begin to bloom. By summer, flowers are in their full glory. I have yet to see a flower (they can’t quite poke through the snow) so I decided to add some with a fun Op Art flower project.
You may be asking, “So what is Op Art?”
Op Art is defined by The Free Dictionary as “a style of abstract art chiefly concerned with the exploitation of optical effects such as the illusion of movement.” Basically, it is optical illusion art.
Op Art is fun to do with kids. They will love creating designs that appear to move or pop off the page. Kids can use their creativity to create some wonderful designs with different colors and patterns.
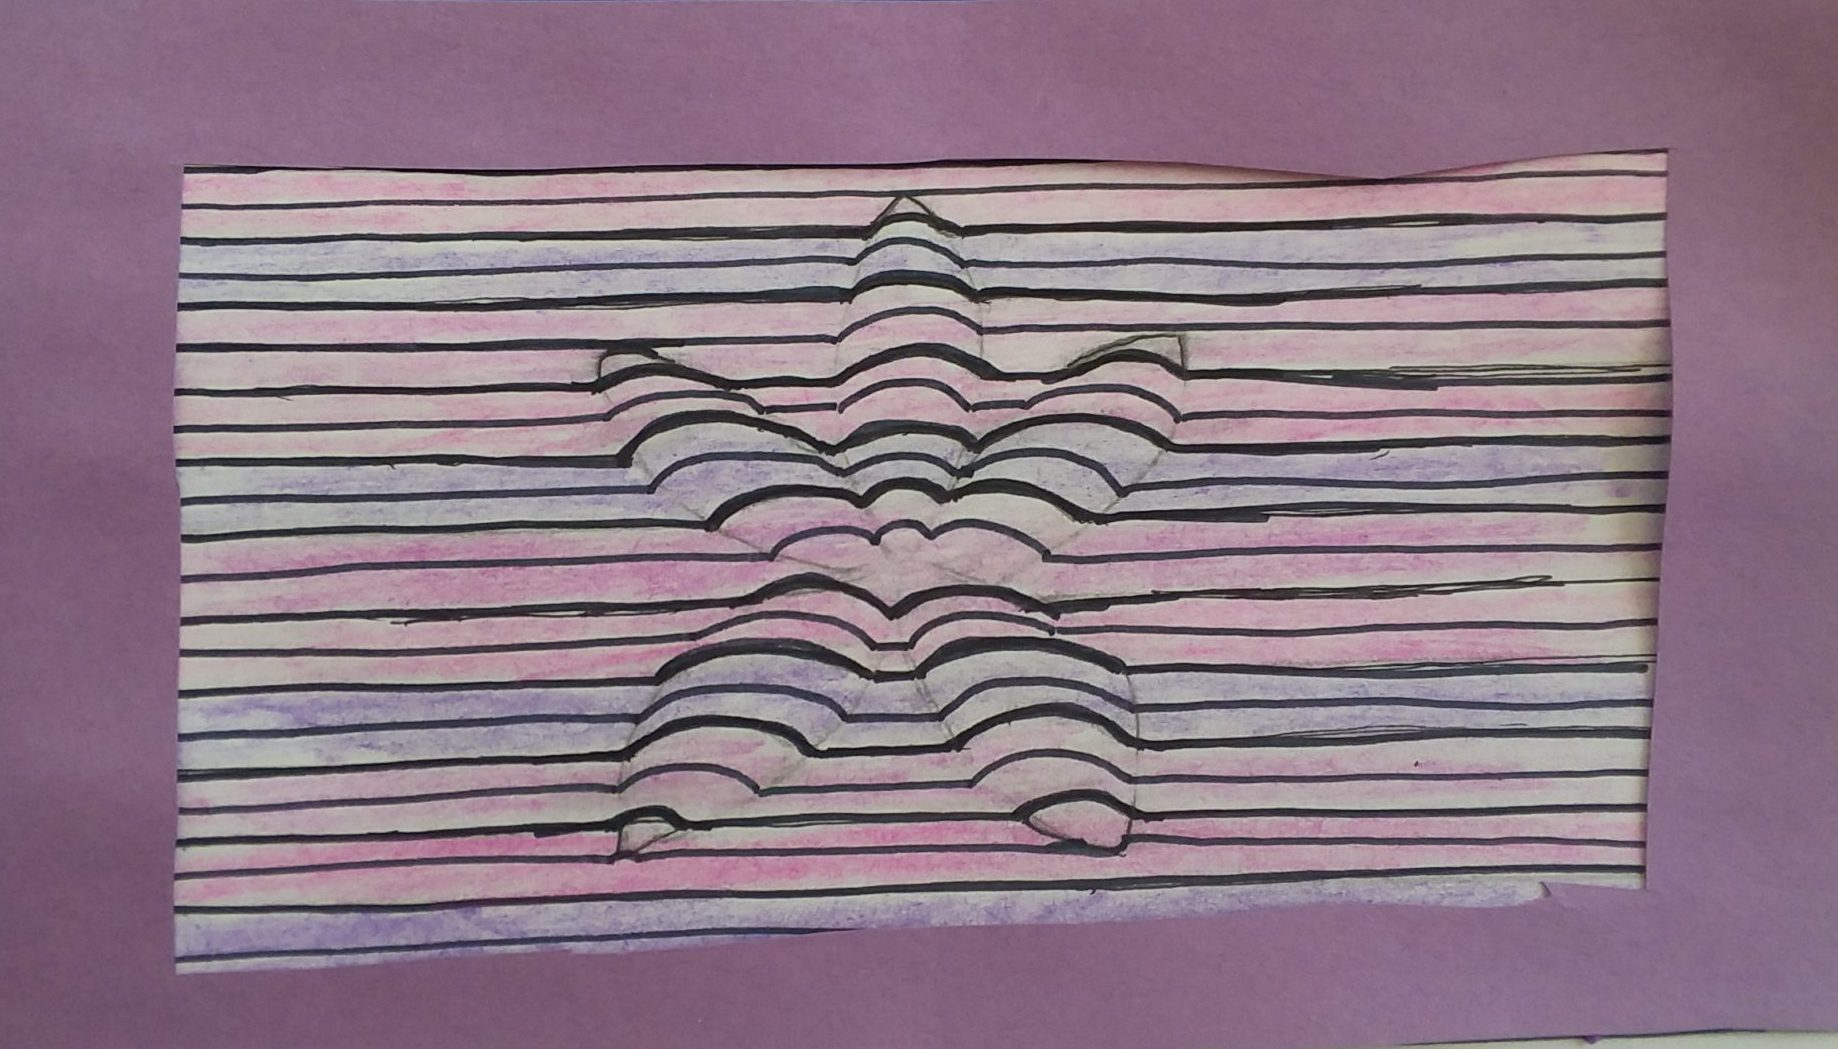
I decided it would be fun to use the illusion of 3-D to make pretty flowers. I originally got the idea for 3-D art from Fab Art DIY a while ago when I did Op Art with my kids. I decided to alter the project to fit with flowers.
I have step-by-step instructions on how to create your own flower Op Art with your kids.
Let’s get started!
Materials:
- White paper
- Pencil
- Crayons or colored pencils
- Thin black marker
Directions:
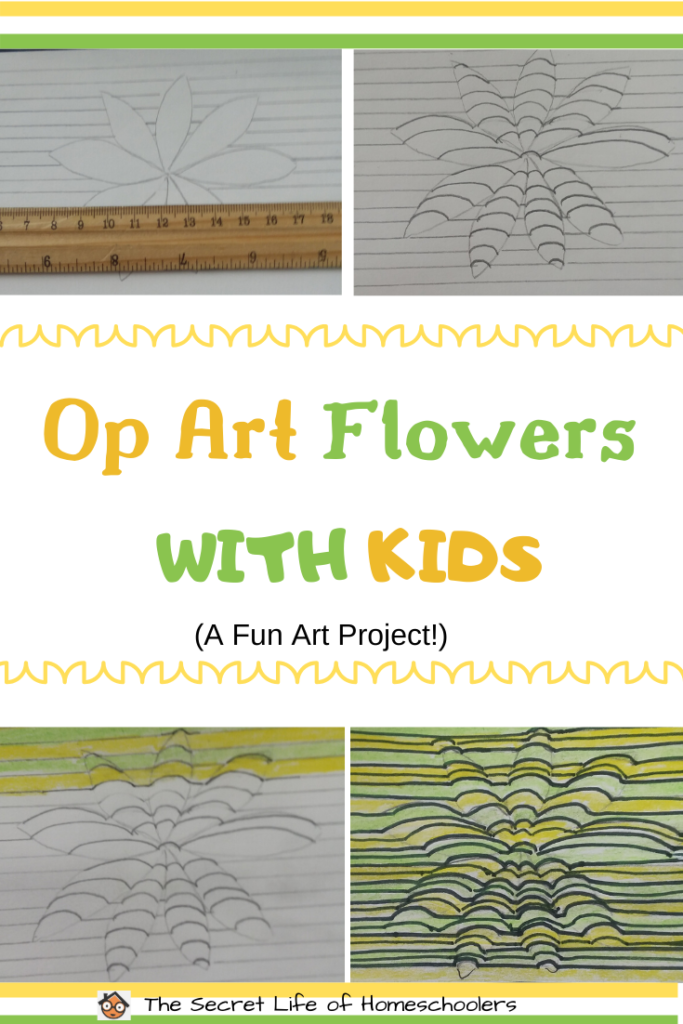
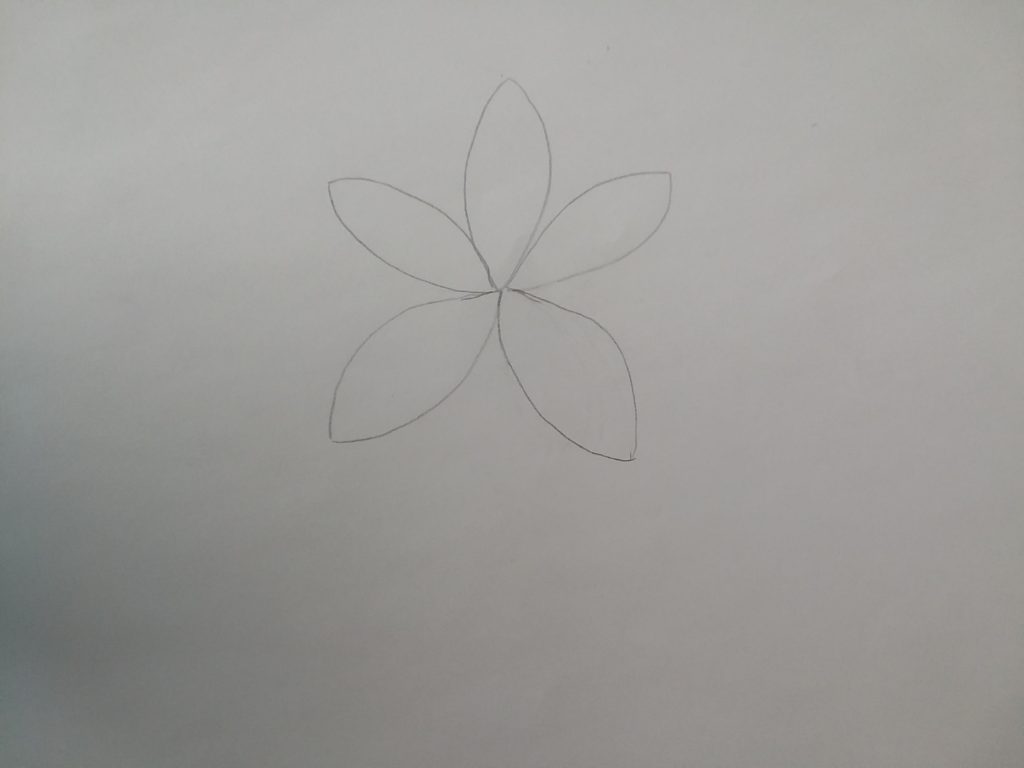
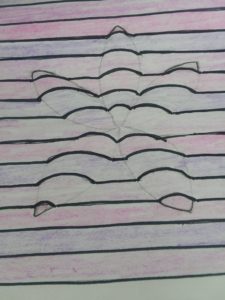
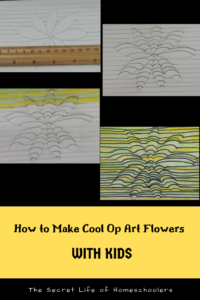
- Using a pencil, lightly draw your flower in the middle of your paper. Draw it fairly big. Mine is about 4″ long and 3 1/2″ wide. I chose to draw flowers with long petals for this project.
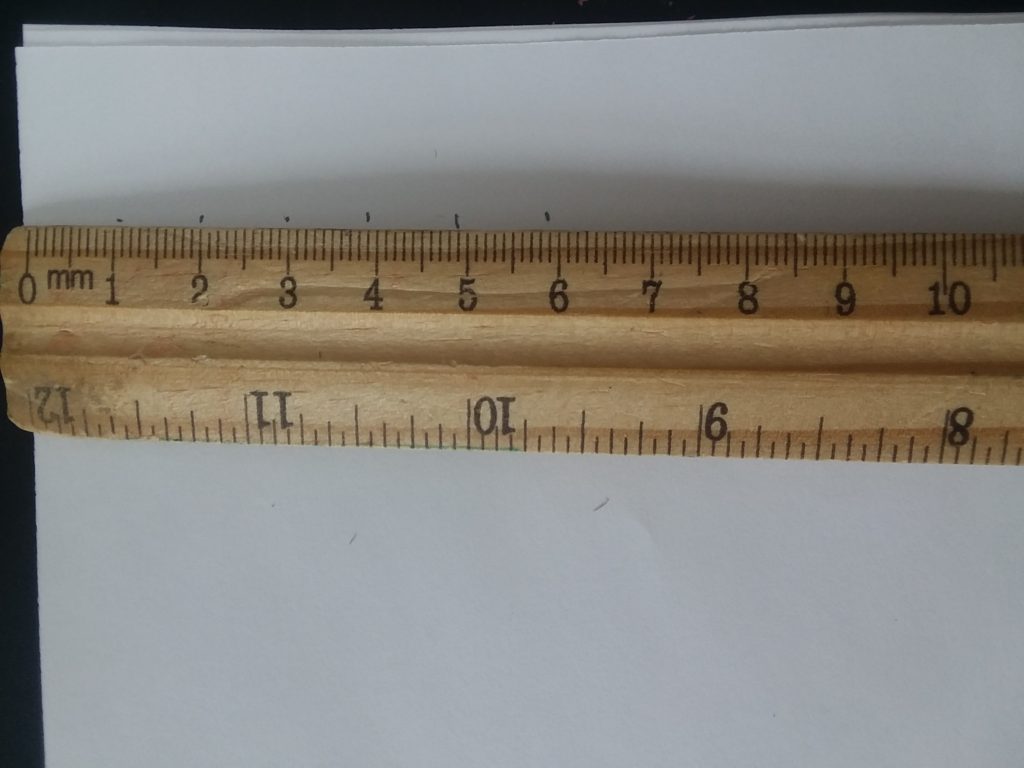
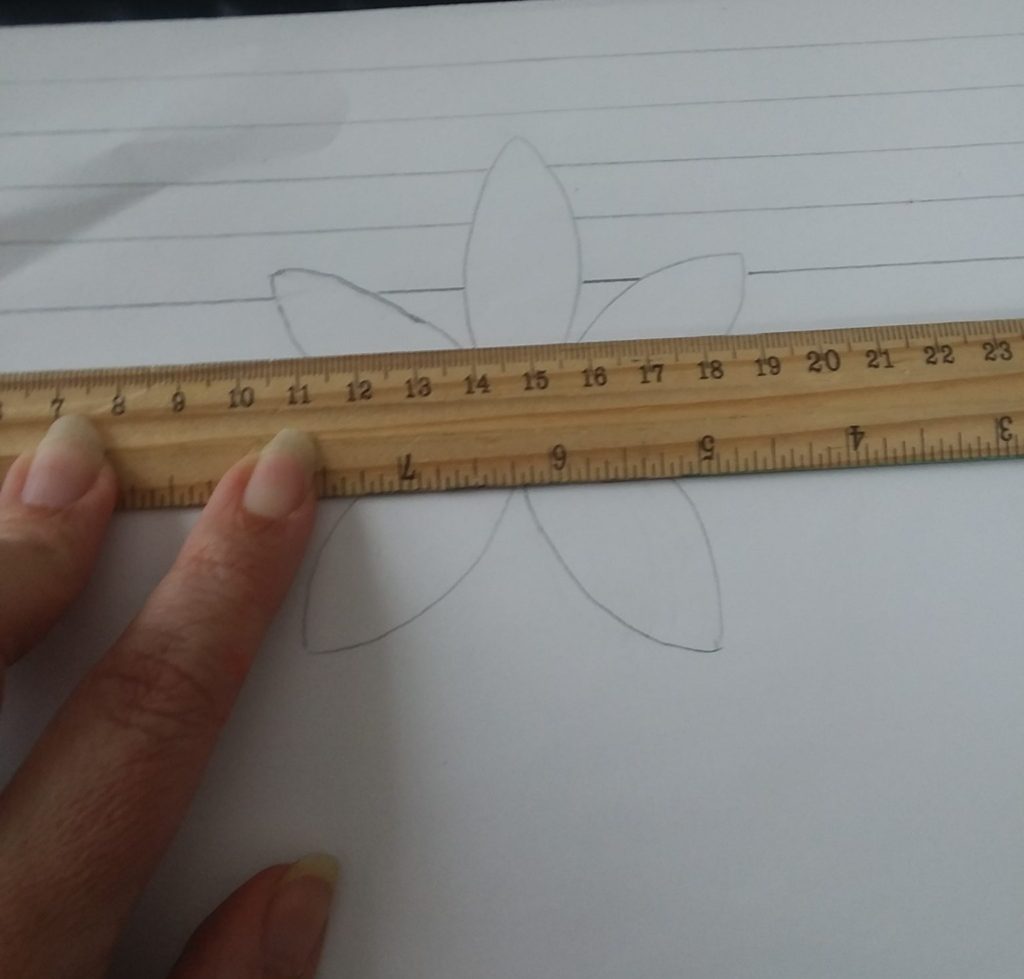
- Next, you will need to draw lines across your paper. I used a ruler and put a mark every centimeter. I did this on both sides so I could draw straight lines.
- It is time to draw the lines across the paper. BE CAREFUL! Begin drawing the line (in pencil) across your paper. When you come to your flower, skip over it and continue on the other side. Now go back and make a curved line (rainbow curve) from one side of the flower to the other so the straight lines are now connected on either side.
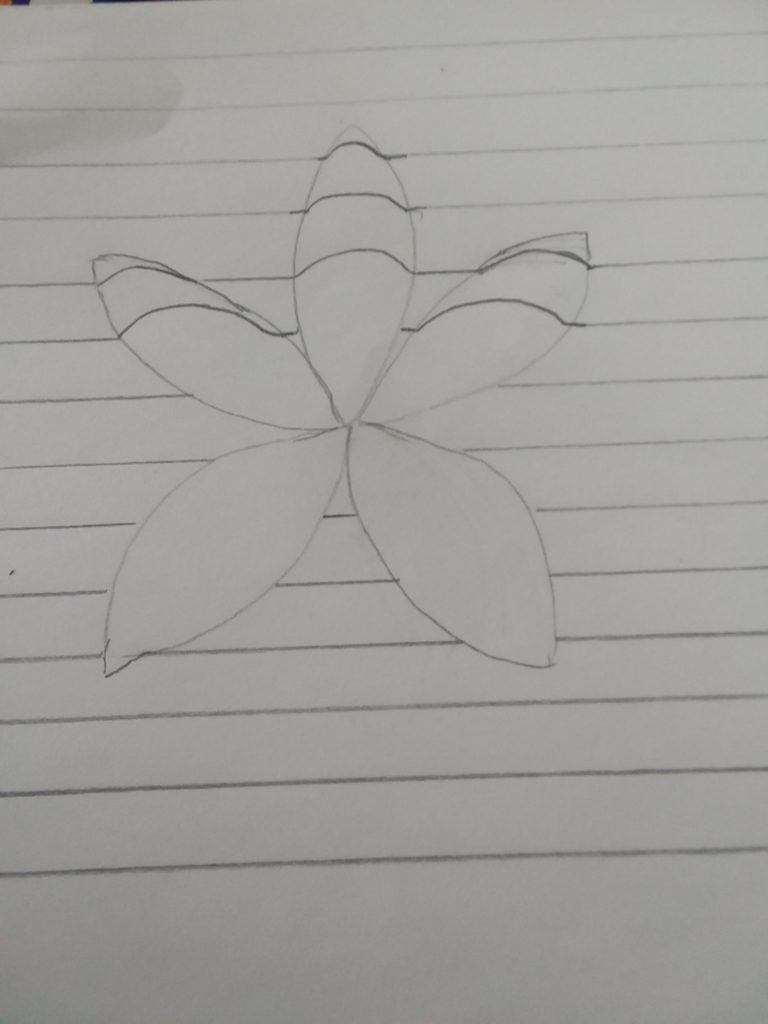
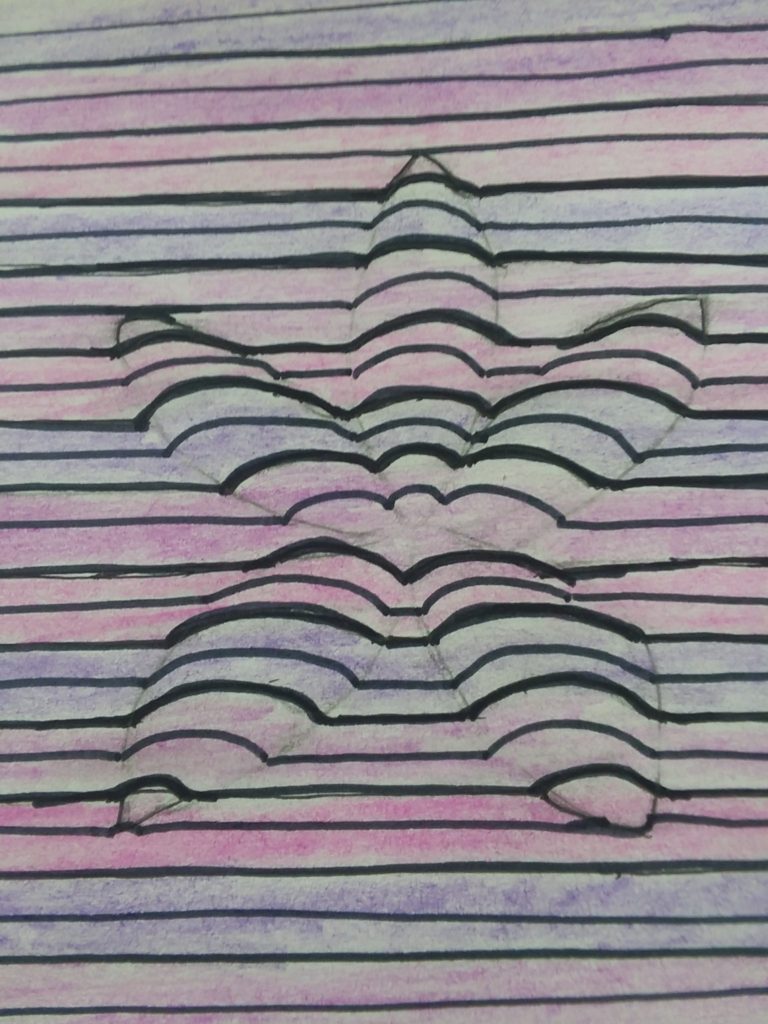
- Continue making lines in this way across your paper. You want to have nice curved lines across your flower to get the 3-D effect.
- Now take your thin black marker and trace your lines so they stand out.
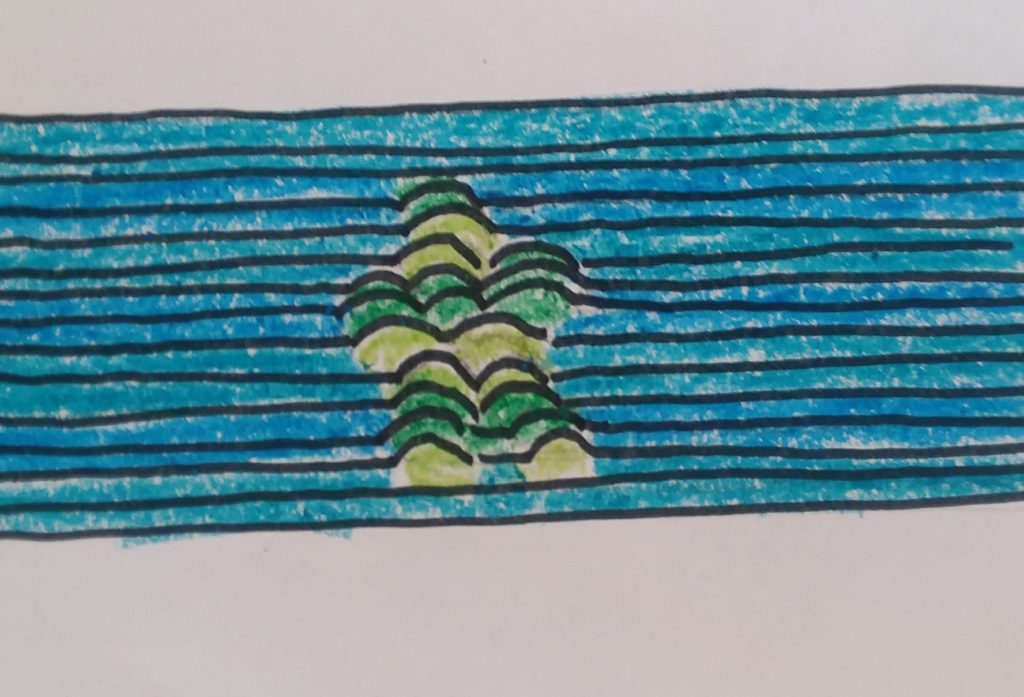
- The lines may still be too far apart. You can add in more lines in between now and then color OR color what you have and add in more lines after. It’s up to you. ***You may have noticed mine already has color. Well, I realized AFTER I colored and outlined it that my lines were too far apart.
- Choose two or more colors for your project, and color across each line. You can use colored pencils or crayons. It will give a nice contrast to the black lines. You can use different colors on the flower, too.
- If your flower still doesn’t have a 3-D effect, you can add in more lines. The spacing between lines will vary due to the size of the flower and the type of flower. Experiment a little. It took me a few tries to get it to look how I wanted it.
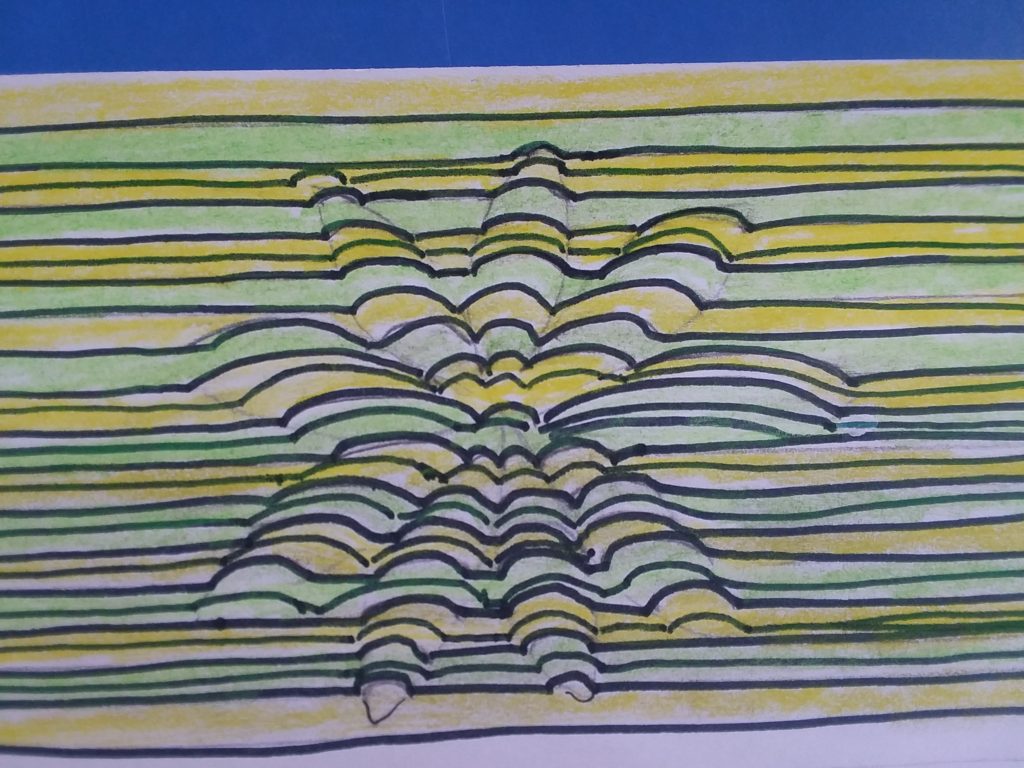
Viola! You now have Op Art flowers to add some spring cheer.
Kids will have fun experimenting with different flower shapes, colors, and how close and far apart the lines need to be. It is a great art project to add a little fun to your weekend or as part of your homeschool art class.
What Op Art projects have you tried?