
This post contains affiliate links. By clicking on the link and making a purchase, I may receive a small compensation at no extra cost to you. I only promote products that we love and use in our homeschool. Please click here for full details on my Disclosure Policy.
Around the holidays, we always have candy canes around the house. My kids, especially my son, are obsessed with getting candy canes. My boy likes to eat them, put them in hot chocolate, or hang them on the Christmas tree. So, what do you do with the rest hanging around after the holidays? A Dissolving Candy Cane Experiment, of course!
Sounds fun, huh?
It is a fun way to get rid of some of those candy canes WITHOUT your kids eating them all up. No one needs that many candy canes. Plus, hands-on science activities are important for kids and so much fun too.
The dissolving candy cane experiment is quite simple, so it is a no-stress science activity. After all, if you are like our family, our science experiments don’t always go as planned.
So, let’s take a look at this fun experiment. After all, you only need a few basic items around the house. Oh, and candy canes.
Table of Contents
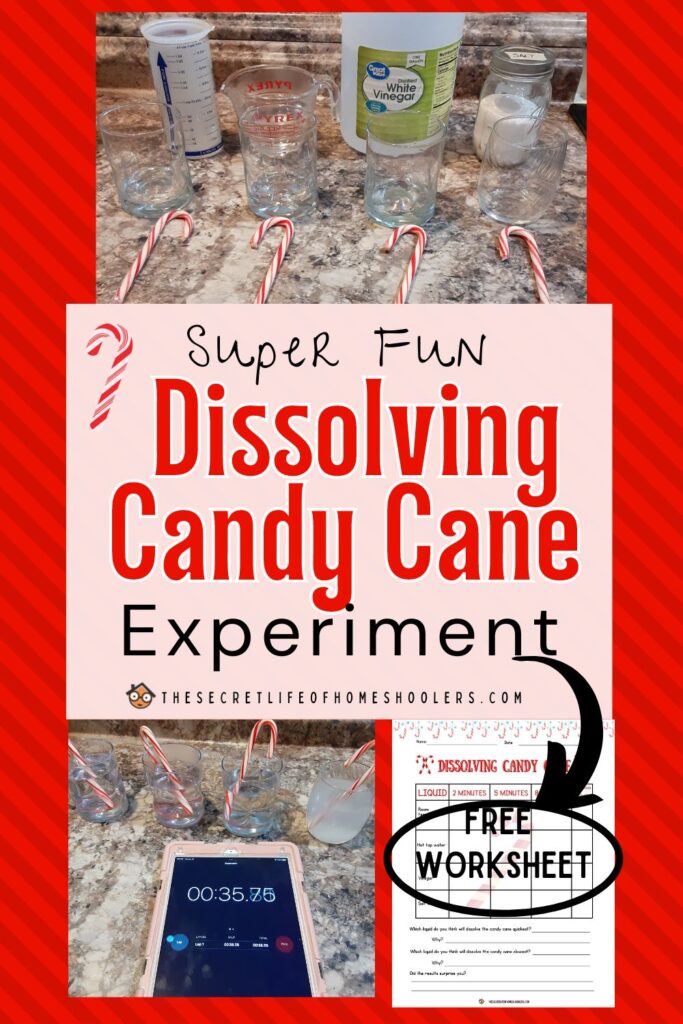
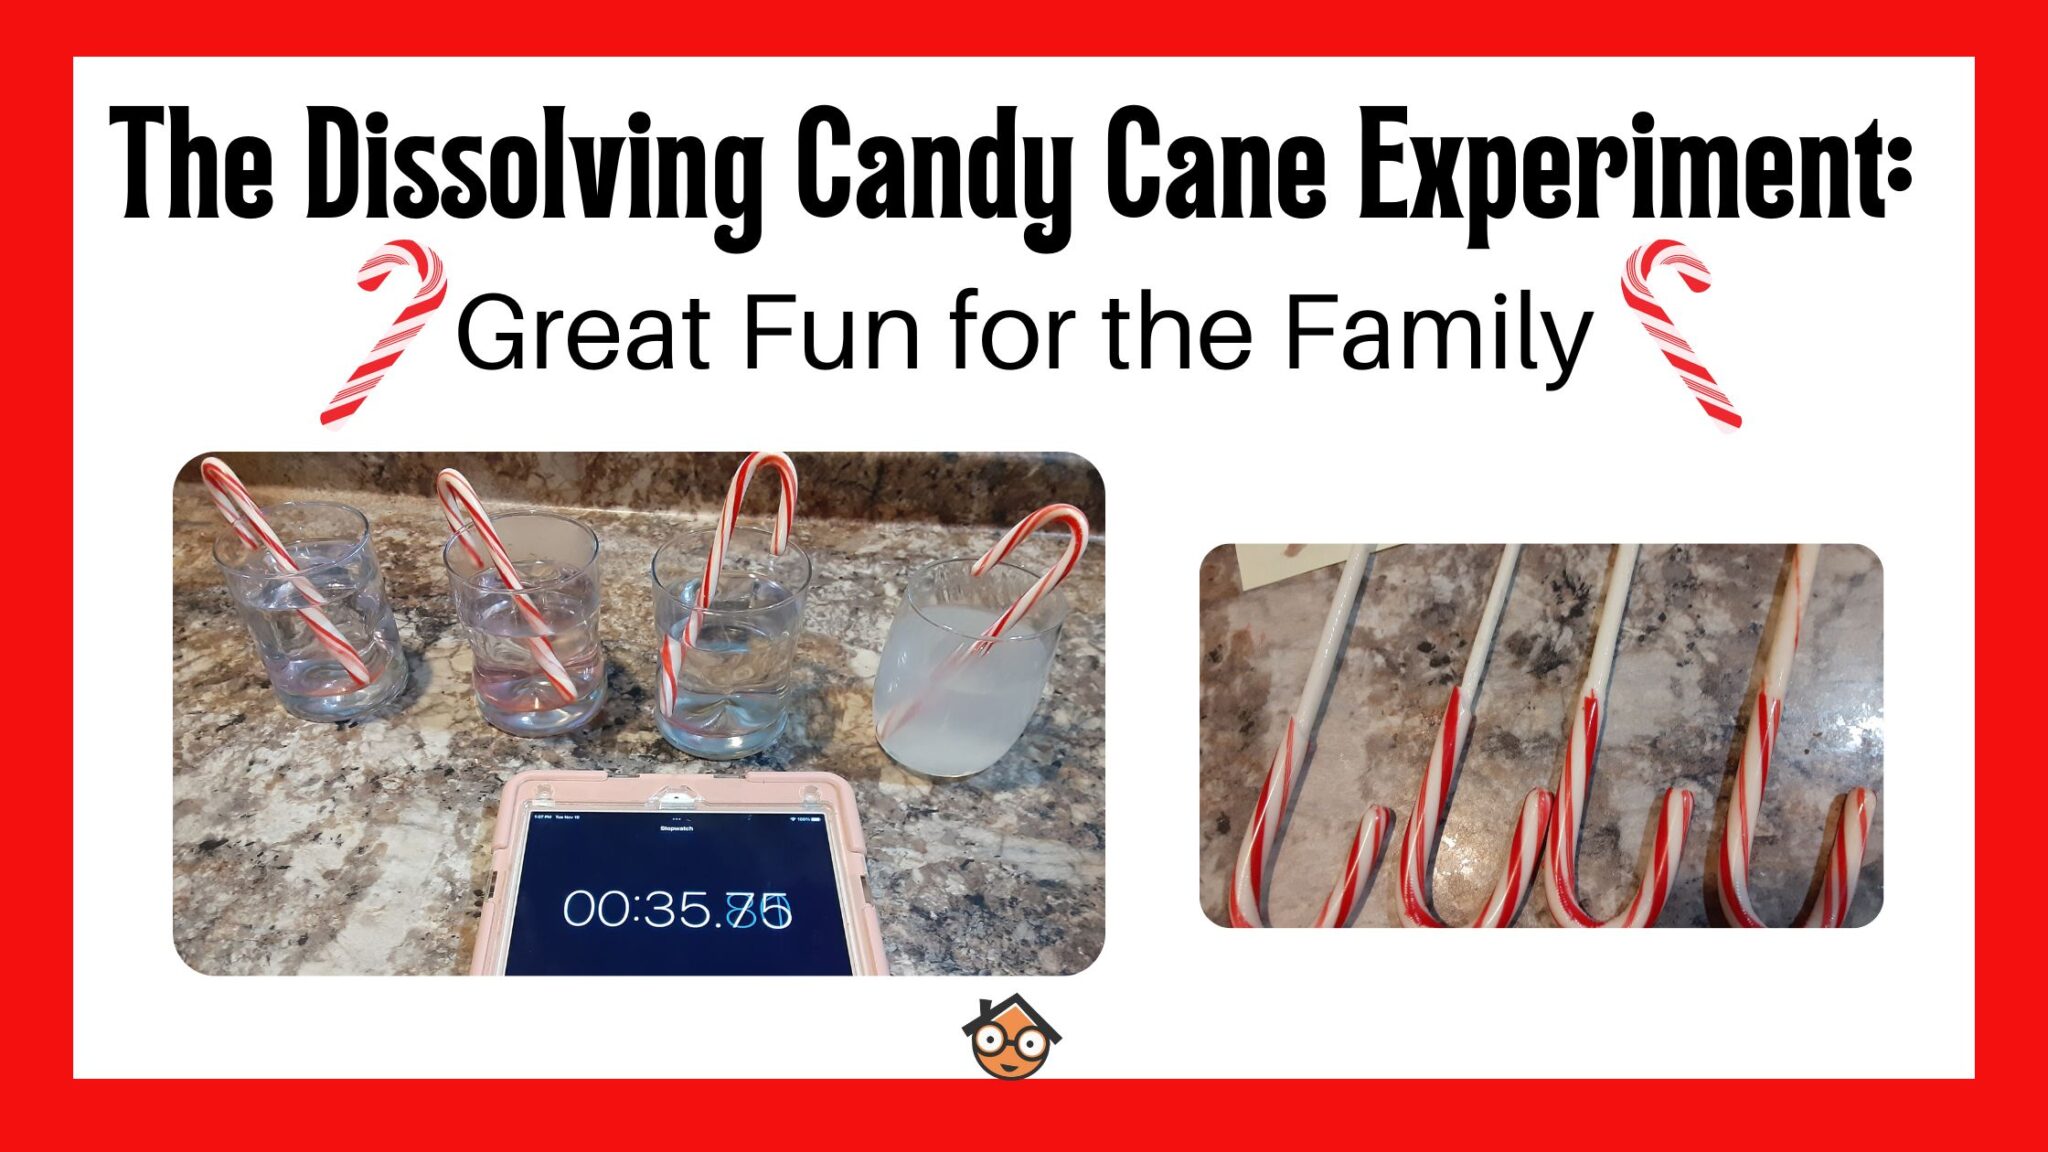
The Dissolving Candy Cane Experiment
As I mentioned, you don’t need much to do this dissolving candy cane experiment. You only need the following:
- Candy canes
- A timer or stopwatch
- Glasses or plastic cups that are somewhat sturdy (you don’t want them to tip)
- Measuring cups
- Spoon
- Water
- Vinegar
- Salt
- Small pieces of paper
- Dissolving Candy Cane Experiment sheet and pencil (optional)
Setting up the Candy Cane Experiment
Once you’ve gathered all your items, you are ready to begin. I’ll walk you through a few simple steps.
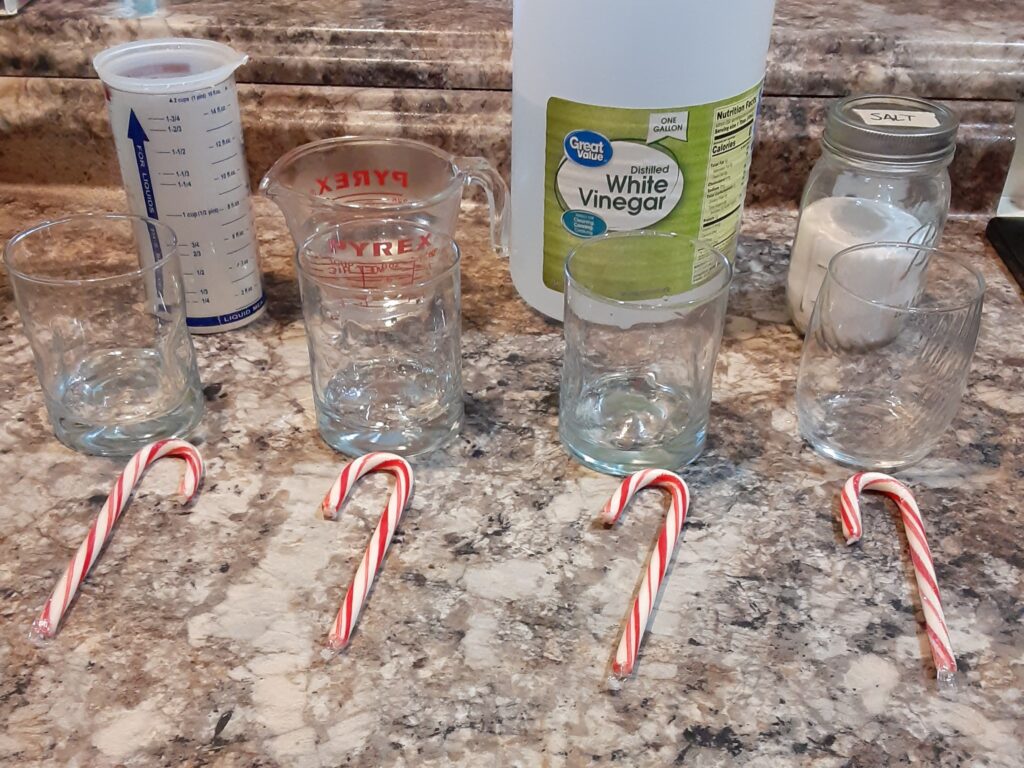
- First, you’ll need to get out four glasses (clear is nice), a measuring cup, and a spoon. I recommended glasses because you don’t want the candy canes tipping over during the experiment. Plus, if your cups are clear, kids can see the candy canes dissolving through the cup.
- Next, get a timer, small pieces of paper to label each glass, and the Dissolving Candy Cane Experiment sheet.
- Once you’ve collected those items, you’ll want to get your candy canes (take off the wrappers), salt, and vinegar and have water on hand.
- Finally, it is time to fill the cups.
Filling the Glasses
Glass #1: Measure 1 cup of room temperature water and label the glass. It doesn’t need to be exact. You can measure the water’s temperature to ensure it is around 70 degrees or take your best guess. You just don’t want the water to be really cold to the touch.
Glass #2: Measure 1 cup of hot tap water and label it. I ran the water in the faucet until it was very hot to the touch. A parent should do this part.
Glass #3: Measure 1 cup of vinegar and label the cup.
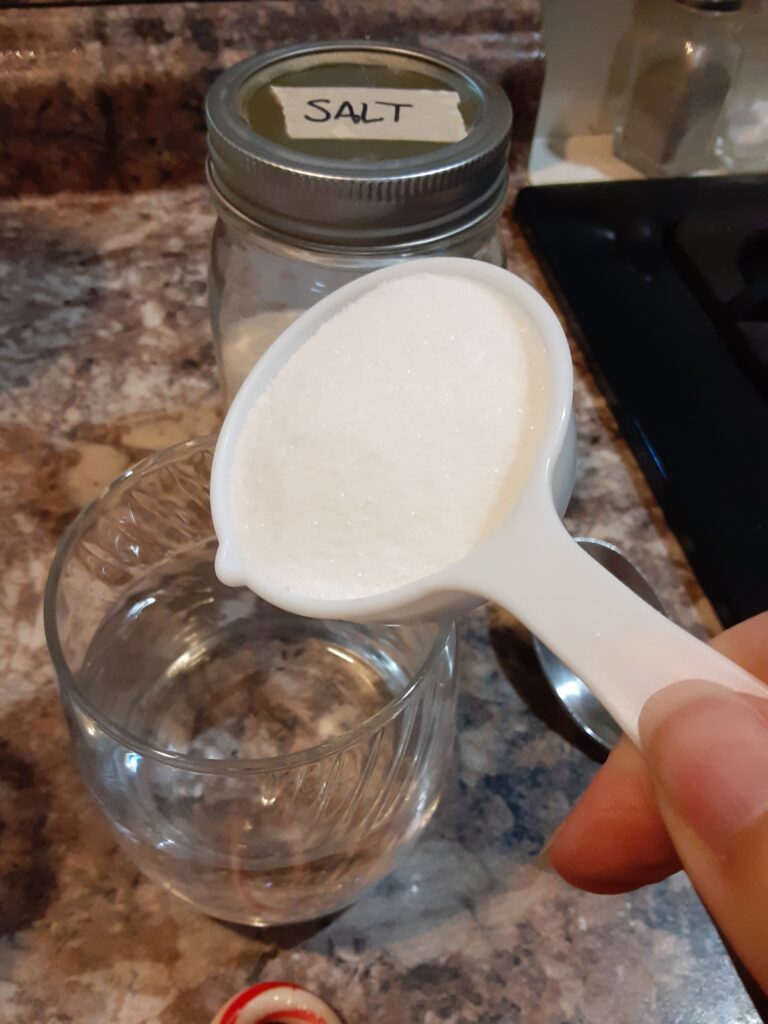
Glass #4: Add 1 cup of water and ½ cup salt and label the cup. Stir it well.
You will notice in my pictures that the glasses aren’t labeled. I did label mine, but chose not to use them. I didn’t want to spoil the experiment.
Now it’s time to have some fun!
Let the Experiment Begin
Now that everything is set up, it is time to grab your timer or stopwatch and begin.
Predictions
Before you begin, have the kiddos fill out questions 1 and 2 on their experiment worksheet.
Kids will write their predictions on which liquid will cause the candy cane to dissolve the quickest and slowest.
Candy Cane in Solutions
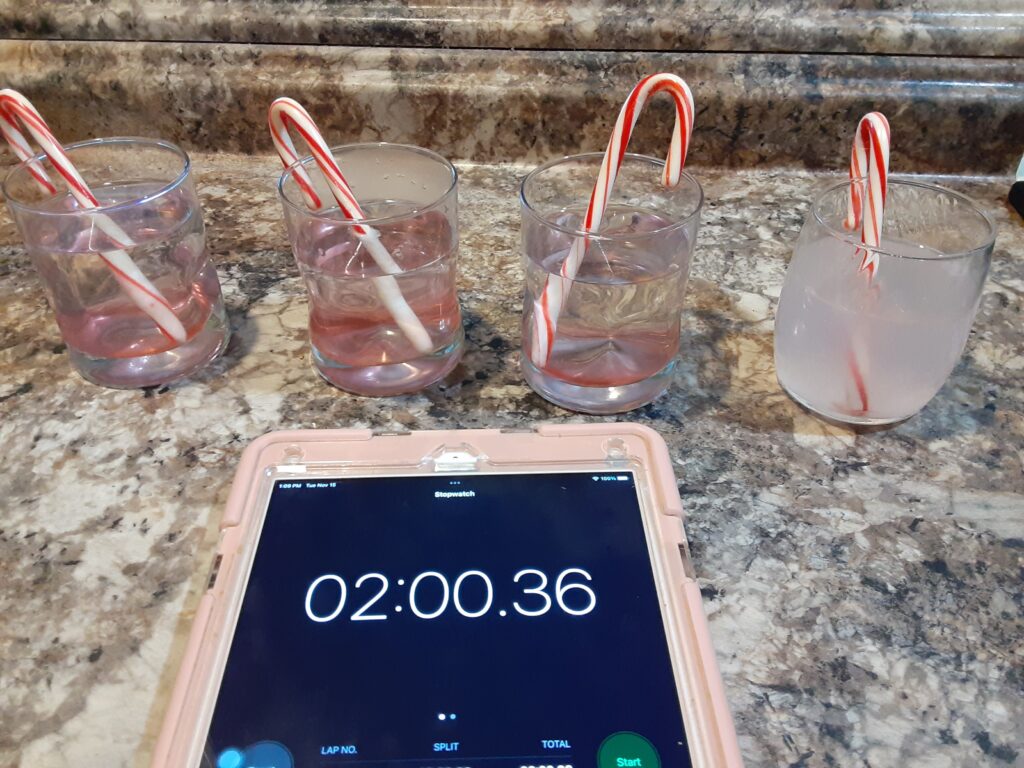
-Now place a candy cane in each glass and start your timer. I used the stopwatch on my iPad.
Make Observations of the Dissolving Candy Canes in the Experiment
-Your kiddos will be making observations at three different times and recording their results. They will observe at 2 minutes, 5 minutes, and 8 minutes. You can make observations for longer if you wish.
-Watch the timer/stopwatch. At each time interval, kids can record what is happening. They can describe things like whether it is dissolving, how much red they can see, etc.
We recorded observations such as “Candy cane dissolved a little. Only a little bit of red is still showing.” Other times it was, “Candy cane hasn’t really dissolved. There is a little bit of red disappearing.”
Continue observations for 2, 5, and 8 minutes, longer if you’d like.
Final observations of this Dissolving Candy Cane Experiment
Once the kiddos have completed the experiment, have them complete their Dissolving Candy Cane Experiment sheet.
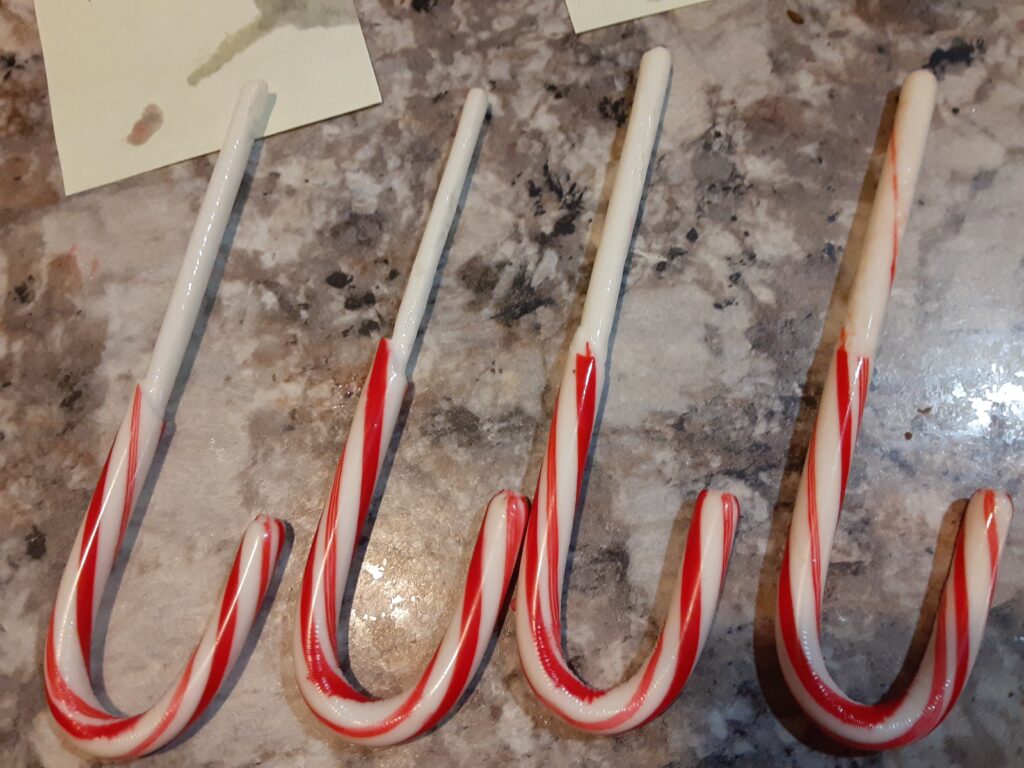
First, they can fill in the last column of their table. Then, kids will write #1-4 in the order they dissolved. Number 1 dissolved the most to number 4, the candy cane that dissolved the least.
After, the kiddos will answer the last question at the bottom of their worksheet. It can lead to some great discussions.
I won’t tell you our final results. I don’t want to spoil it, and I probably would. However, my kiddos and I were very surprised by how the experiment turned out. Our predictions were completely wrong!
{Want more science experiments? Here is a Hot Chocolate Activities and Bubble Science.}
Expanding this Candy Cane Experiment
There are a lot of different things you can do with this experiment. After all, most candy cane packages contain 12. 😉
Temperature
Another experiment you can do with the kids is to use different water temperatures. For example, kiddos can experiment with how quickly a candy cane dissolves in various water temperatures.
You can have kids record how long it takes for the first candy cane to dissolve until it breaks. Plus, you could see how long it takes for the last one to dissolve completely.
Solutions
I think trying out different solutions would be a lot of fun! For example, you could try sugar water, oil, baking soda and vinegar combination, corn syrup, and other things you can find.
How Long to Dissolve
Suppose you want to extend the experiment further. In that case, you could see how long it takes to dissolve a candy cane entirely with the original solutions. It would be interesting to see how long it would take.
So, as you can see, there is a lot of science fun you can have with candy canes and different types of liquids.
However, you really need to try this dissolving candy cane experiment! We were so surprised by the results, and I’d love to hear how it worked for you.
Happy Homeschooling!

You’ve got my curiosity up…..and I love candy canes too!
We really were surprised with the results. Our predictions were the total opposite of what happened.
We’re finally doing this right now, only one mess made so far. Results about to come in! Thanks for the fun experiment!
You’re welcome. I hope you and the kids had fun!