In the world we live in, you can go to a store and buy whatever you need. You need clothes, food, cleaning products. Go to the store. I like to teach my kids skills that are often called “old fashioned” skills which people used to learn.
The kids and I decided to learn how to make homemade soap. I bought a soap making kit. Before we used it, we signed up for a soap-making workshop at 4-H. I’m glad we did.
Our Soap Making Class with Kids
Homemade soap is a great way to control the ingredients you put on your skin. You can choose what base, any exfoliant materials, or scents to add. Not to mention you can take pride in creating something everyone can use.
In our class, we used only a few ingredients. We used c
As you can see, the base for soap is oils and fats. The nice thing is you can control what fats and oils you use. You can use beeswax, almond oil, Shea butter, olive oil. The list goes on.
Now, I know some people are freaked out about lye. Lye is a chemical, sodium hydroxide. Lye, by itself, can be harsh on the skin. It can burn the skin. You need to use caution when working with lye. It is best to ventilate the area. You should also wear clothing that covers the arms, wear gloves and safety goggles.
So why use lye if it is so harsh?
Over at Learning and Yearning, they provide a good article on using lye in soap. As the site states, “When fat and lye are combined in proper proportions, a chemical reaction called saponification occurs. The end result is soap plus glycerin.“
This process makes a soap that may be less drying on the skin, and it makes a good cleaning agent.
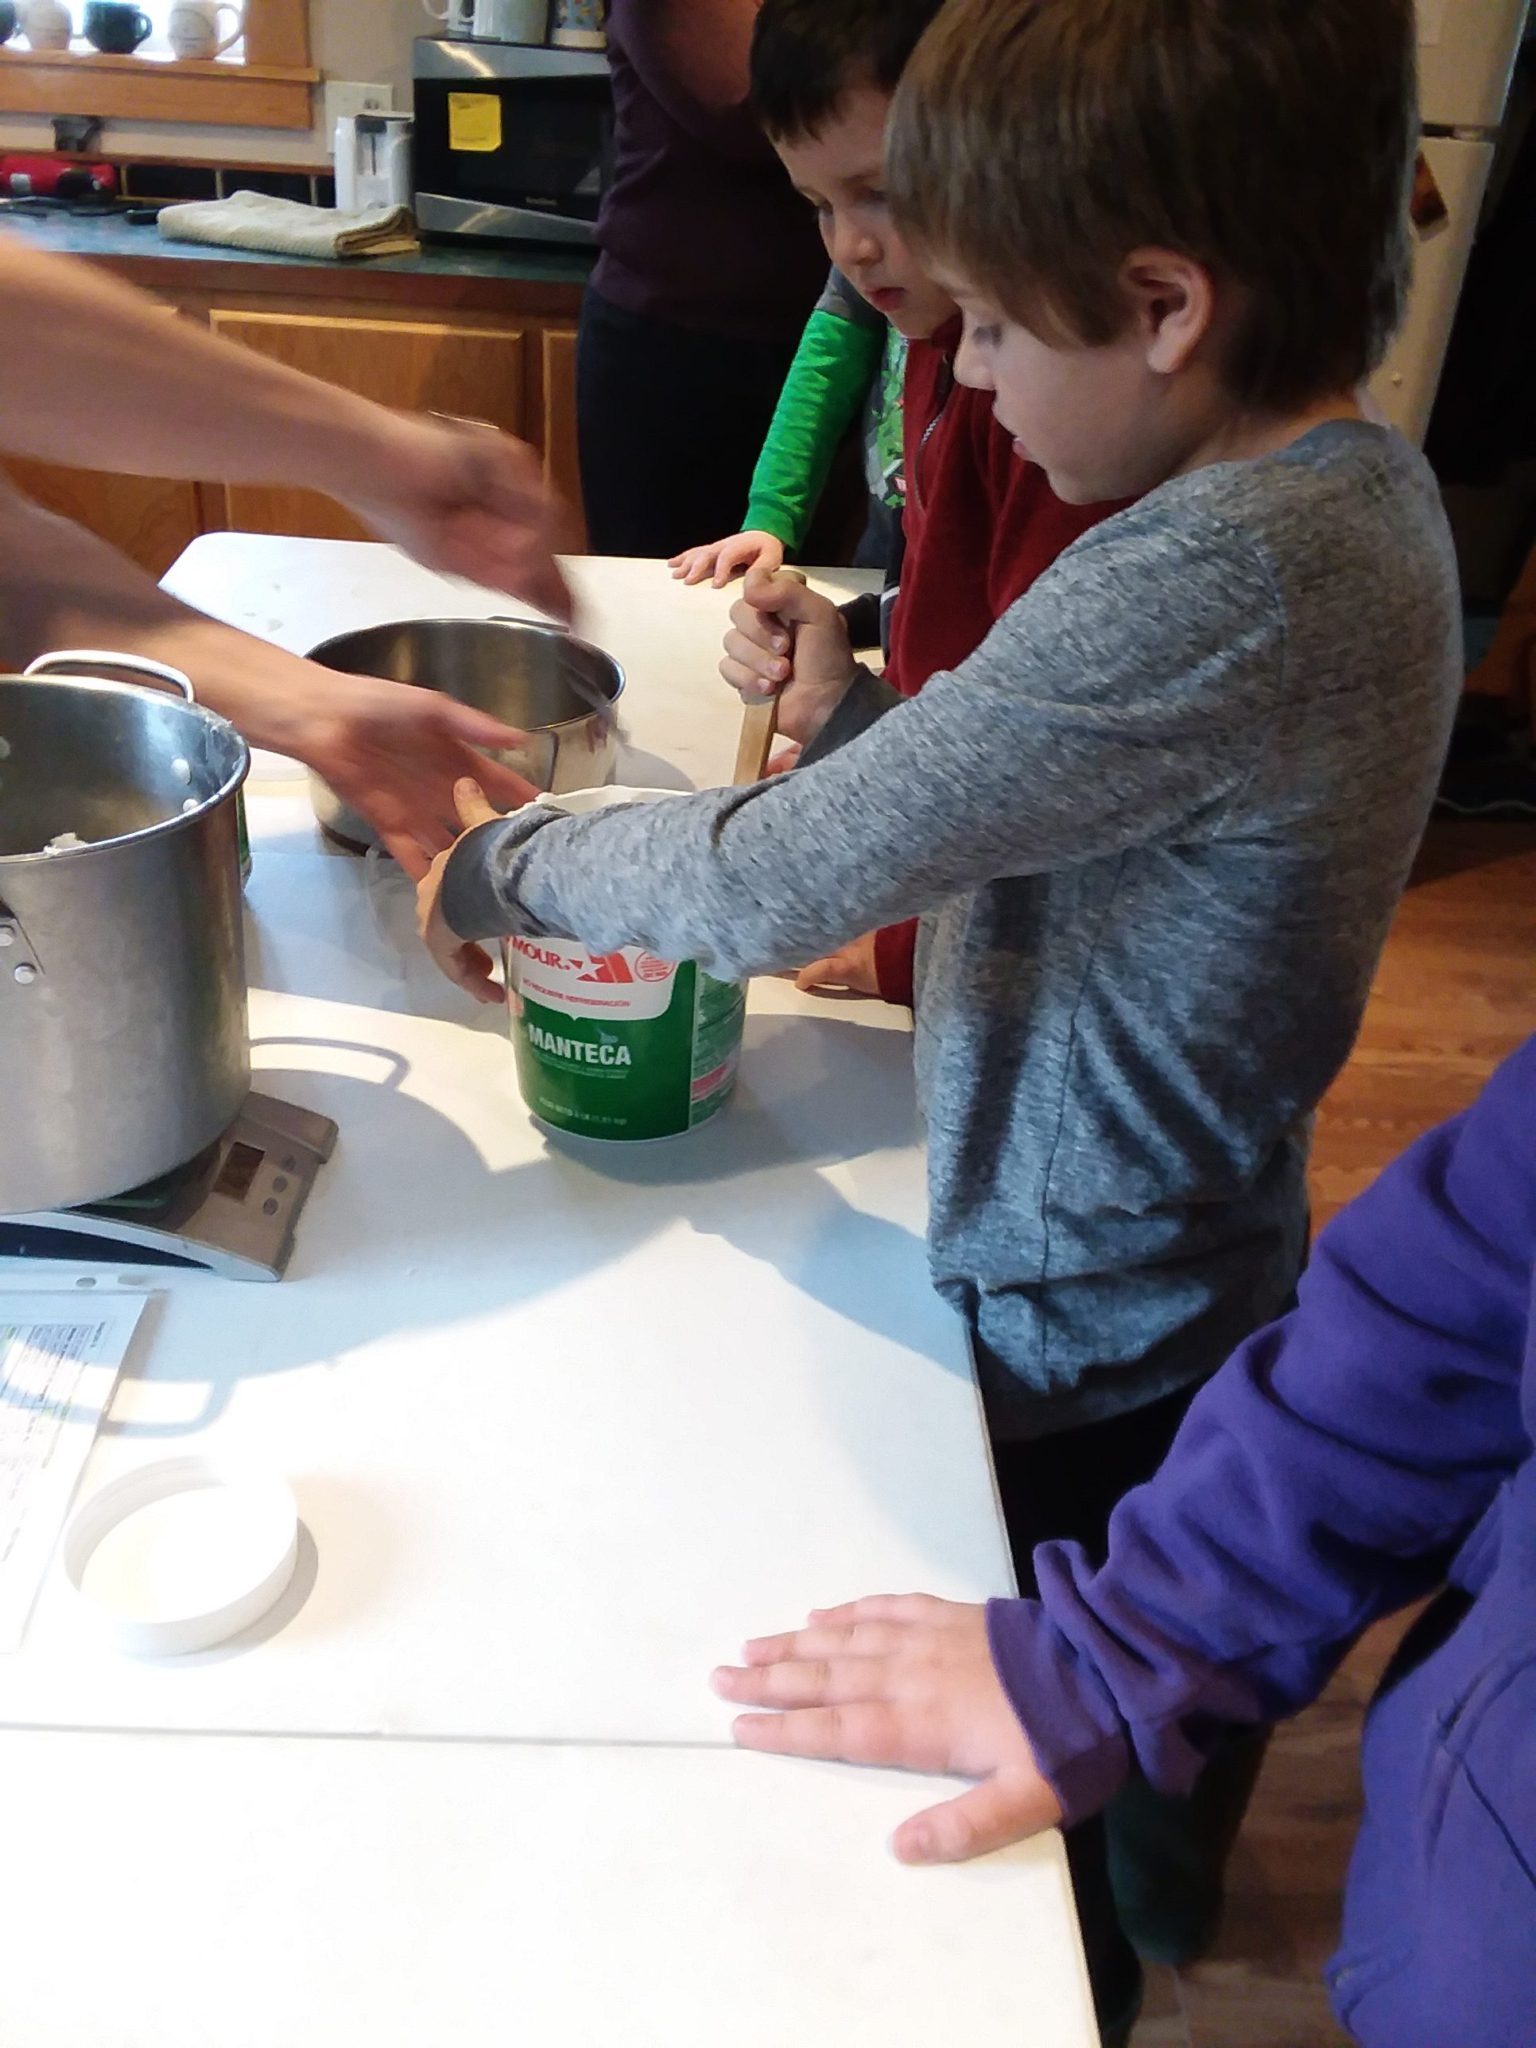
For our class, we had kids from eight years old and up. They did fine. We taught them the safety precautions mentioned above, and there were no issues. Kids need to learn these life skills.
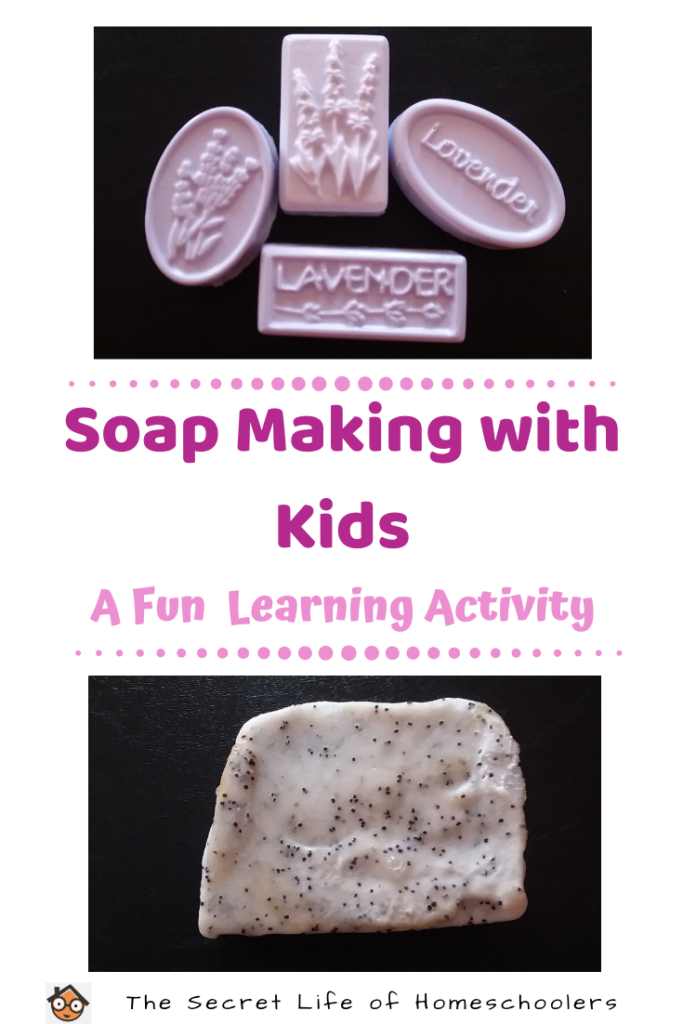
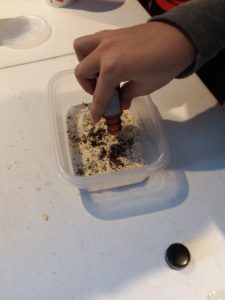
Once our soap base was made and poured in their containers, the kids added in exfoliating ingredients like oatmeal, cornmeal, and poppy seeds. After, they could choose any essential oils for scent. A word of caution: Do NOT use too many essential oils. The kids that added too many essential oils had a difficult time getting their soap to set.
The last step was waiting. Since the soap has lye in it, it needed to sit for 6 weeks before it was safe to use.

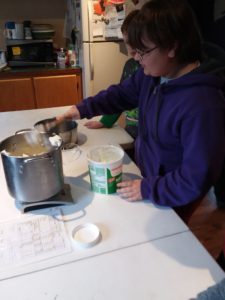
Adding oils and fats Adding Exfoliants and scent Mixing the soap base with extra ingredients 
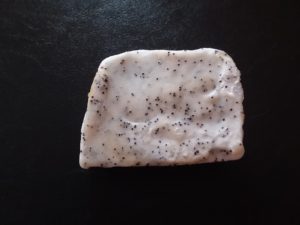
Finished soap

If you go on Pinterest, you can search for many different soap recipes for beginners. At Simple Life Mom, she has a great tutorial on making soap with lye. It is the same process we used in our class. Check it out here.
Another great resource we learned about was SoapCalc. On SoapCalc, you put in the fats and oils you want to use and some other essential information. It will calculate how much you need for each ingredient. After, you can print out the recipe. It is pretty cool.
The Learning Involved in Making Soap from Scratch
Soap making provides a lot of great learning opportunities. I was surprised by the skills involved.
Math:
- Scales: Soap making requires you to understand how to use a scale. Kids will learn how to calibrate a scale. They also learn how to work scales in ounces and grams.
- Estimation: The kids learned to make more accurate estimates while measuring out ingredients. At times they were just under or just over the weight needed. The kids had to estimate how much needed to be added or taken away to get the correct amount.
Science:
- Chemistry: Soap making is a perfect example of real-life chemistry. Kids learned about the chemical reaction when adding lye to the fats and oils. They could see the smoke rising out of the pot. It is such a great lesson on how three chemicals on their own react differently than when put together to make lye.
- How to Be a Scientist: There are so many different fats and oils one can use in soap making. You can also use different amounts to affect the soap in different ways. As a family, you can experiment with fats and oils to see which your family likes best.
- Safety Precautions: Kids learn the safety precautions scientists take when using chemicals. It is a real situation that truly needs precautions. It isn’t the same as putting on goggles while adding vinegar to baking soda.
Life Skills:
Soap making is a life skill. It is a skill people have used for hundreds, even thousands, of years. Scientists have evidence of a soap made in ancient Babylon and Egypt.
I think it is still relevant today to learn such skills. If times get hard or you want to control what is put on your body, this is a great skill. Plus, kids learn soap takes a while to make. It needs to set for quite some time. It requires patience.
Soap Making Kits with Kids
As I mentioned, I had bought a Soap Making Kit. It is a fun way for kids, especially little ones, to safely make soap. It is also a wonderful gift to make. We initially bought our kit to make Christmas presents.
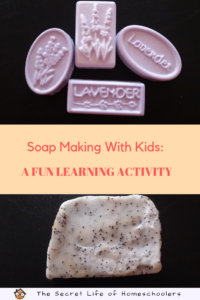
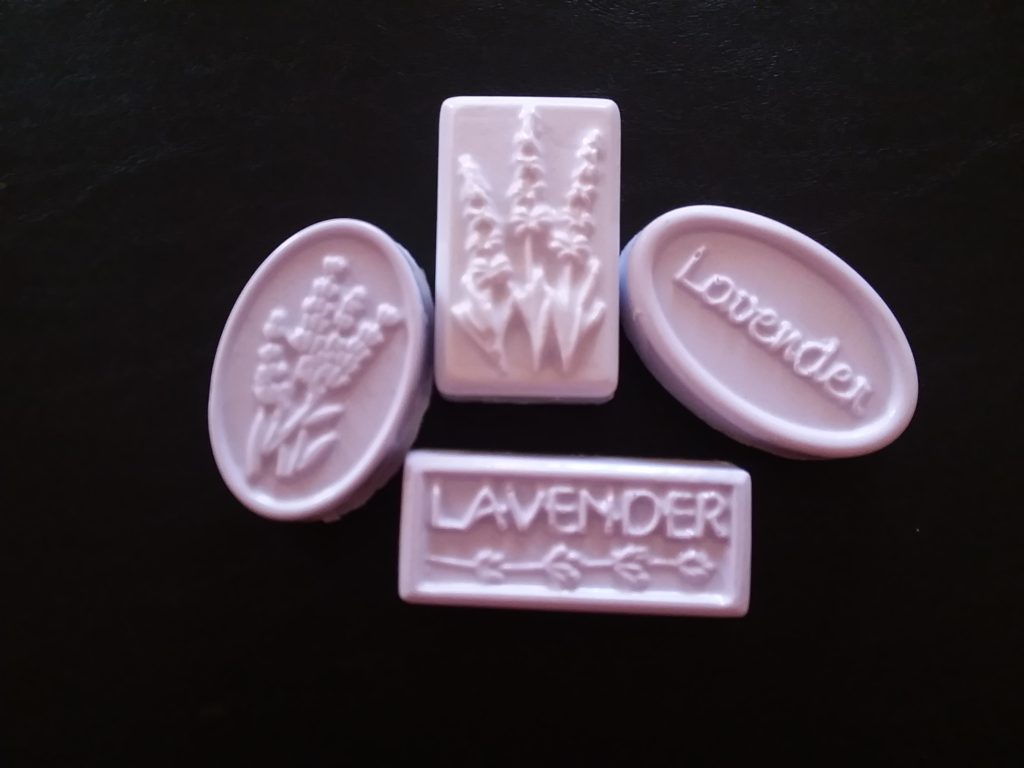
The kit I bought included the soap base, lavender essential oils, purple dye, dried lavender, and molds.
The base was a big block that was sectioned off into smaller squares. The kids read how many soap bars the kit was estimated to make and divided that into the number of soap squares. We needed about four squares per bar.
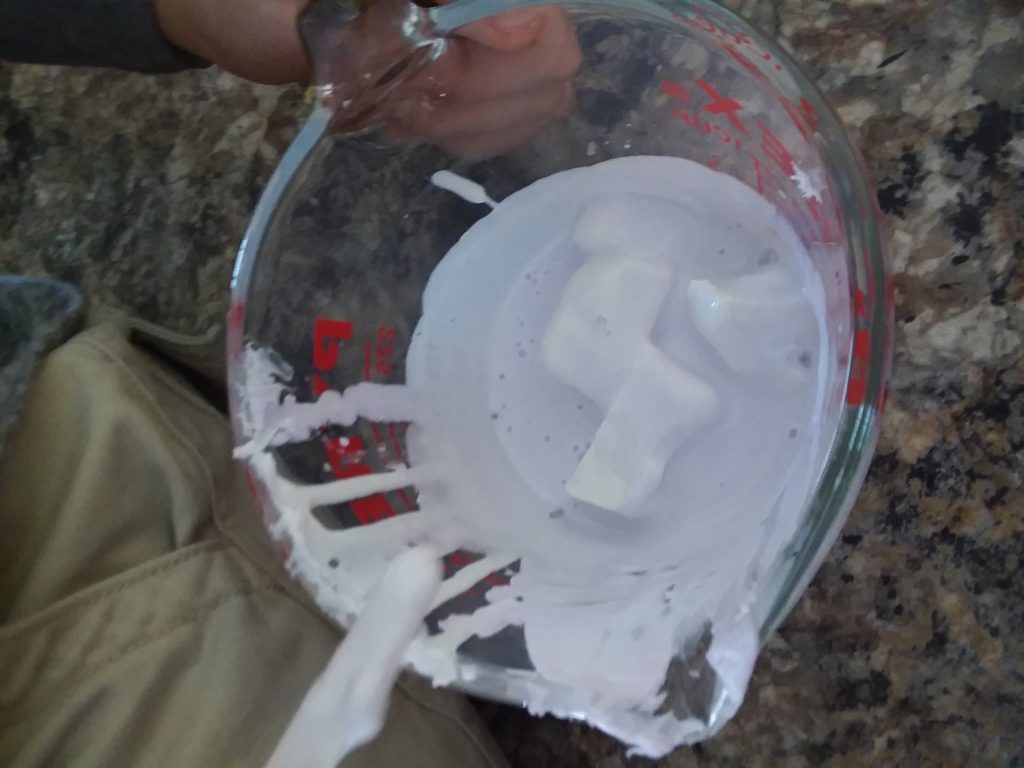
Next, the kids slowly melted the soap base in the microwave. Once it was melted, the kids added in the scent, coloring, and dried lavender. They poured the mixture in the molds.

Melting soap base Poured soap in mold
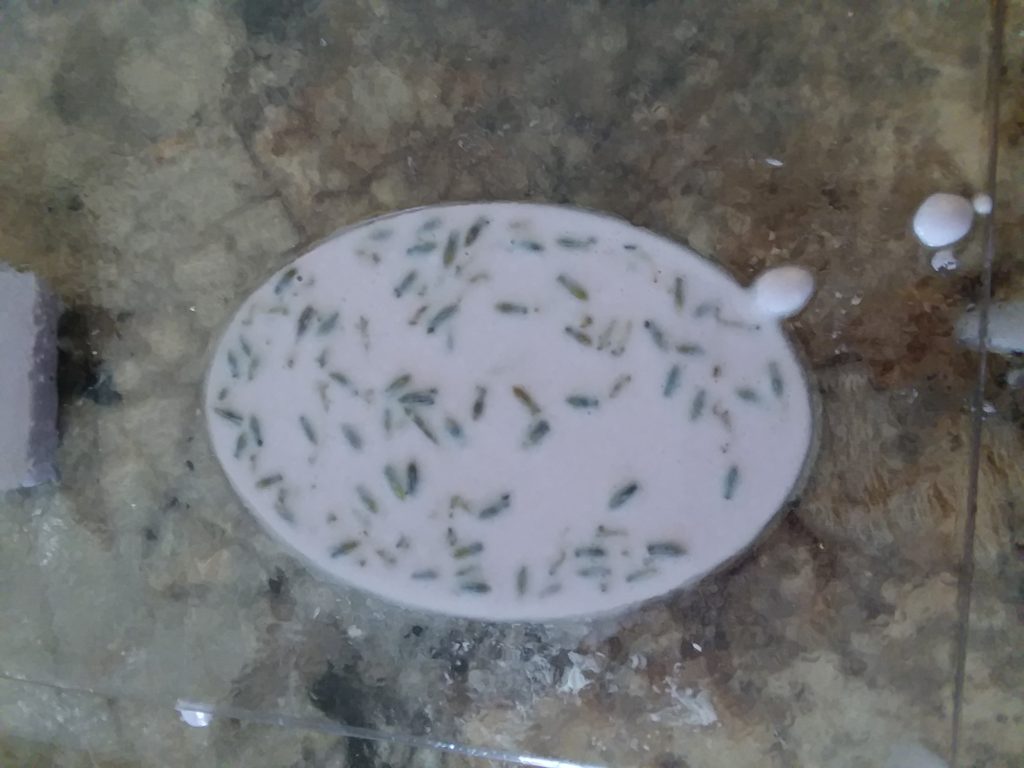
The directions mentioned you would need a spray bottle with rubbing alcohol on hand. Don’t skip this. When you pour the soap into the molds, it will get little bubbles in it. You spray a mist of alcohol on the soap to get the bubbles out.
The soap takes 30 minutes to set. Much faster than when making the soap with lye. After 30 minutes, you can pop the soap out of the mold. In theory anyway. We couldn’t get our soap out of the mold. Ugh! Always the way.
Thank heavens for the internet. I found several sites that said to put the soap mold in the freezer for 30 minutes. I did. Next, take it to the sink. Run warm water from the faucet and place your mold under the running water. Now the soap will come out of the mold.
The soap was beautiful. I would definitely give it to others for a gift.
The Learning Involved in Using Soap Making Kits
By far, the kit was simpler. You don’t get the same learning value as you do with making it from scratch. It is a worthwhile activity, though. The kids can still learn some science and use a little math.
With a ready-to-go soap base, you can experiment with different materials for exfoliants, different scents, and colors. You can also use a variety of molds.
Our class was a great learning experience. I was surprised by the different skills involved. Kids were able to learn some math and science skills in a hands-on manner. They were able to apply some of the things they have learned in the “real” world. It was a great learning activity.
Want to try your hand at soap carving? Take a look here. It is a fun actitity to do with your soap!
What skills do you enjoy teaching your kids? Share below in the comments.
I’m not sure how you get the words so clearly imprinted on the soap, but it’s beautiful!
Thank you!
[…] real soap making using lye, Simple Life Mom has a nice 7-step tutorial. And The Secret Life of Homeschoolers tested the method with a group of […]