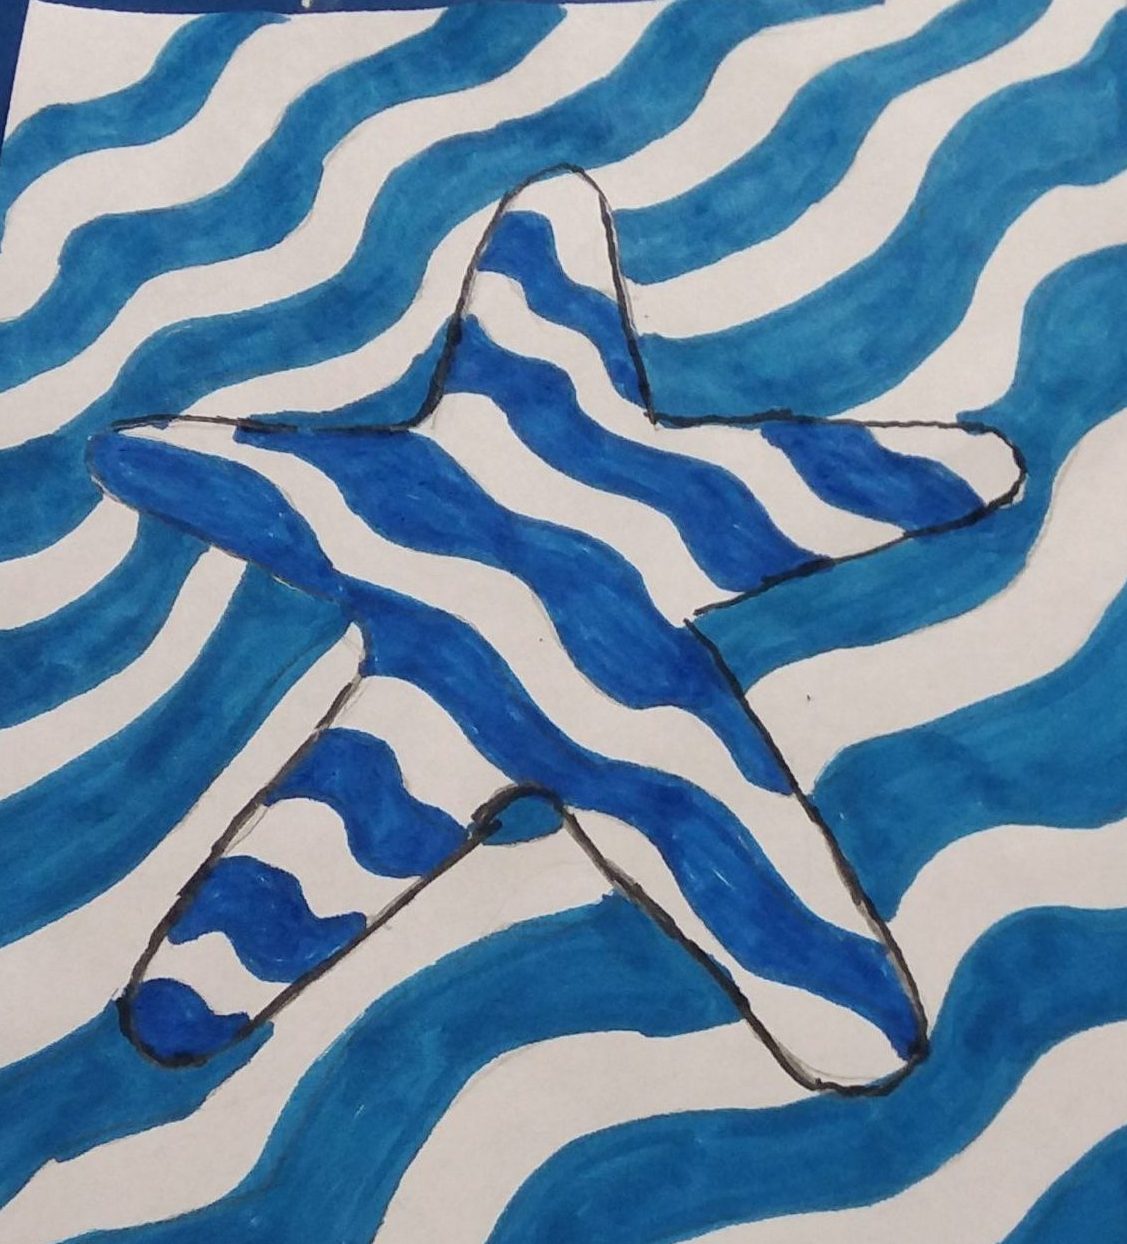
Op Art is so much fun! If you don’t know what it is, Op Art is optical illusion art. It’s when a picture looks 3-D, like it is moving, or leading you down a tunnel. They are really cool, and your kids will love making them.
Earlier this year, I did a spring op art flower project. It was super fun (and a challenge). You can check it out here.
Now that summer had finally arrived, I decided to come up with a summer theme op art project. Summer is my FAVORITE season. I couldn’t resist coming up with an art project to do this summer with my kids.
I started brainstorming some different ideas about summer: crabs, starfish, flip flops, buckets, beach umbrellas, balls, etc. You may have noticed that summer =the beach. The beach is so much fun to explore.
Anyway, I decided to do something with a starfish. It is a simple shape. It makes me think of summer. Starfish are at the beach where there are waves. So I came up with an op art project for kids with starfish and waves.
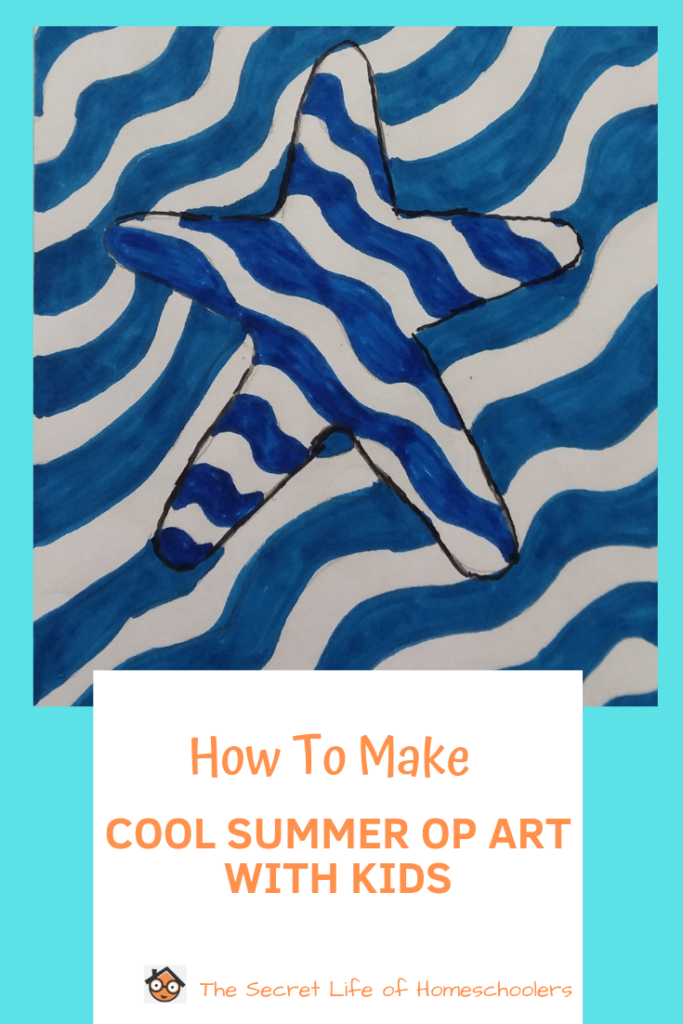
Summer Op Art Project
Starfish Op Art Project
So let’s get started on making this fun summertime op art design. The great thing is you don’t need a lot of supplies or artistic talent to pull this project off. It will be simple enough for kids to do.
Materials for Op Art Design
- Paper
- Pencil
- Markers, crayons, or colored pencils
Directions
Step 1: Paper
I have been reviewing an online art program for children by Beyond the Stick Figure. In their classes, they have kids start with quarter-sized computer paper.
Why?
Using larger sheets of paper can be intimidating for kids. I thought this was brilliant! Have you ever watched a child struggle with art because they didn’t know what to draw? Maybe a regular sheet of paper was just too big.
I decided to cut some computer paper into four smaller pieces for this project, too. It was just the right size.
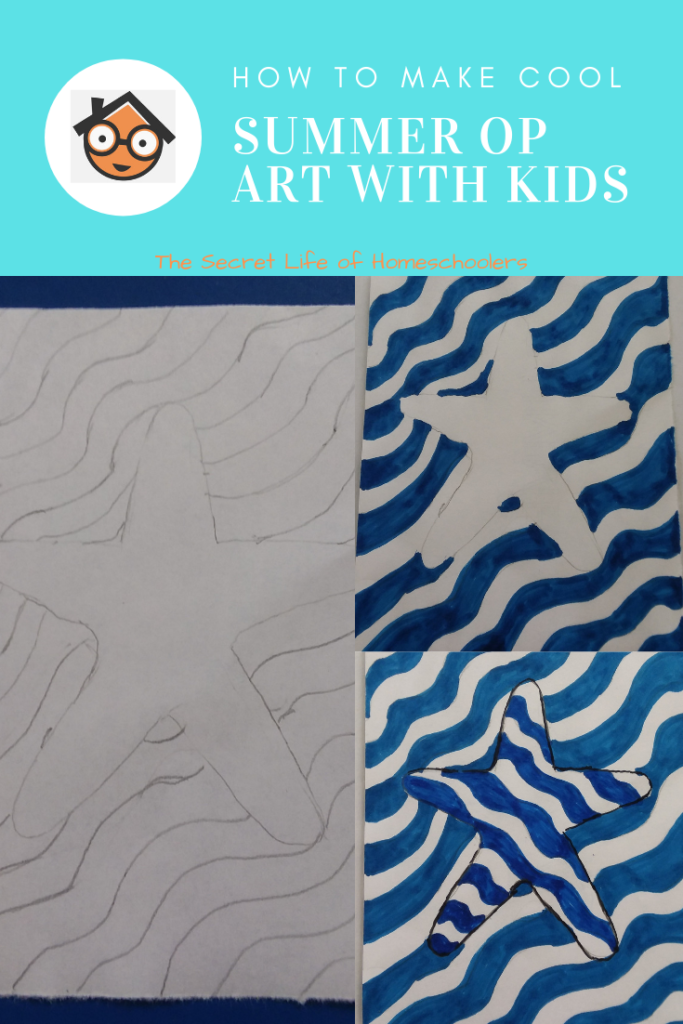
Step 2: Draw the Starfish
Now that you have your paper, draw a starfish shape in the middle. If drawing one is too hard, you can always print off a starfish shape for your kids.
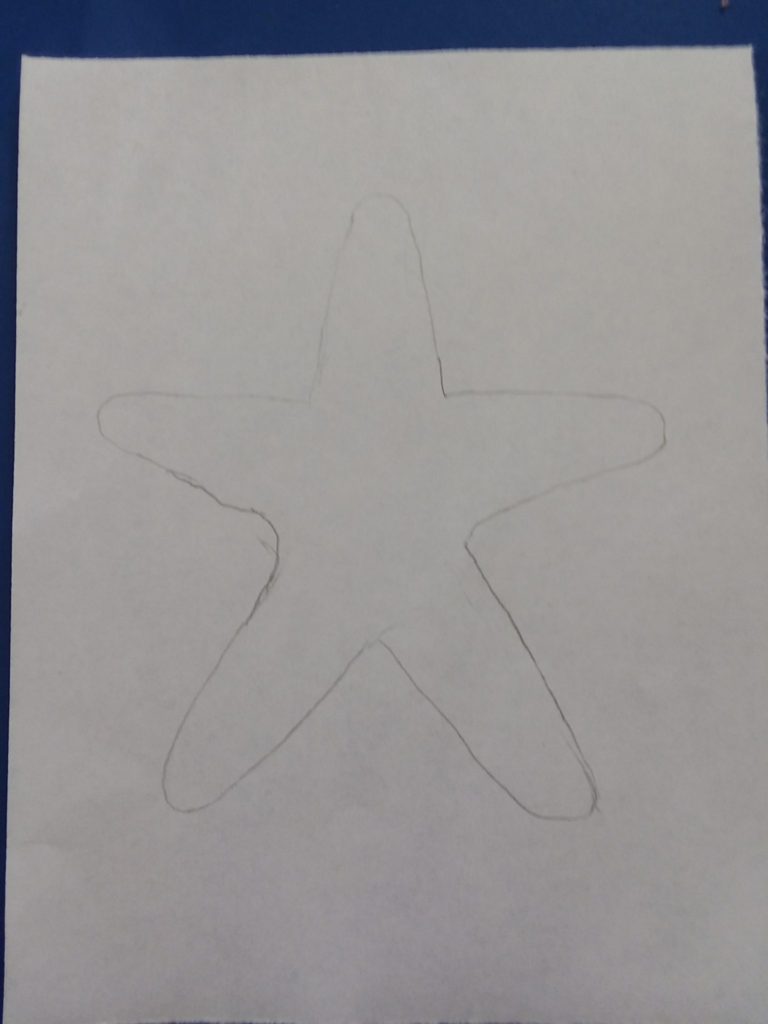
Step 3: Draw the Background
Next, you are going to make waves! Draw wavy lines starting in one corner and work diagonally across your paper. Make sure your wavy lines mirror the one before.
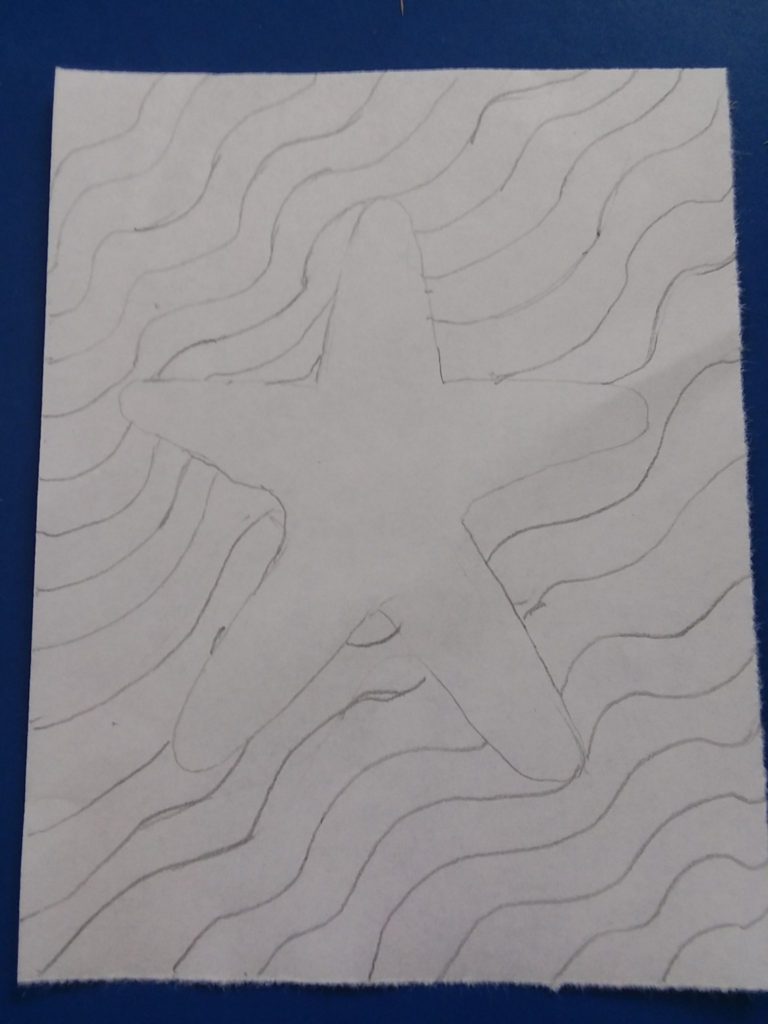
**A word of caution: Do NOT draw your lines through your starfish. Pick your pencil up and continue the line on the other side.
Step 4: Add the Lines to the Starfish
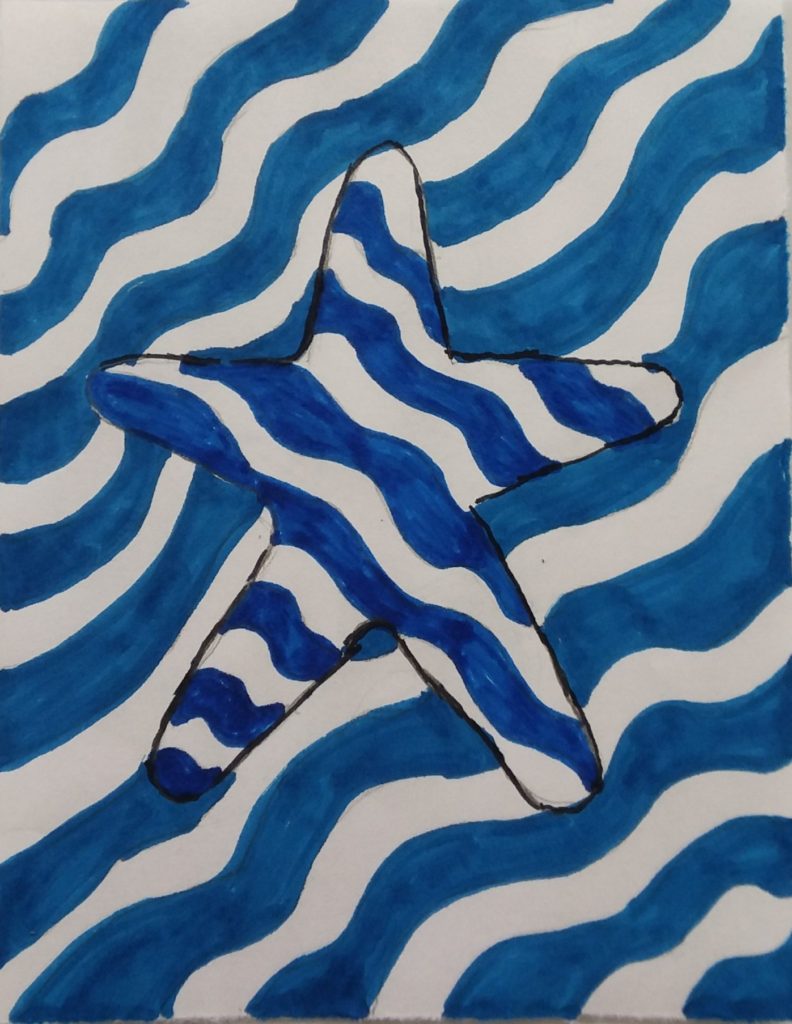
Now you ARE going to draw waves on your starfish. However, draw them in a different direction.
You might want to outline your starfish so it stands out.
If you want, you can skip to Step 5. You can color your background and then do the lines for inside your starfish. I did so I could make sure my lines would have the right effect on my starfish.
Step 5: Add Color
You are ready to color. I chose to make a blue and white pattern. You can use markers, crayons, or colored pencils.
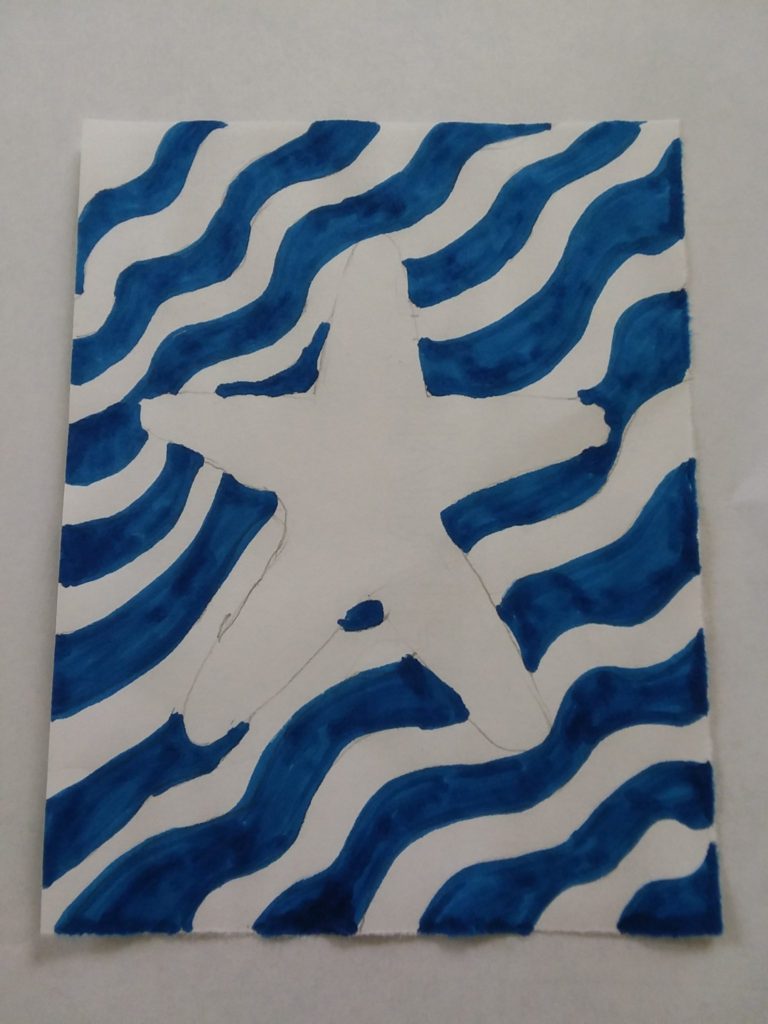
Once you are finished coloring, your starfish seems to pop off the page or sort of float around.
What Next
Experiment with other fun summer shapes! Try some seashell shapes, a ball, or maybe a crab. Then try using different colors to see how it affects the optical illusion. Does it stand out more? Does the illusion of popping off the page disappear?
See what works best!
Make sure, though, that you draw the outline of a shape and not the details of whatever object you choose. If you draw eyes of a fish or the lines on a baseball, you may lose the optical illusion.
So the next time your kids are bored, it is rainy, or too hot to go outside, get some paper and markers and give this summer op art project a try. Your kids will love trying different shapes and colors. It will be a fun summer art project to keep your kids busy all afternoon long.
Don’t forget to check out the Spring Op Art project. Flowers are great for summer, too. ?
What fun summer art projects do you like to do with your kids?

